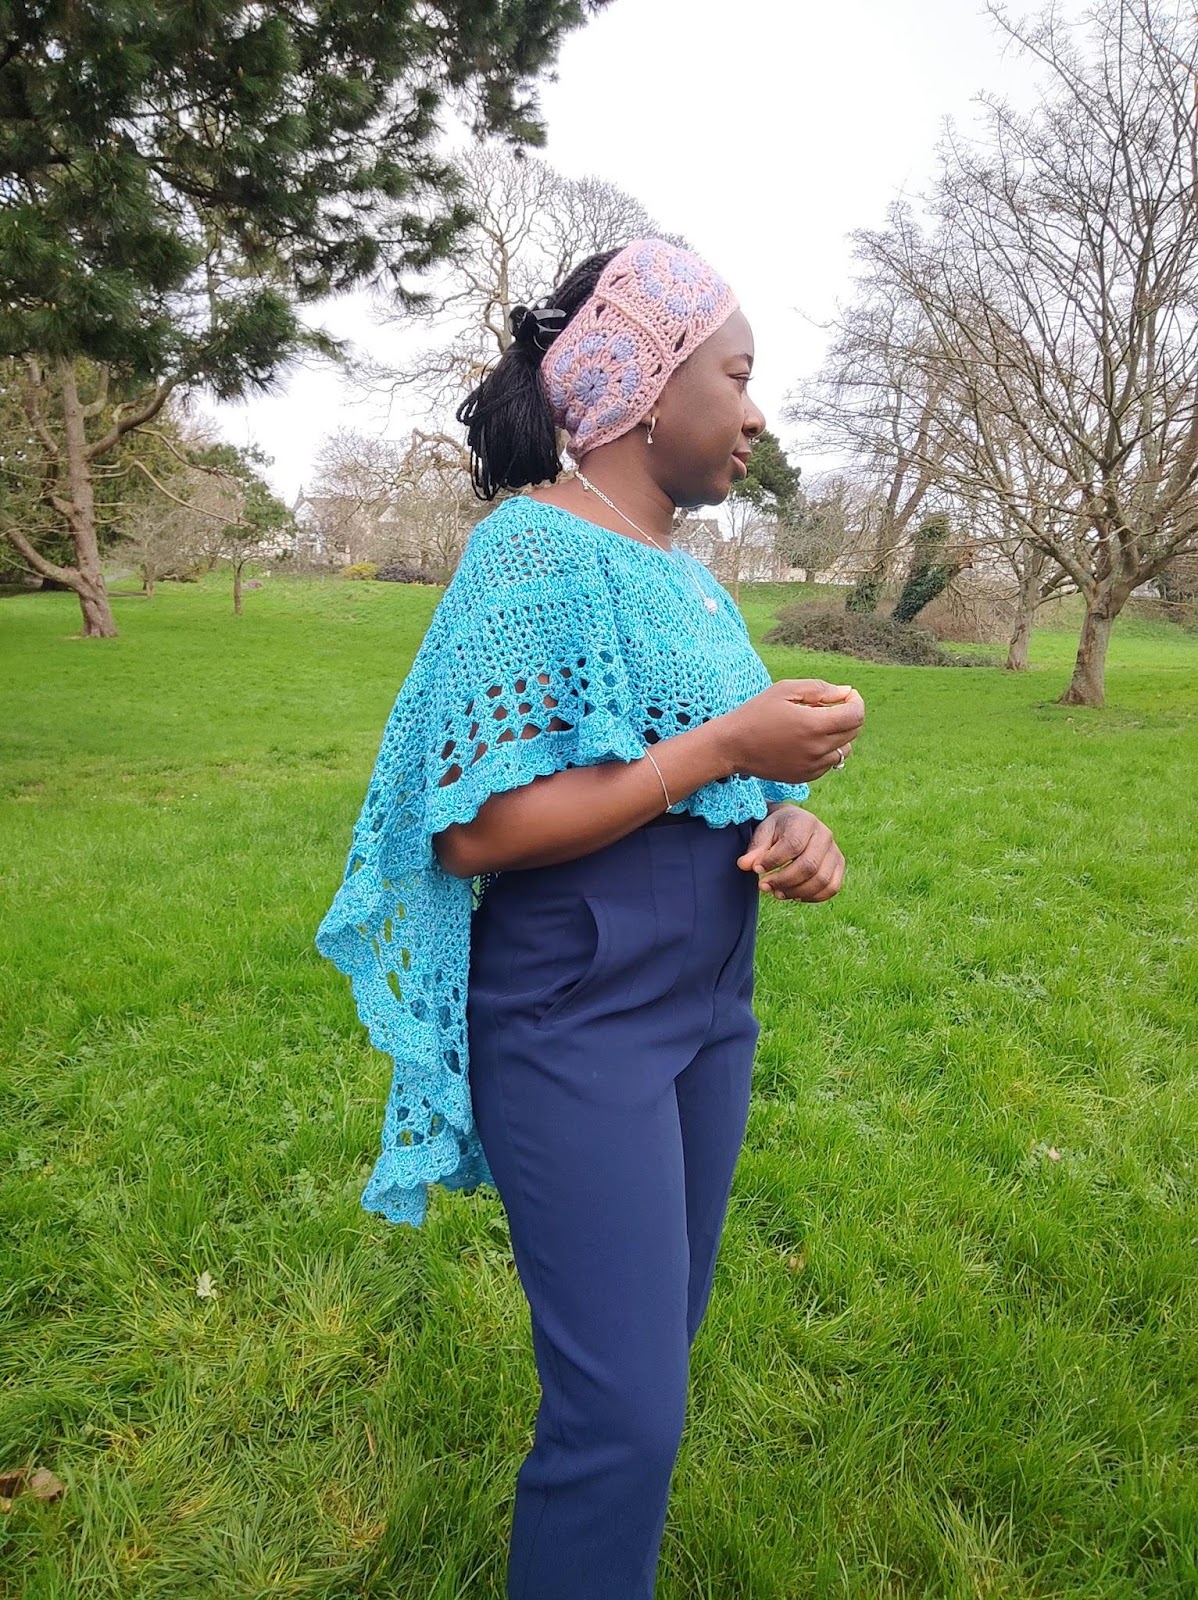
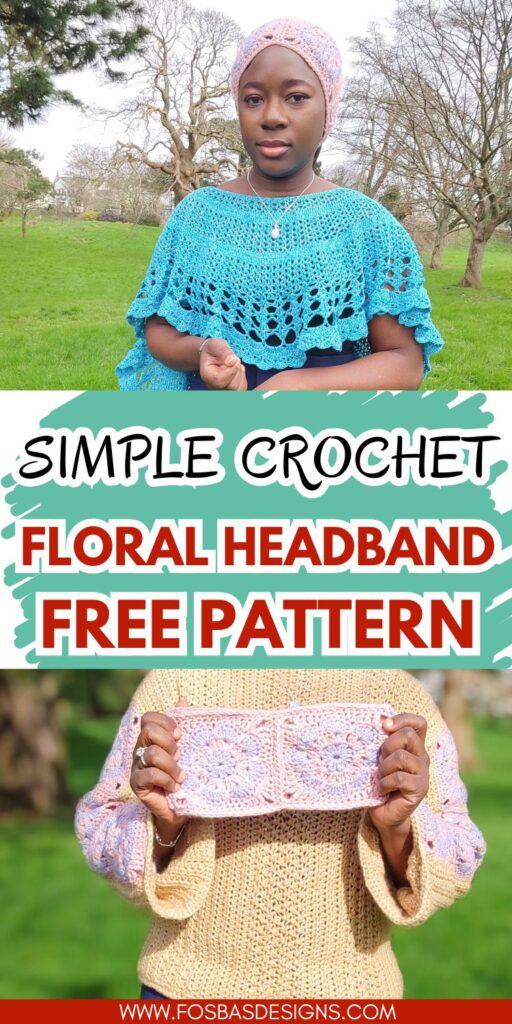
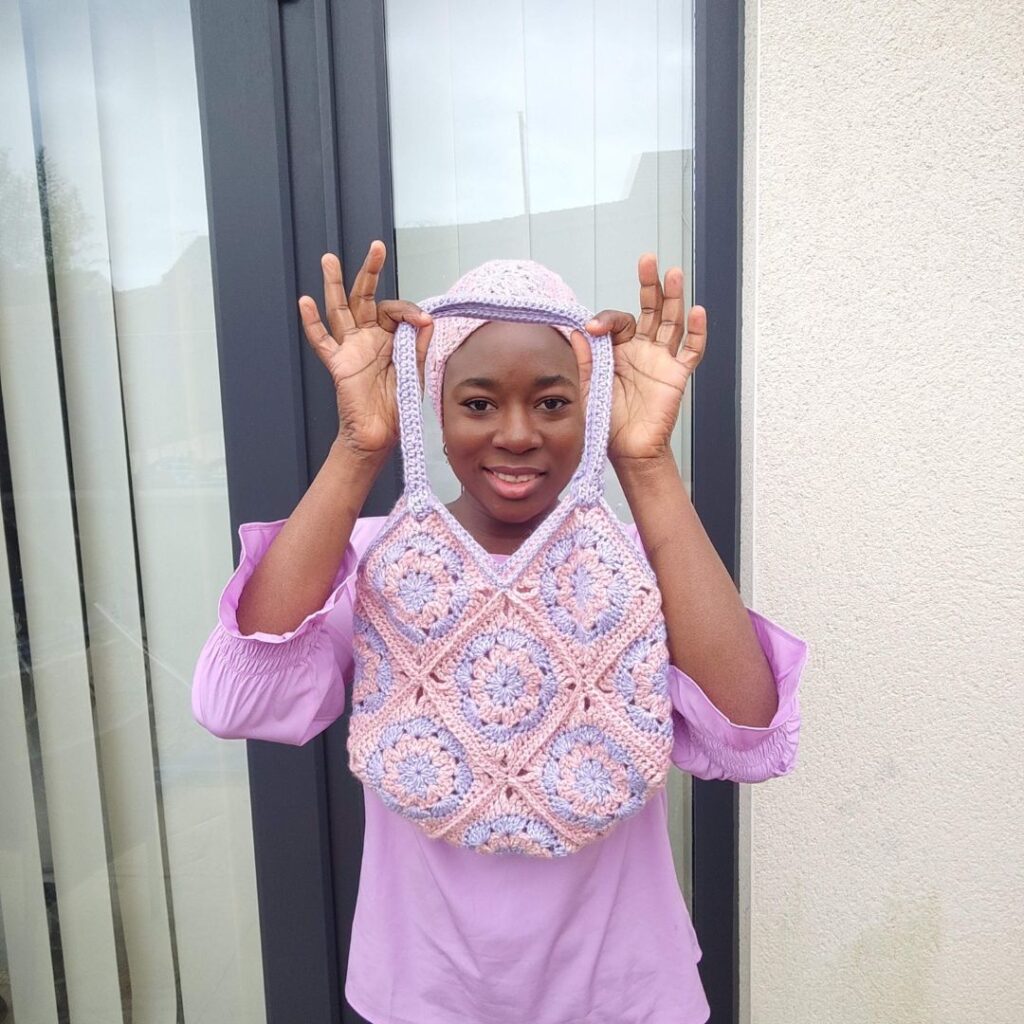
Crochet Flower Headband Pattern
I am excited to share a new project with you all! Meet the African Crochet Flower Headband Pattern. This is a fun, quick, and stash-busting project that can be made with just a few yards of yarn in a few minutes.
African crochet flower headband pattern: Inspiration
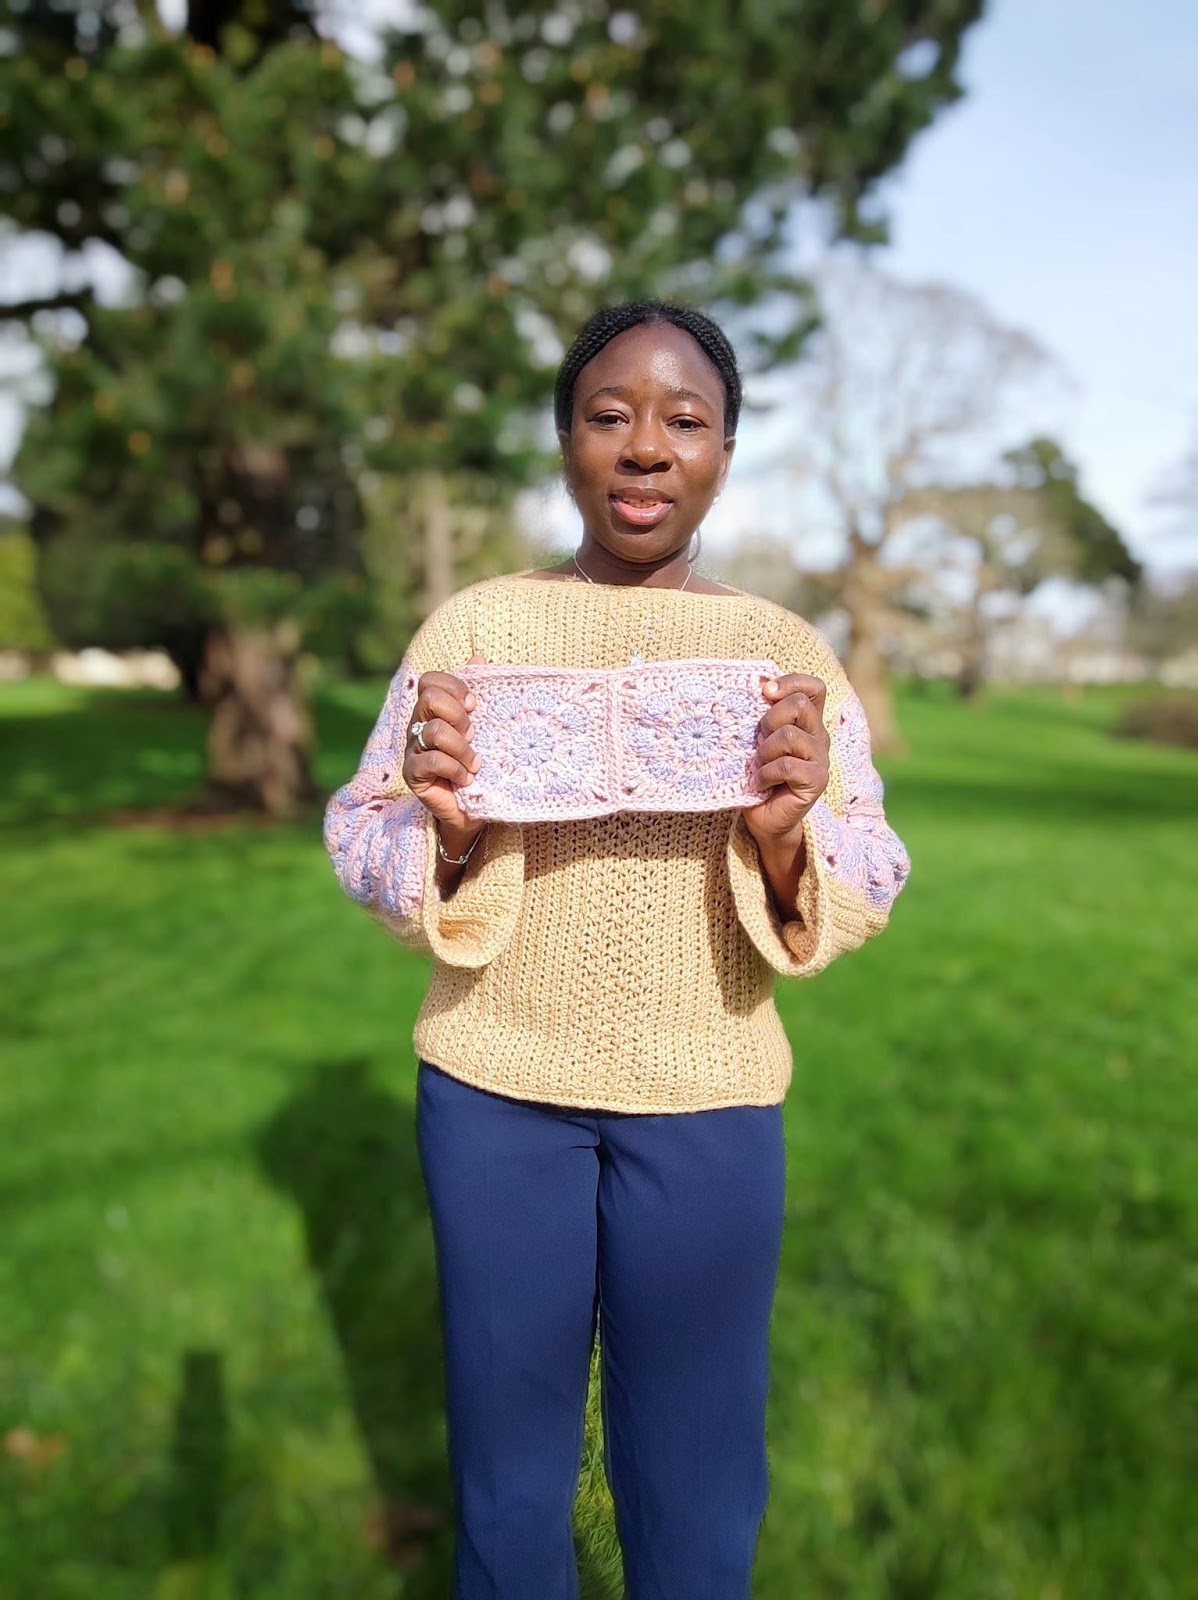
Crocheting squares can be a fun project. A few months ago, I fell in love with the African Flower Squares, and since then, I have wanted to design lovely projects using them.
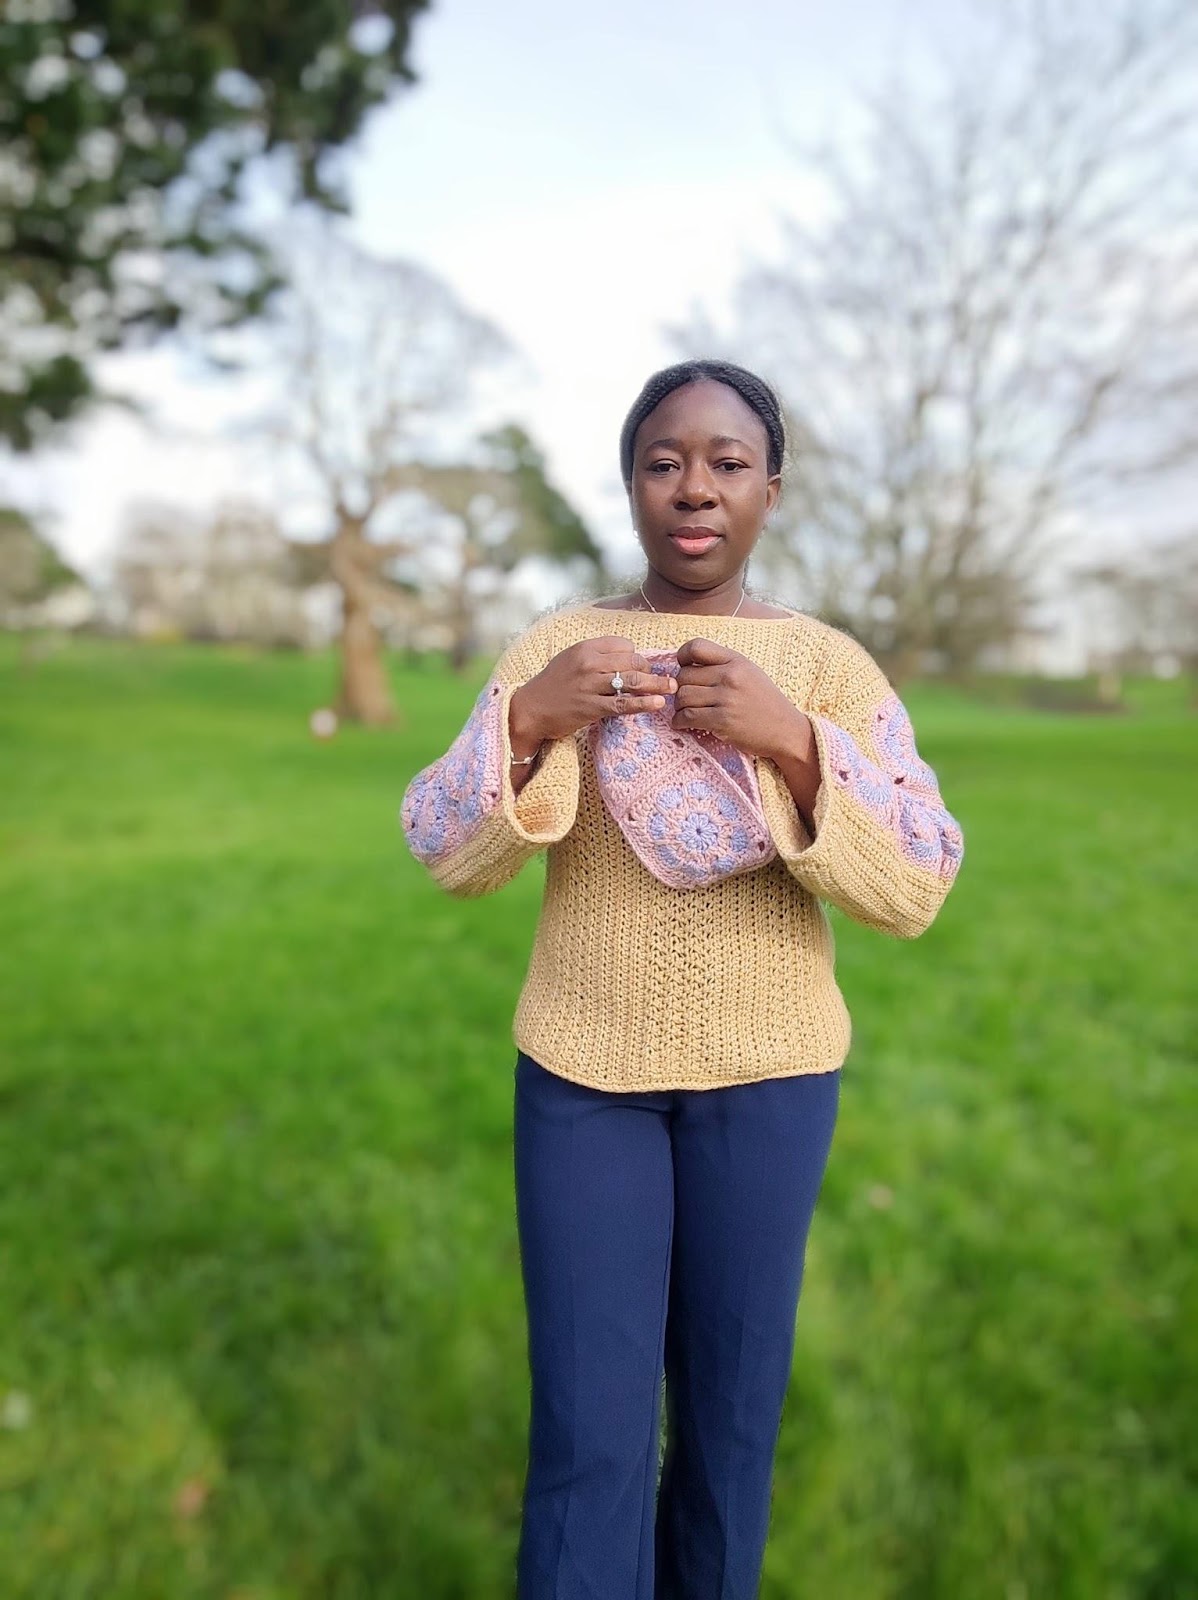
Crochet cardigan
Knee-length flower cardigan.
Flower Top
Squares insert for perfection.

Floral Bag
Take support to the next level.

Supplies needed for this easy flower headband project
Best yarn for this crochet flower headband pattern
The choice of flowers for this headband is not limited. This floral headband can be made using cotton, acrylic, or a blend of these yarns.
Pick a yarn with a wide range of colors. You can go to any length with your colors. This prototype was made using 2 colors!
Hobbii Portobello, Worsted weight, #4 (60% Cotton, 28% Acrylic, 12% Wool, 120 m (131 yds) per 50 g (1.75 oz) Ball)
Estimated Total Yardage
Main Color (MC) Purple = 20 Yards
The second color (CC), Peach = 20 yards
Hook – 5 mm Crochet Hook
Gauge – 15 sts over 8 Rows = 4 x 4” made in dc, before blocking.
Difficulty Level – Intermediate
Terms – US Terminology
African Flower Crochet Pattern Notes
- Please kindly read through the pattern before starting.
- Beginning chains count as a stitch throughout the pattern.
Stitches Abbreviations
Chain/chains – ch/chs
Chain space – ch sp
Stitch(es) – st(s)
Slip Stitch – sl st
Double crochet – dc
Floral Headband Finished Measurement:
This flower ear warmer is a simple project that can be customized to fit perfectly.
Each square measures about 5”; you need 4 separate squares.
The headband fits an adult with a head circumference of 20”
To adjust the finished size:
- You can go up or down the hook size.
- Adjust the yarn weight if necessary.
African Flower Headband Construction Notes
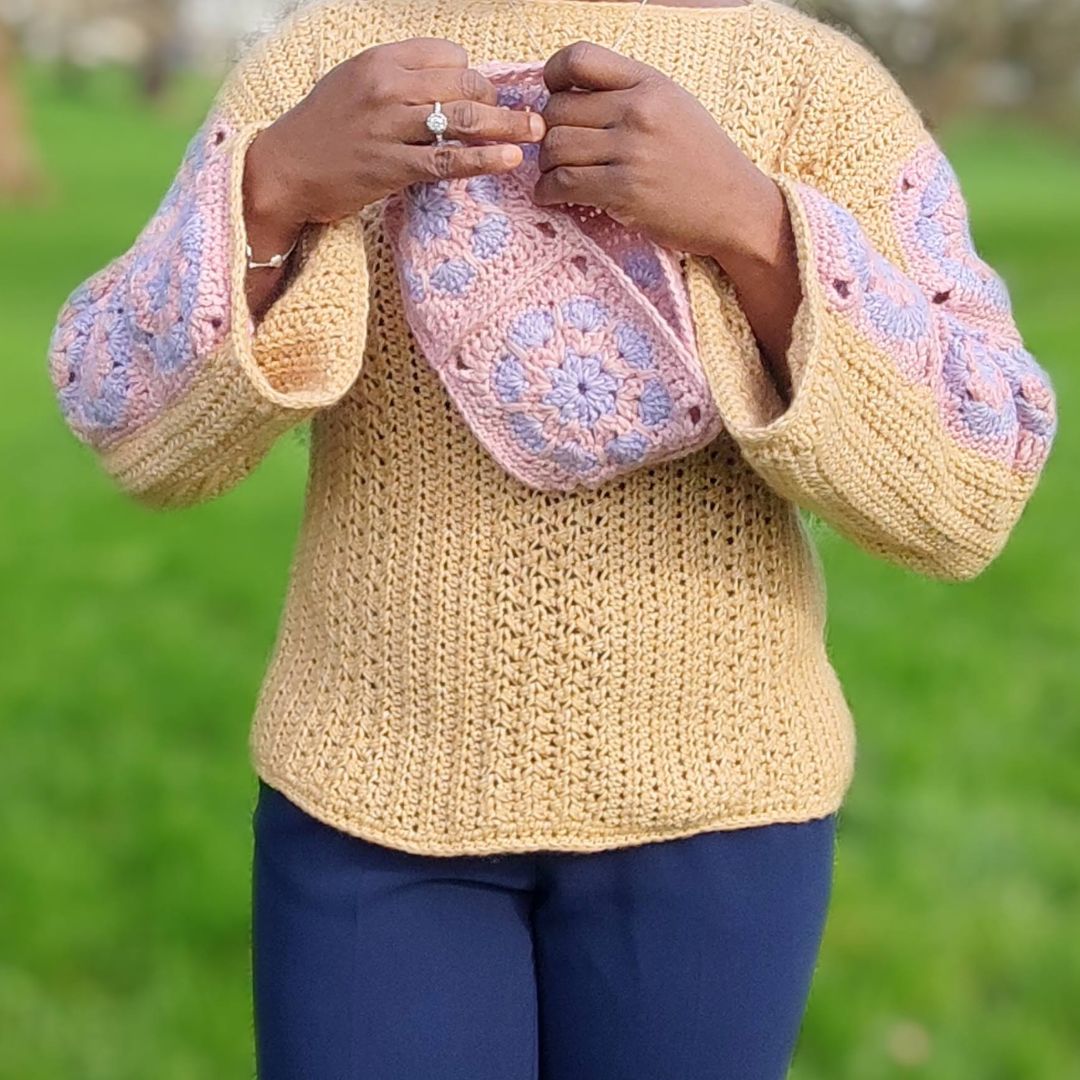
- This project is done in squares – you need 4 squares in all.
- The squares are then joined together.
Crochet Flower Headband Pattern
Section 1 – Squares
Make 4 pieces
Round 1: With MC, make a Magic ring, ch 3 (counts as the first dc, here and Throughout), dc, *ch 1, 2 dc, rep from * 6 more times, ch 1, join with a sl st to the beginning ch. 16 dc, 8 ch sps
Close the ring tightly.
Fasten off or drop yarn.
Join CC to any of the ch sps.
Round 2: Ch 3, dc, ch 1, 2 dc in ch 1 sp,*(2 dc, ch 1, 2 dc) in each ch 1 sp around, join. 32 dc, 8 ch sps
Fasten off CC and join MC to any of the ch sps.
Round 3: Ch 3, 5 dc in ch 1 sp, *6 dc each ch 1 sp, join. 48 dc
Fasten off MC and join CC, to any of the 3rd dc in the group of 6 dc from the round below.
Round 4: Ch 7 (counts as the first tr + ch 3), tr in same st, *dc in next 2 sts, hdc in next st, sc in next 5 sts, hdc in next st, dc in next 2 sts, (tr, ch 3, tr) in next st, rep from * 2 more times, dc in next 2 sts, hdc in next st, sc in next 5 sts, hdc in next st, dc in last 2 sts, join with a sl st to the 4th ch of the ch 7 starting chain. 8 tr, 16 dc, 8 hdc, 20 sc, 4 ch-3 sps.
Round 5: Ch 1, sc in each st around, aim for 3 sc in each ch 3 sp. 64 sc. Fasten off.
Joining the squares together
- Mark the edges with stitch markers.
- Use a crochet hook and a single crochet to connect the sides of the squares.
Finishing: Joining the squares together.
Step 1: Arrange the squares next to each other.
Step 2: Using your crochet hook and CC, join the squares together using a single crochet stitch over both sides; continue until you have joined the sides of the arranged squares together. All joining should be on the right side and across the 4 loops – 2 loops on each of the squares. This gives a beautiful “braid”.
Step 3: Gently fold the square into two to have the 4th square next to the 1st square. Join the sides of the remaining two squares left to the joined squares.
Step 4: Join CC with a sl st to any st on the headband opening.
Edging
Row 1: Ch 1, sc in each st around the top edge, join with a sl st to the beginning ch.
Row 2: Ch 1, sl st in each st around, join with a sl st to the beginning ch.
Repeat on the other opening.
I would love to see your finished version of this headband! Do tag me with your project.
More quick 30-minute or less crochet projects you can make in a sitting can be seen below.
30 minutes crochet beanie pattern
About the Designer
Say Hi on Instagram and Subscribe To my email List for pattern discounts and freebies. For questions, send such to [email protected]. Read more about me here.