Azure Crochet Boho Bag Pattern
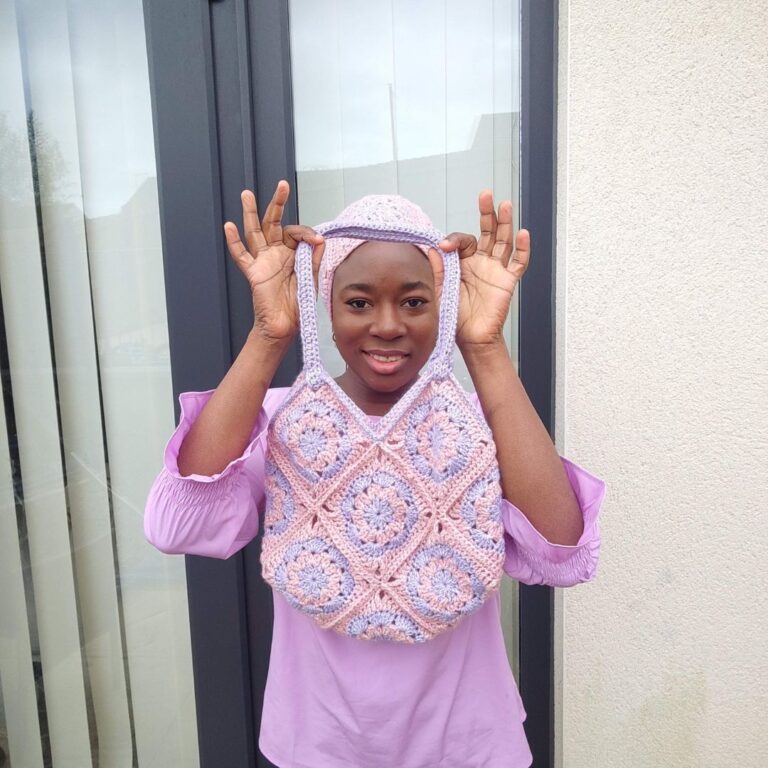
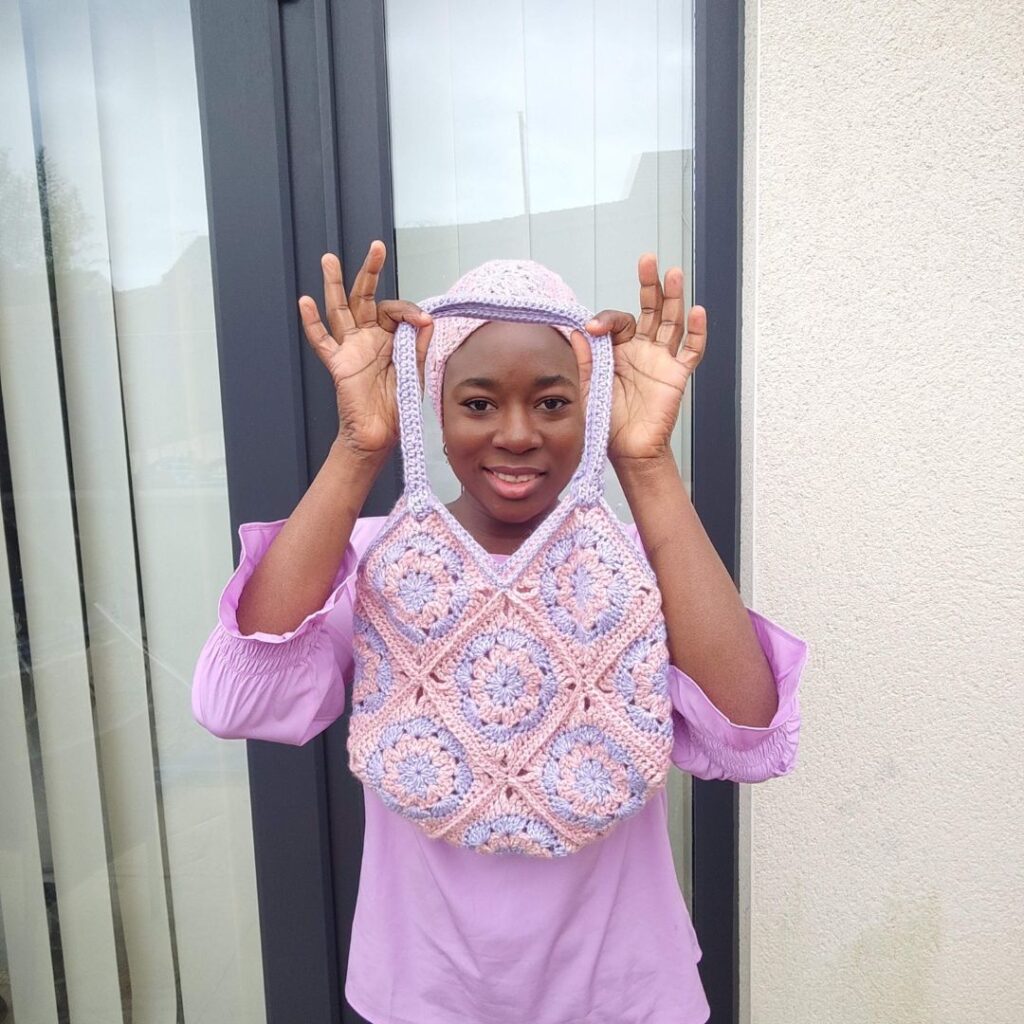
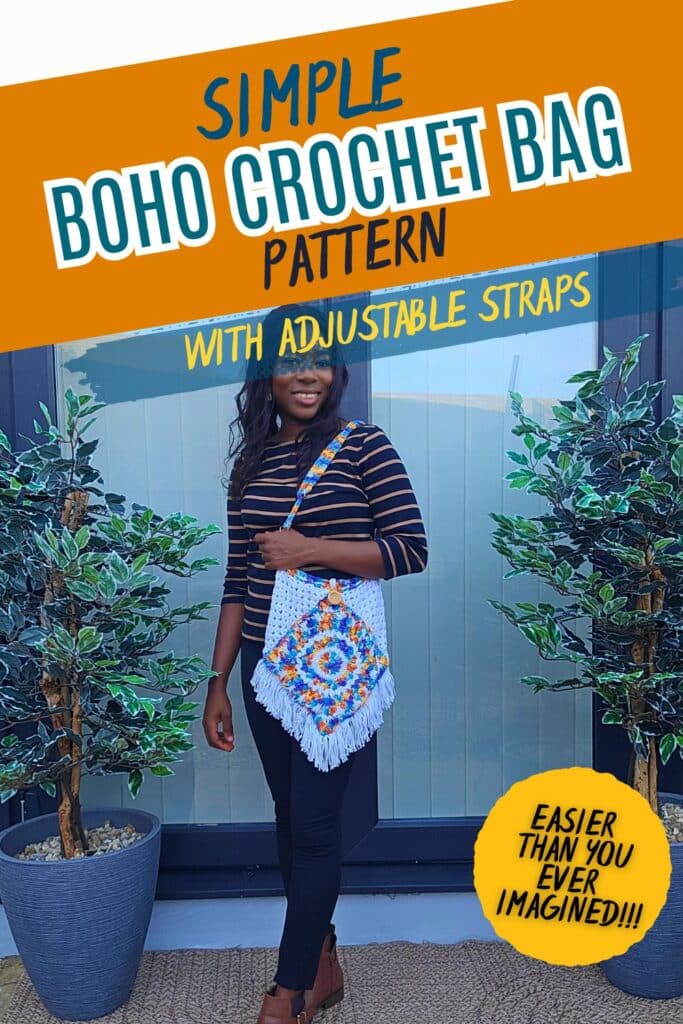
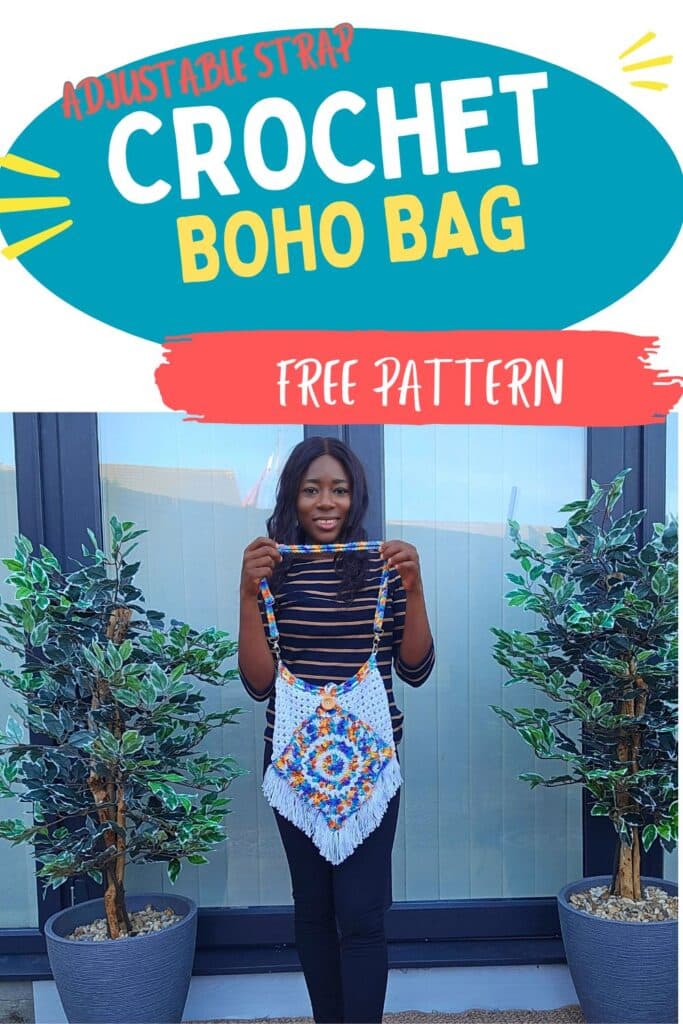
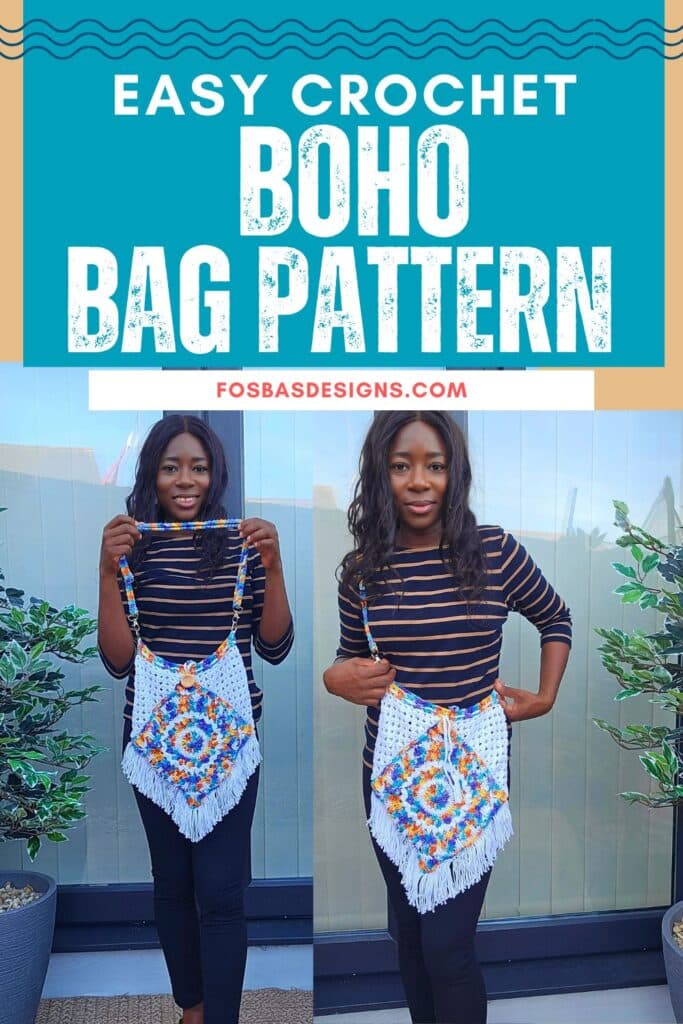
The Azure Crochet Boho Bag is a colorful and practical bag with a lovely boho look. The combination of square and triangle motifs creates its beautiful shape, while the fringes add a fun finishing touch.
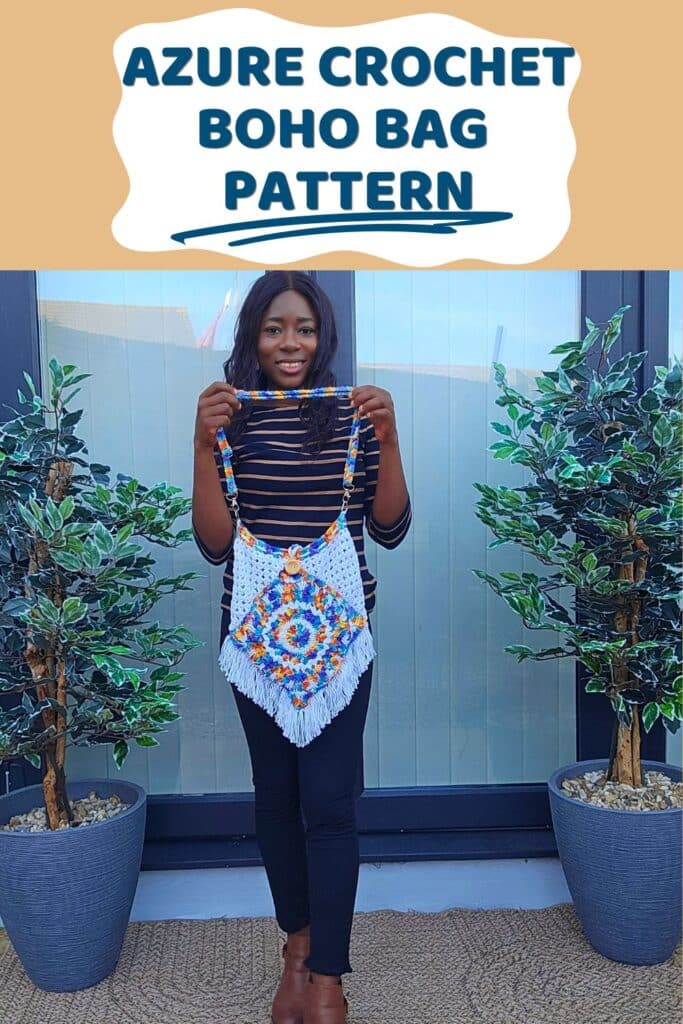
This pattern is suitable for advanced beginners and is written using US terminology.
Get this pattern
Some of the links in this description may be affiliate links, which means I may earn a small commission if you make a purchase through them, at no extra cost to you. Thank you for supporting Fosbas Designs and helping me continue to create crochet patterns and tutorials.
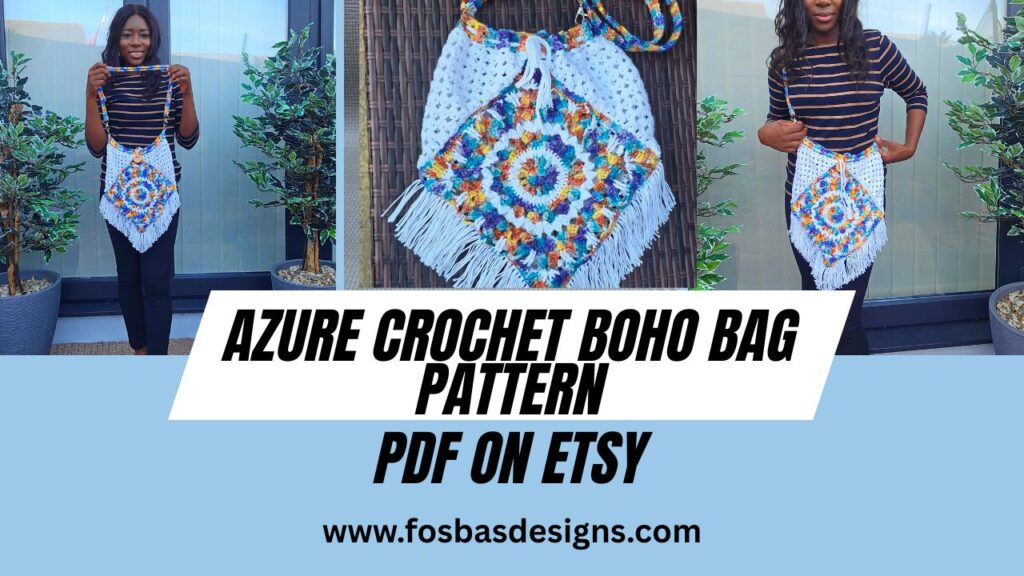
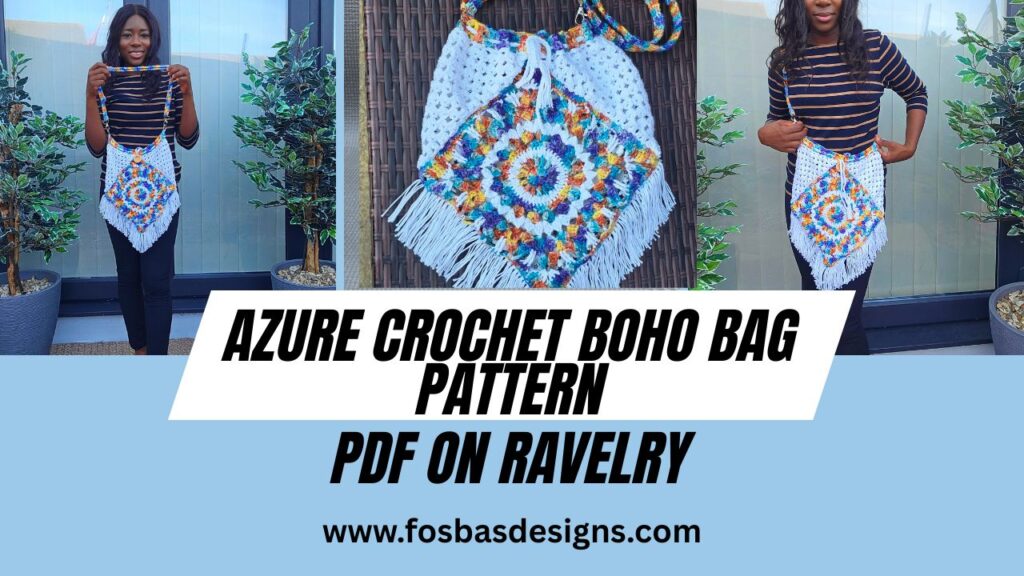
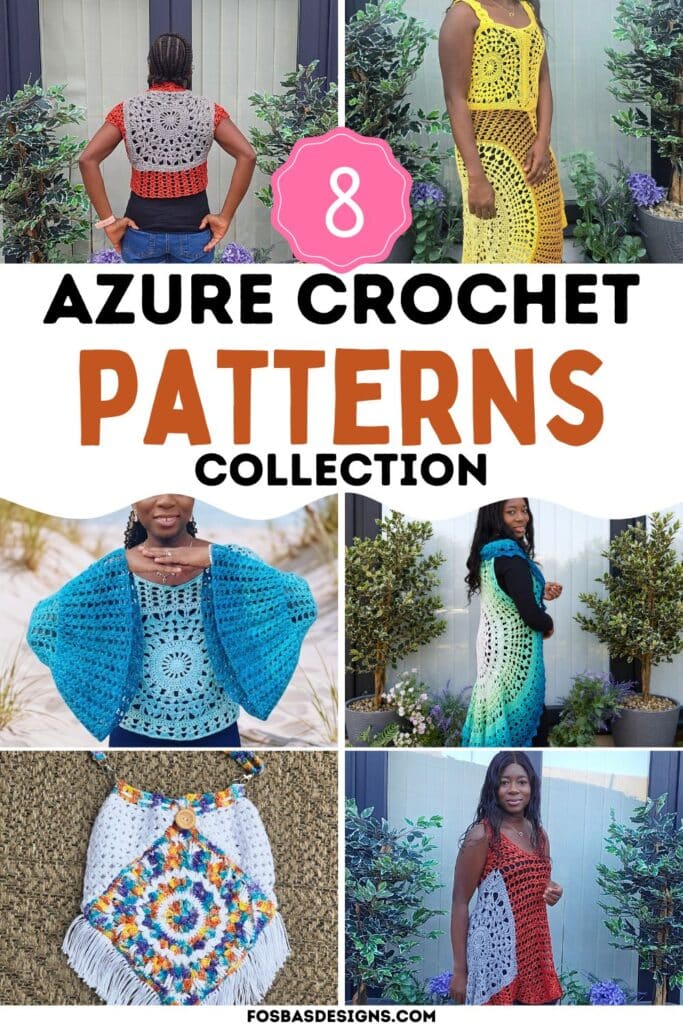
The Azure Crochet Boho Bag is one of eight beautiful designs in the Azure Crochet Patterns Collection. This special collection brings together colorful garments and accessories inspired by the Azure motif, giving you plenty of creative projects to enjoy. The completed collection will be available during the first week of September, so keep an eye out for the full release!
Get thE Boho Bag on Ravelry
Why You Will Love This Pattern
The Azure Bag is spacious, stylish, and perfect for everyday use. You can choose your favorite colors, adjust the handle length, and add a fabric lining if desired.
Materials
Yarn: Any DK weight yarn in two colors of your choice
Estimated Yardage
Color A: 200 yards
Color B: 60 yards
Other Materials
- 4 mm crochet hook or another suitable hook size
- Darning needle
- One 16 mm button
- Metal clasps – I used these – ½ inch.
- Fabric for lining
- Pair of scissors
- Sewing thread and needle – if you intend to line your bag
Finished Measurements
Bag: 9 by 13 inches
Handle: 15 inches, or your preferred length
Gauge
Rounds 1 to 3 should measure 4 inches.
Follow the pattern instructions and measure your work after Round 3.
Pattern Notes
- Please read through the pattern before starting.
- Chains at the beginning of rows count as stitches.
- The stitch count is written after each row.
Stitch Abbreviations
Magic ring: MR
Chain or chains: ch or chs
Slip stitch: sl st
Single crochet: sc
Double crochet: dc
2 double crochet cluster: 2 dc cl
Treble crochet: tr
Special Stitch
2 Double Crochet Cluster
- Yarn over and insert the hook into the same stitch.
- Yarn over and bring up a loop. You will have 3 loops on the hook.
- Yarn over and pull through 2 loops.
- Yarn over and insert the hook into the same stitch.
- Yarn over and bring up a loop. You will have 4 loops on the hook.
- Yarn over and pull through 2 loops.
- Yarn over and pull through all 3 remaining loops.
Construction
The Azure Crochet Boho Bag is made in two sections.
First, make two squares in rounds. Next, make two triangles in rows. Join the squares and triangles together to form the bag.
Add the lining if desired, then complete the bag with the adjustable handle and fringes.
Get the Pattern
The printable PDF version of the Azure Crochet Boho Bag pattern is available in my Etsy and Ravelry shops.
I would love to see your finished bag. Share your photos and tag Fosbas Designs on Instagram.
Happy crocheting!
Instruction
Squares – Make 2.
Round 1: In a MR, ch 3, 15 dc in the MR, join with a sl st to the top of the beginning ch 3. 16 dc
Close the MR tightly.
Round 2: Ch 5 (counts as dc + ch 2), *dc in next st, ch 2, rep from * around, join with a sl st to the 3rd chain from the beginning ch 5. 16 dc, 16 ch sps
Round 3: Ch 3 (counts as dc here and throughout), *2 dc in ch 2 sp, dc in next st, rep from * around, join with a sl st to the top of the beginning ch 3. 48 dc
Round 4: Ch 3, dc in each st around, join 48 dc
Round 5: Ch 3, (dc, ch 2, 2 dc-cl) in same st as ch 3, *ch 2, skip next 2 sts, (2 dc-cl, ch 2, 2 dc-cl) in next st, rep from * around, ch 2, join with a sl st to the top of beginning ch 3. 16 dc-cl set, 16 ch sps
Round 6: Ch 3, *skip dc-cl set, (3 dc, ch 3, 3 dc) in next ch sp, rep from * until the last ch 3 sp, (3 dc, ch 3, 2 dc) in last ch 3, join with a sl st to the 3rd chain from the beginning ch 3. 16 shell groups
Round 7: Ch 1, sl st into the next 3 sts and ch sp, ch 3 (3 dc, ch 4, 4 dc) in ch 3 sp, *(4 dc, ch 4, 4 dc) in next ch sp, rep from * until the end, join with a sl st to the 3rd chain from the beginning ch 3.
16 shell groups, 16 ch sps
Round 8: Ch 1, sl st into the next 3 sts and ch sp, ch 3 (3 dc, ch 4, 4 dc) in ch 4 sp, skip next 4 sts, 2 dc in next st, *(4 dc, ch 4, 4 dc) in next ch sp, skip next 4 sts, 2 dc in next st rep from *until the last 8 sts, skip next 4 sts, 2 dc in next st, join with a sl st to the 3rd chain from the beginning ch 3.
16 shell groups, 16 ch sps, 32 dc
Transforming into a square
Round 9: Ch 1, sl st into the next 3 sts, ch 2(does not count as a stitch), {(3hdc, ch 4, 3 hdc) in ch 4 sp – corner made, *ch 3, skip next 4 sts, tr in next 2 sts, ch 3, sc in next ch sp, rep from * 2 more times, ch 3, skip next 4 sts, tr in next 2 sts, ch 3}, rep { } 3 more times, ch 3, join with a sl st to the 3rd chain from the beginning ch 2.
24 hdc, 32 ch sps, 12 sc, 4 corners, 32 tr
Round 10: Ch 4 (counts as first tr), tr in next 2 sts, *(3 tr, ch 3, 3 tr) in ch 4 sp – corner made, tr in next 3 sts, 4 dc in ch 3 sp, hdc in next 2 sts, {3 sc in next ch 3 sp, sc in next st, 3 sc in next ch 3 sp, sc in next 2 sts} rep { } one more time, 3 sc in next ch 3 sp, sc in next st, 3 sc in next ch 3 sp, hdc in next 2 sts, 3 dc in ch 3 sp, tr in next 3 sts, rep from * 2 more times, tr in next 3 sts, 4 dc in ch 3 sp, hdc in next 2 sts, {3 sc in next ch 3 sp, sc in next st, 3 sc in next ch 3 sp, sc in next 2 sts} rep { } one more time, 3 sc in next ch 3 sp, sc in next st, 3 sc in next ch 3 sp, hdc in next 2 sts, 3 dc in ch 3 sp, join with a sl st to the 3rd chain from the beginning ch 3. 4 corners, 48 tr, 32 dc, 16 hdc, 100 sc (196 sts in total)
Round 11: Ch 3, *dc in each until corner, (2 dc, ch 3, 2 dc) in ch 3 sp, rep from *around, join with a sl st to the beginning ch. 204 dc
Section 2: Triangles
Make 2
Row 1: In a MR, ch 4 (counts as first dc + ch 1, here and throughout), 3 dc, ch 3, 3 dc in Mr, ch 1, dc, turn. 8 dc
Place a stitch marker in ch 3 space and move it after every row.
Close MR tightly
Row 2: Ch 4, *(2 dc-cl, ch 2, 2 dc-cl) in next ch 1 sp, ch 1, {(2 dc-cl, ch 2, 2 dc-cl), ch 3, (2 dc-cl, ch 2, 2 dc-cl)}, in ch 3 sp, ch 1, rep from * until the end, dc in last st, turn. 4 dc-cl set, 2 dc.
Row 3: Ch 4, *(2 dc-cl, ch 2, 2 dc-cl) in next ch 1, ch 1, rep from * until stitch marker, {(2 dc-cl, ch 2, 2 dc-cl), ch 3, (2 dc-cl, ch 2, 2 dc-cl)}, in ch 3 sp, ch 1, rep from * until the end, dc in last st, turn.6 dc-cl set, 2 dc.
Rows 4 – 10: Rep Row 3
Edging
Crochet around the whole triangle.
Round 1: Ch 2, hdc in each st, hdc in ch 1 sp, 2 hdc in each ch 2 sp, (2 hdc, ch 2, 2hdc) in ch 3 sp.
Continue across the edge sc in each st across; join with a sl st to the beginning ch.
Fasten off.
How to line your bag.
Square
Step 1: Measure the squares
Measure the dimensions of your square panel and add a seam allowance of about ½ inch on all sides for the side seams and bottom seam.
Step 2: Cut Your Fabric
Using the measurements from Step 1, cut out two pieces of fabric for the sides of the lining, ensuring they’re of the correct size.
Step 3: Prepare the Top Edge.
Turn the bag lining right side out. Fold the top edge of the lining inward to create a top hem. Press this fold with an iron for a crisp edge, or simply finger-press. This top hem should be about ½ inch, but adjust according to the top edge of your crocheted bag.
Step 4: Place the Lining over your Crochet square.
With the lining prepared, place it over your crochet bag, ensuring the wrong sides are together, meaning the right (outer) side of the lining faces the inside of the crochet bag. Align the top hem of the lining with the top edge of the bag. If your bag has handles, ensure the lining fits snugly around it.
Step 5: Sew the Lining to the Bag.
Using a whip stitch or slip stitch, hand-sew the top of the lining to the top of the bag. For a neater finish, you can use a blind stitch. Ensure your stitching is close to the top edge for a seamless look.
Repeat for the second square.
Follow the instructions for the two triangles.
I skipped this step for mine.
Step 6: Finishing Touches.
Once the lining is securely attached to your crochet bag, check the inside for any loose threads or uneven seams.
Joining
Fold the triangles into two and position these next to the squares placed in a diamond shape.
Turn the set up to the wrong side.
Step 1: Sew the triangles to the squares.
Step 2: Using only the inner loops, sew the lower end of the squares together. The unjoined loops would be used for adding the fringes.
Turn back to the right side.
Join MC with a sl st to any point on the upper end of the bag.
Round 1: Ch 4, *skip next 3 sts, (2 dc-cl, ch 2, 2 dc-cl) in next st, ch 1, rep from * until the end, dc in last st, join with a sl st the 3rd ch from the beginning ch.
Round 2: Ch 4, *(2 dc-cl, ch 2, 2 dc-cl) in next ch 2, rep from * until the end, dc in last st, join with a sl st in the 3rd ch from the beginning ch.
Fasten off.
Rope
With CC, chain 201, sl st to the 2nd ch from hook and in each ch across.
Fasten off
Sew in all ends and set aside.
Handle
Row 1: Ch 4, and use the thermal stitch, continue until have your desired length.
Last row: Ch 1, going through BOTH loops of the current row AND the open loop from the previous row (for three loops total), sc across.
Leave a long tail of yarn and sew the end to one side of the purse.
Sew the other end of the strap to the corresponding side of the purse.
Option two: Using the metal clasps
Adding the Adjustable Strap
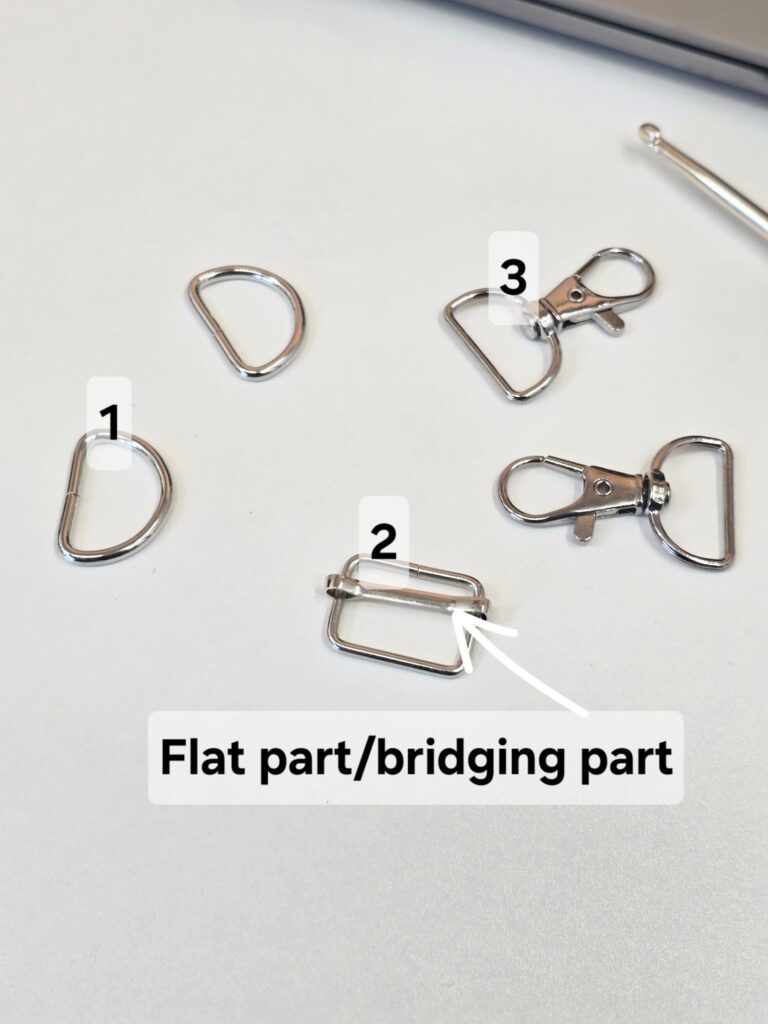
Metal Hardware
Number 1: D rings
Number 2: Strap adjuster with a centre bridge
Number 3: Swivel clasps with straight strap bars
Instructions
Step 1: Sew one D ring, labelled Number 1, securely to each side of the bag.
Step 2: Pass one end of the handle through the straight bar at the bottom of one swivel clasp, labelled Number 3. Fold the end back by approximately ½ inch and sew it securely to the handle.
Step 3: Take the free end of the handle and pass it through one opening of the strap adjuster, labelled Number 2. Guide the handle over the centre bridge and down through the second opening. Pull approximately 10 inches through.
Step 4: Pass the same free end through the straight bar of the second swivel clasp, labelled Number 3. Check that the handle is lying flat and is not twisted.
Step 5: Bring the free end back towards the strap adjuster. Pass it through the opening closest to the second swivel clasp, guide it around the centre bridge, and pull it through the remaining opening.
Step 6: Fold the end back by approximately ½ inch and sew it securely near the centre bridge. This will hold the adjuster in place while allowing the handle length to be changed.
Step 7: Attach both swivel clasps to the D rings on the bag. Slide the adjuster along the handle to shorten or lengthen the strap.
Frequently Asked Questions
Is the Azure Crochet Boho Bag suitable for beginners?
The pattern is suitable for advanced beginners who are comfortable with basic crochet stitches, working in rounds, and following written instructions.
What yarn should I use?
You can use any DK weight yarn in two colors of your choice.
How much yarn will I need?
You will need approximately 200 yards of Color A and 60 yards of Color B.
What size is the finished bag?
The finished bag measures approximately 9 by 13 inches. The handle measures 15 inches and can be adjusted to your preferred length.
How is the bag constructed?
The bag is made using two squares worked in rounds and two triangles worked in rows. The pieces are joined before adding the handle and fringe.
Can I add a lining?
Yes. You can add a fabric lining to give the bag extra structure and help protect the crochet fabric.
Where can I purchase the pattern?
The printable digital pattern is available from the Fosbas Designs Etsy and Ravelry shops.
Is this pattern included in the Azure Collection?
Yes. The Azure Crochet Boho Bag is one of eight patterns in the Azure Crochet Patterns Collection. The complete collection will be available during the first week of September.
The Azure Crochet Boho Bag is a colorful advanced beginner project made with DK weight yarn. Square motifs, triangle panels, an adjustable strap, and fringe give the bag its beautiful boho style. It is one of eight designs in the Azure Crochet Patterns Collection.
1 FREE DOWNLOAD PER MONTH
WITH JUST $3 PER MONTH!
- Pick your desired pattern each month.
- It can be a new or old pattern.
2 FREE DOWNLOADS PER MONTH
WITH JUST $5 PER MONTH!
- Pick your desired patterns each month.
- It can be a new or old pattern.
- You get 2 patterns per month.

3 FREE DOWNLOADS PER MONTH
WITH JUST $8 PER MONTH!
- Pick your desired patterns each month.
- You get 3 free patterns per month.
- It can be a new or old pattern.

About the Designer
Say Hi on Instagram and Subscribe To my email List for pattern discounts and freebies. For questions, send such to [email protected]. Read more about me here.
Buy this pattern for $6.50, or get it free with a membership from $3 a month.
Buy the PDF
Hi, I’m Susanna!
I am Susanna, the designer and maker behind Fosbas Designs. Here, I share not only crochet designs but also the inspirations and process of each project. I am a happy mother of two handsome boys and a wife to my prince charming. These guys are…
More about me