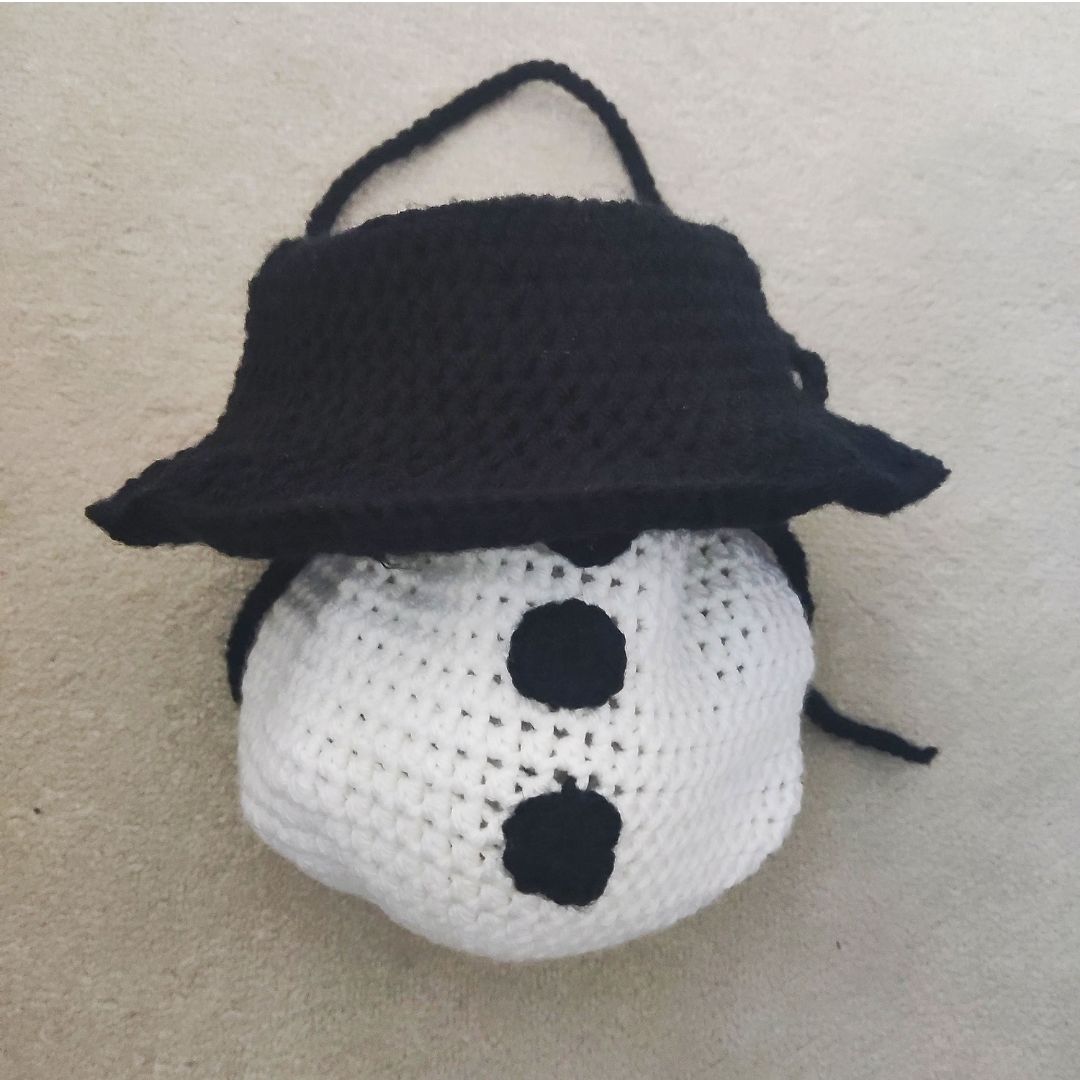
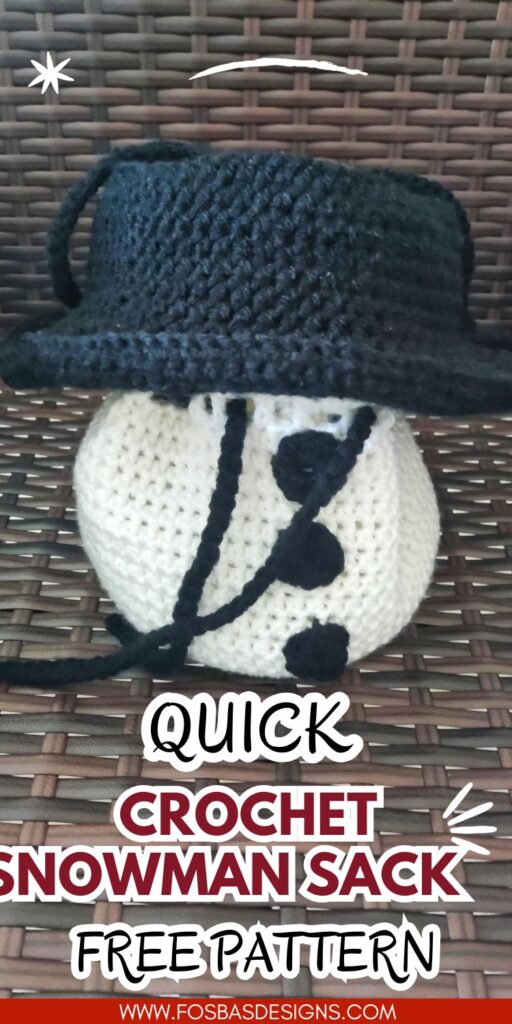
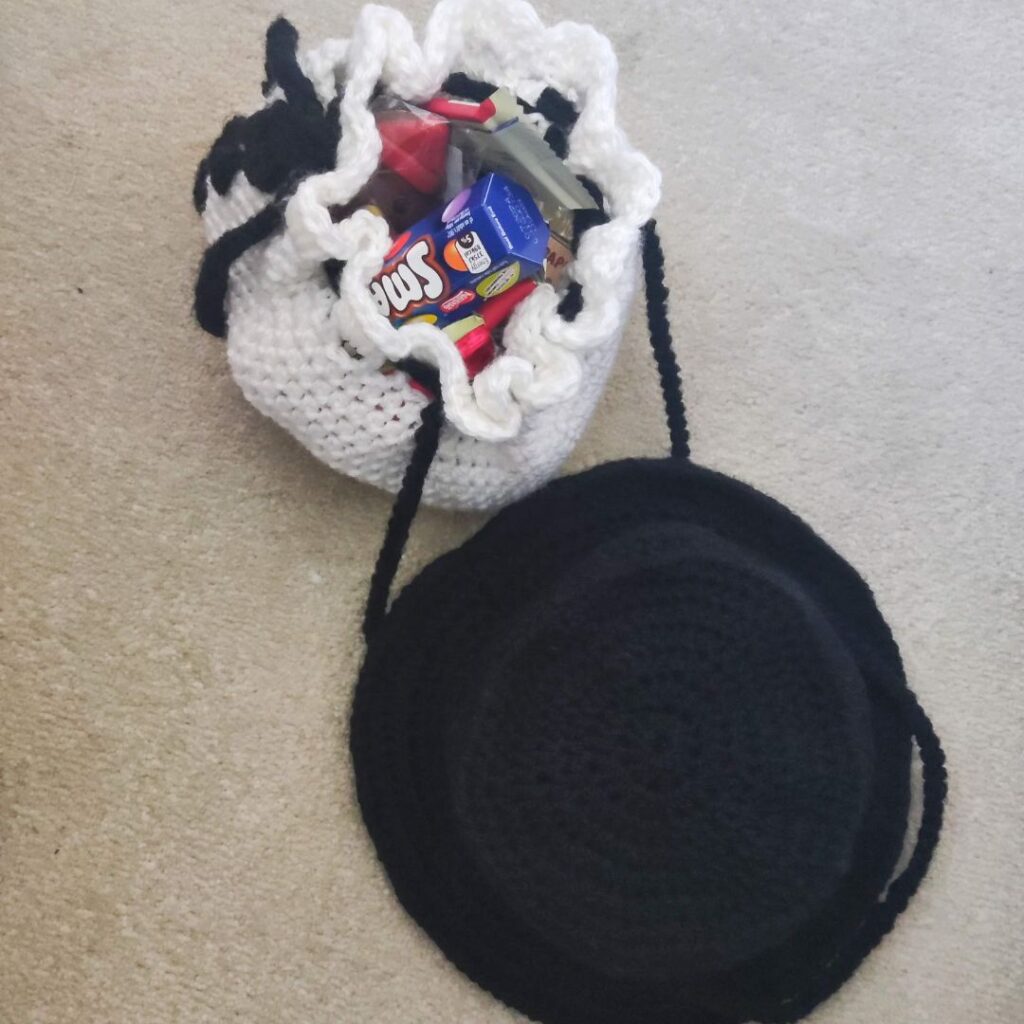
I always love the concept of adding a twist to my projects. This crochet snowman sack pattern is one! As part of the fun Christmas Crochet Ideas, you get the snowman sack to hand out your treats this Christmas.
Get a copy of the ad-free version on Ravelry and on ETSY
Materials needed for this fun Crochet snowman sack pattern
Stylecraft Special Aran, (#4, 100% Acrylic, 196 m per 3.5 oz/100g Ball)
ESTIMATED YARDAGE
200 yards for color A (White)
100 yards for color B (Black)
HOOK AND OTHER MATERIALS
4.5 mm Crochet Hook
Yarn needle
Gauge
14 sts over 10 rows = 4 x 4” made in hdc, before blocking.
Adjust hook size if necessary, to obtain gauge.
PATTERN NOTES
Please kindly read through the pattern before starting.
Any # 4 weight yarn can be substituted
Skill Level – Advanced Beginner
TERMS – US Terminology
STITCHES ABBREVIATIONS
Chain(s) – ch(s)
Stitch(es) – st(s)
Single Crochet – sc
Half Double crochet – hdc
Double crochet – dc
Back Loop Only – BLO
Repeat – Rep
Shell – 6 dc in indicated stitch
Construction Note
This project is made in 2 sections
Section 1 – The body of the bag is made in rounds.
Section 2 – The hat
Finished measurements
Base of bag – 6”
Height of Bag – 6”
Hat – 5” by 3.5”
How to Crochet Snowman Sack Free Pattern
Section 1 – Bag
Base
With White
Round 1: In a magic ring, ch 2 (does not count as a stitch), 12 hdc in magic ring, join with a slip stitch to the top of the first stitch of the round 12 hdc
Round 2: Ch 2, 2 hdc in each around, join. 24 hdc
Round 3: Ch 2, *hdc in next, 2 hdc in next, repeat from * around, join. 36 hdc
Round 4: Ch 2, *hdc in next 2 sts, 2 hdc in next, repeat from * around, join. 48 hdc
Round 5: Ch 2, *hdc in next 3 sts, 2 hdc in next, repeat from * around, join. 60 hdc
Round 6: Ch 2, *hdc in next 4 sts, 2 hdc in
next st, repeat from * around, join. 72 hdc
Body
Rounds 1 – 14: Ch 2, hdc in each st around, join. 72 hdc
Edging
Round 15: Ch 4 (counts as the first dc and ch 1), skip next st, dc in next st, ch 1, rep from * around, join. 36 DC/Ch sps
Round 16: Ch 3, 5 dc in first ch sp, *sc in next ch sp, 6 dc in next ch sp, rep from * around, , join. 16 shells.
Fasten off.
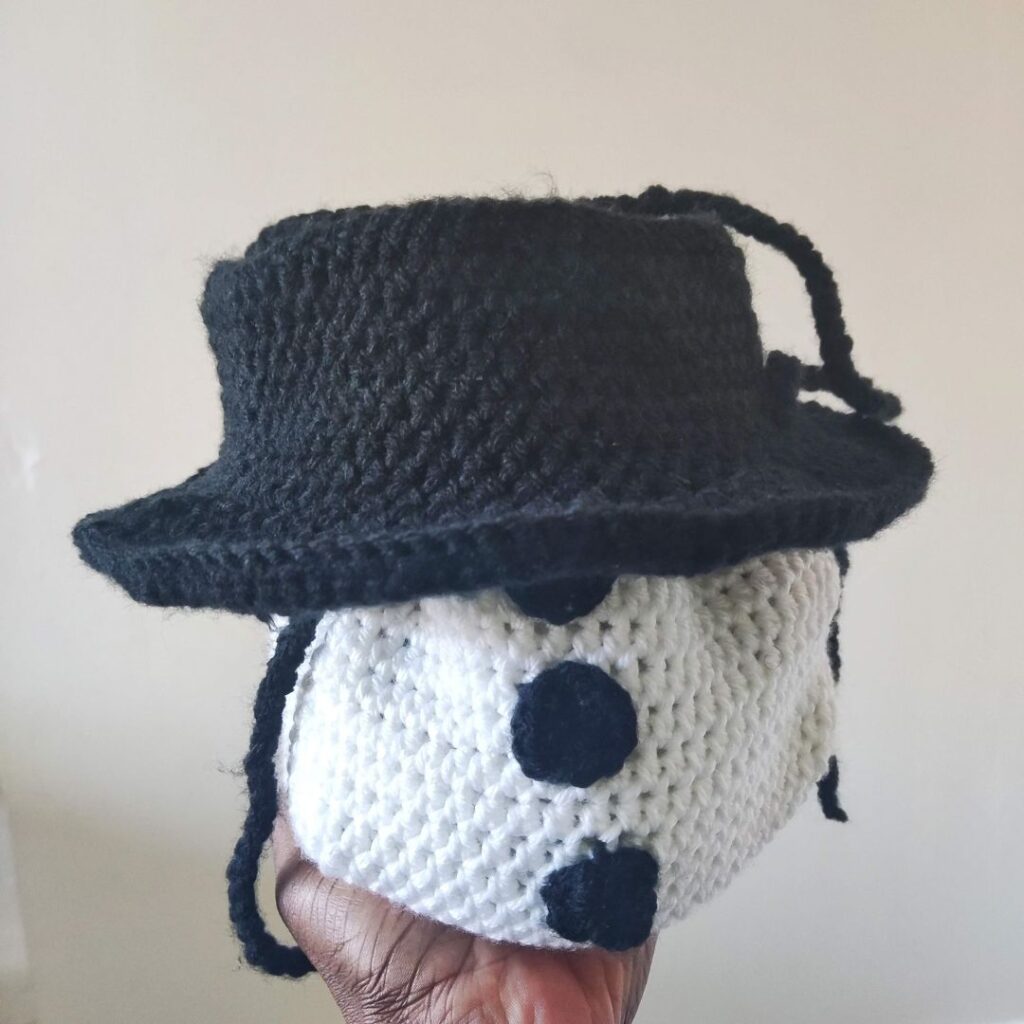
Section 2 – Snowman Hat
Make 2
With Black Yarn Round 1: In a magic ring, ch 2 (does not count as a stitch), 12 hdc in magic ring, join with a slip stitch to the top of the first stitch of the round 12 hdc
Round 2: Ch 2, 2 hdc in each around, join. 24 hdc
Round 3: Ch 2, *hdc in next, 2 hdc in next, repeat from * around, join. 36 hdc
Round 4: Ch 2, *hdc in next 2 sts, 2 hdc in next, repeat from * around, join. 48 hdc
Round 5: Ch 2, *hdc in next 3 sts, 2 hdc in next, repeat from * around, join. 60 hdc
Round 6: Ch 2, *hdc in next 4 sts, 2 hdc in
next st, repeat from * around, join. 72 hdc
Body
Round 1: Ch 2, in BLO, hdc in each st around, join. 72 hdc
Rounds 2 – 7: Ch 2, hdc in each st around, join. 72 hdc
Brim
Round 8: Ch 2, *2 hdc in next st, hdc in
next st, repeat from * around, join. 108 hdc
Rounds 9 – 10: Ch 2, hdc in each st around, join. 108 hdc
Fasten off.
Place the hats on ech other and sew the edge of the brim together.
Fasten off and sew in all ends.
Section 3: Buttons
Make 3
You can sew large black buttons instead.
With black yarn
Round 1: In a magic ring, ch 2 (does not count as a stitch), 6 hdc in magic ring, join with a slip stitch to the top of the first stitch of the round. 6 hdc
Fasten off
Buttons
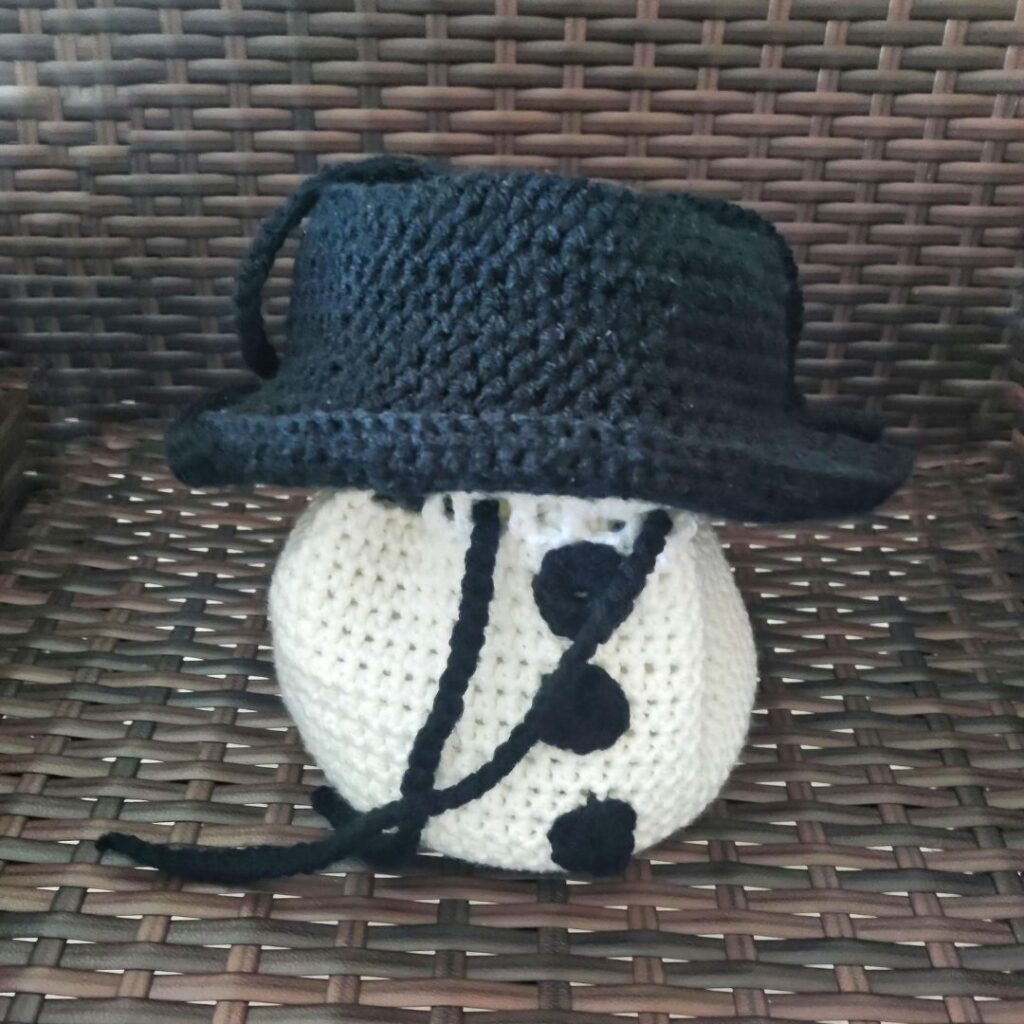
Sew the buttons to the body of the bag, and make sure to space the 3 buttons equally.
Section 4: Finishing
Drawstring – With Black, chain 310
Adjust the number for a perfect length as desired. Fasten off, sew in all ends.
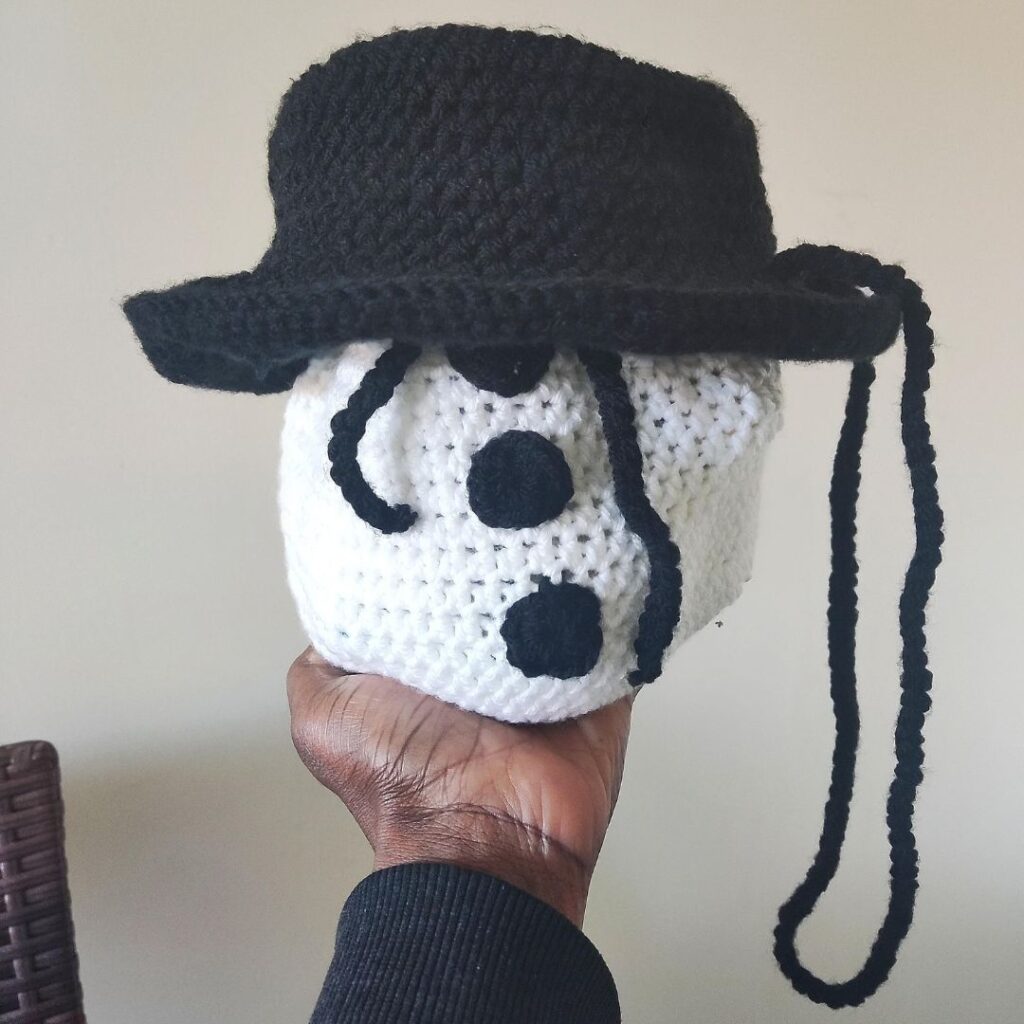
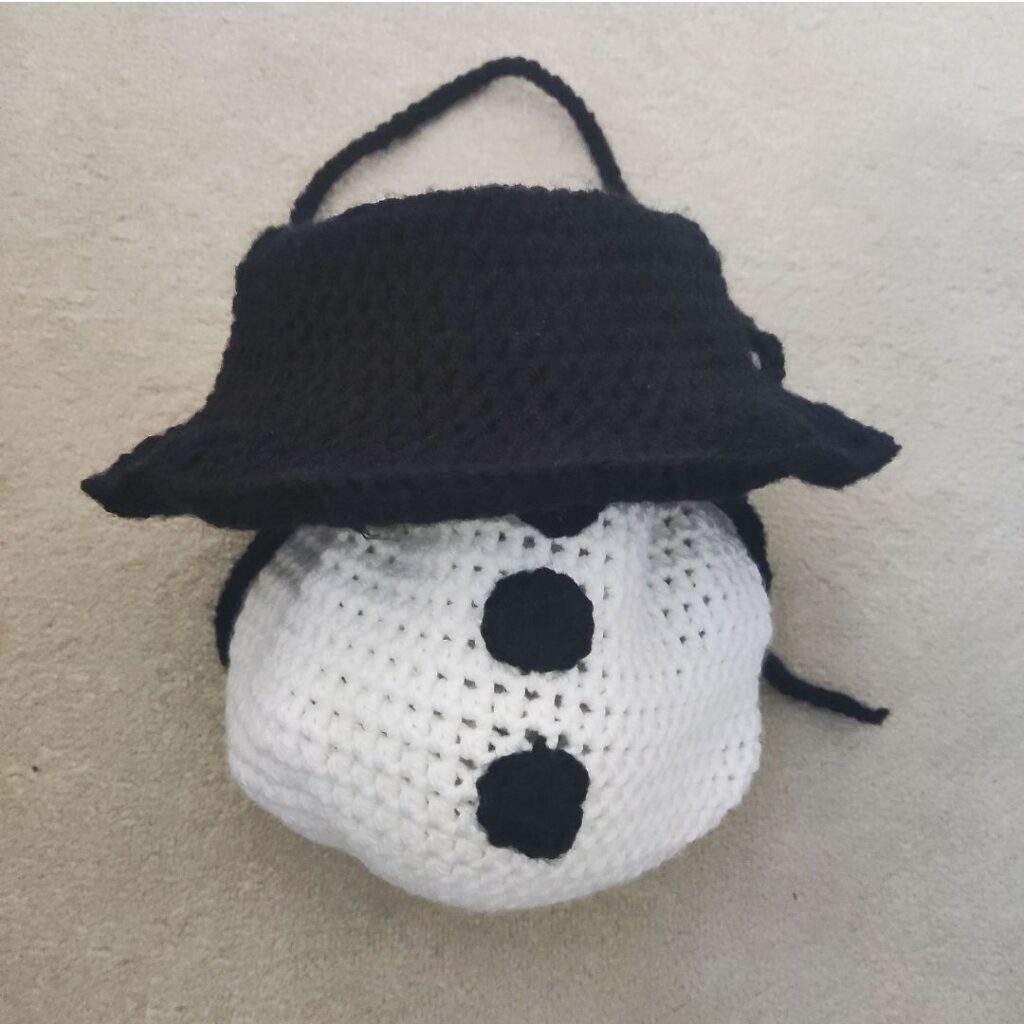
To assemble
Pick up the hat
Pass the rope through the first round of the hat brim at an equal distance on the other side, and pass the other end of the rope through the brim of the hat.
Locate the 3:00 on the bag, with the part with the buttons located at 6:00.
Thread the first end of the rope through 3:00 and continue anticlockwise towards 6:00.
Locate the 9:00 on the bag, with the part with the buttons located at 6:00.
Thread the second end of the rope at 9:00 clockwise towards 6:00.
Secure the rope to prevent it from pulling out.
I would love to see your version of this snowman sack!
More quick 30-minute or less crochet projects you can make in a sitting can be seen below.
27 Hello crochet enthusiasts and dinosaur lovers of all ages, It is time for some amazing crochet Dinosaurs. I hope you find some fun projects using these free dinosaur patterns that you can make yourself. Get ready to unleash your creativity and embark on a fun-filled crochet adventure! Pin this post for later Why Crochet Dinosaurs? Crochet dinosaurs have gained immense popularity in…
67 If you are looking for the combination of comfort, warmth and style, then this Crochet Ear Muffs Cover Pattern is for you! Crochet covers can add an extra layer of insulation, making your earmuffs warmer and cozier during cold weather. The soft texture of yarn can be more comfortable against the skin than some factory-made…
109 A lady can never have enough sweaters, especially when they are handmade. This Crochet V-neck sweater was designed to be fitted, and I love every inch of it. I hope you do love it as much as I do. My mood mainly decides the fit and type of my sweaters. I know this seems trivial…
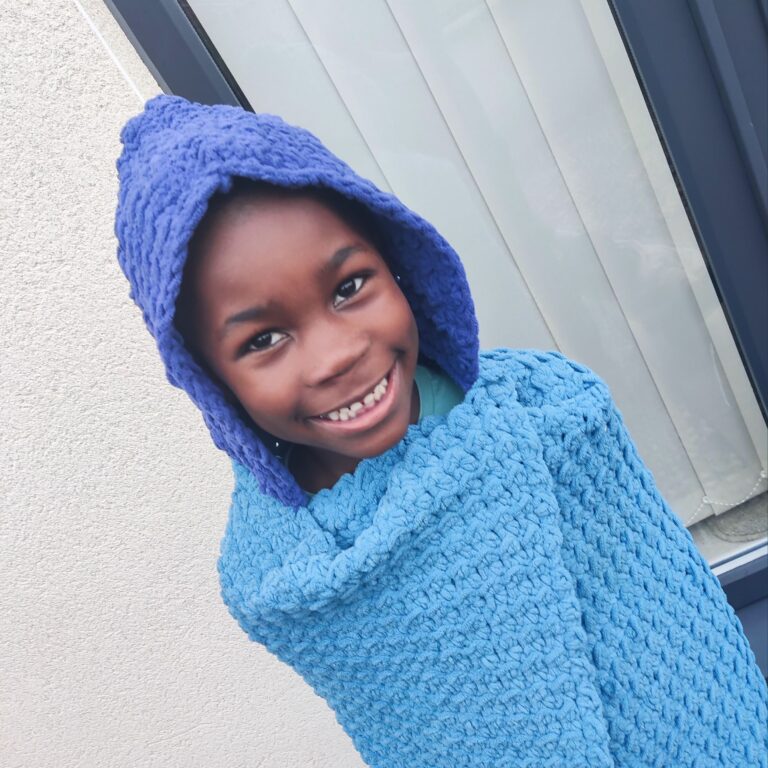
262 Have you ever seen those beautiful, hooded blankets and wondered if you could replicate such with your crochet? This post is going to show you the pro tips on how to add a hood to a crochet blanket. While making this hooded blanket for my son, I decided to make a post detailing my go-to…
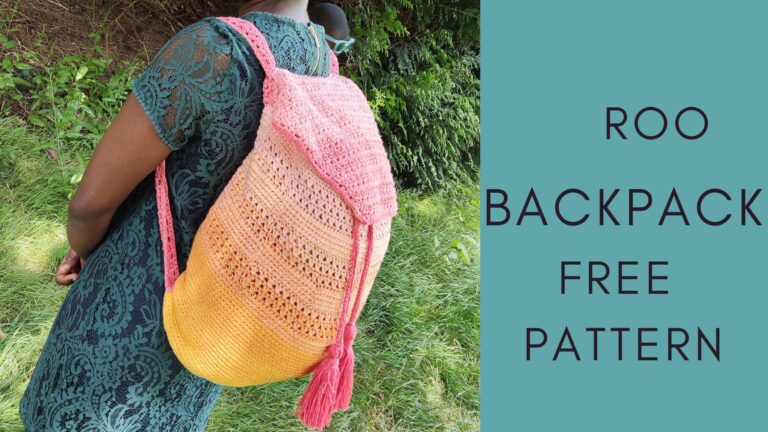
118 A crochet backpack is a fun way to use yarn to create a beautiful bag. I have always fancied backpacks. It’s easier to move around and get a hand free without having a lot of tiny pieces of stuff all hanging on me. This backpack is unique in so many ways! I wanted a big…
110 Making an easy crochet coaster pattern is so much fun and also a quick project that can be made over a very short period of time. Crochet coasters are one of the quick crochet items that can be made over a very short period of time. Since you love this easy rochet coaster pattern, you…