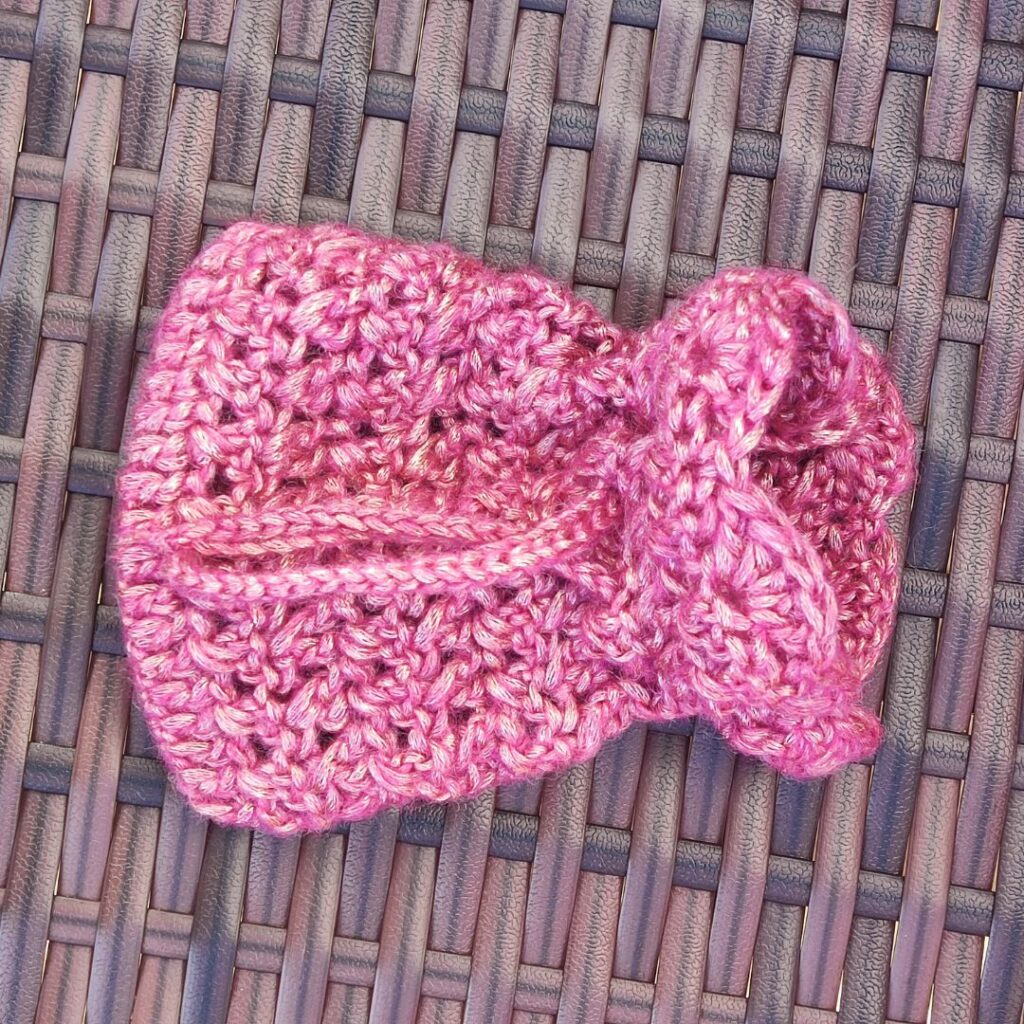
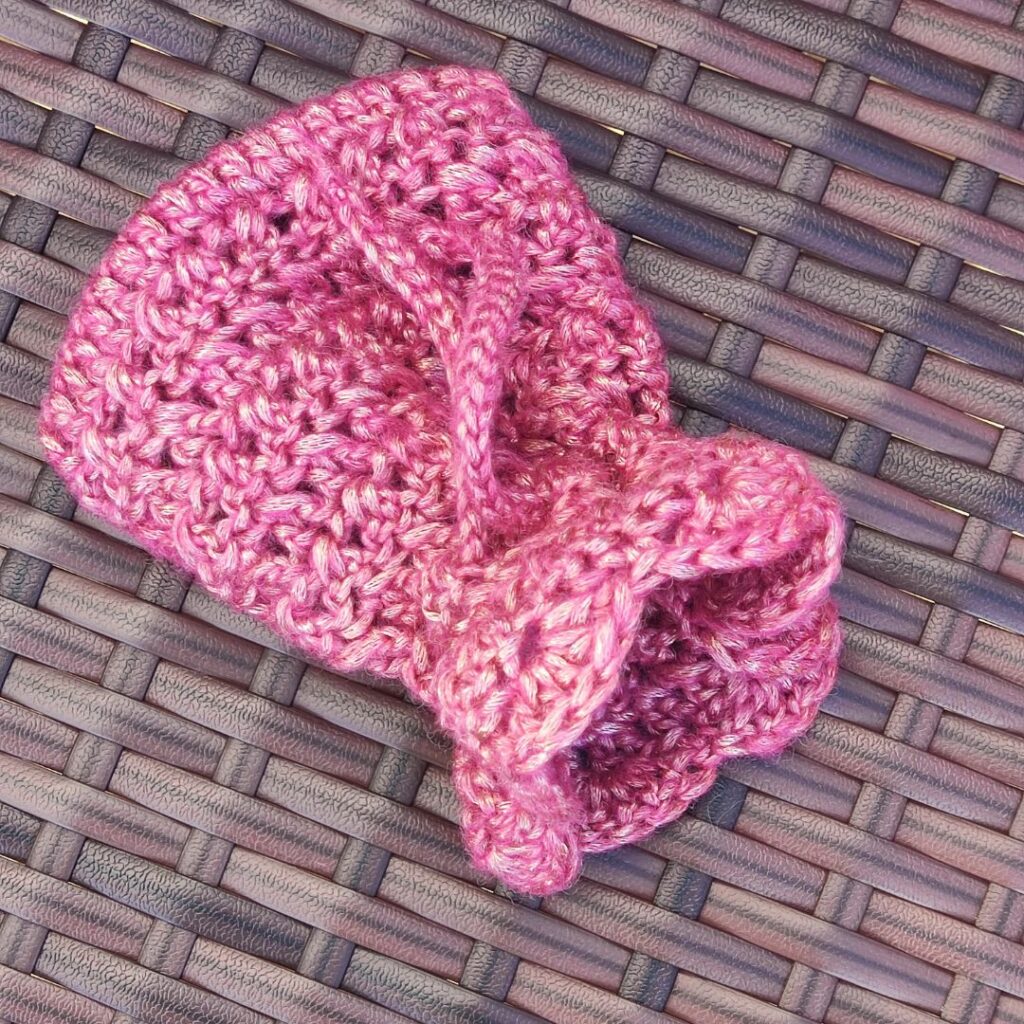
Crochet Mini Purse Bag Free Pattern
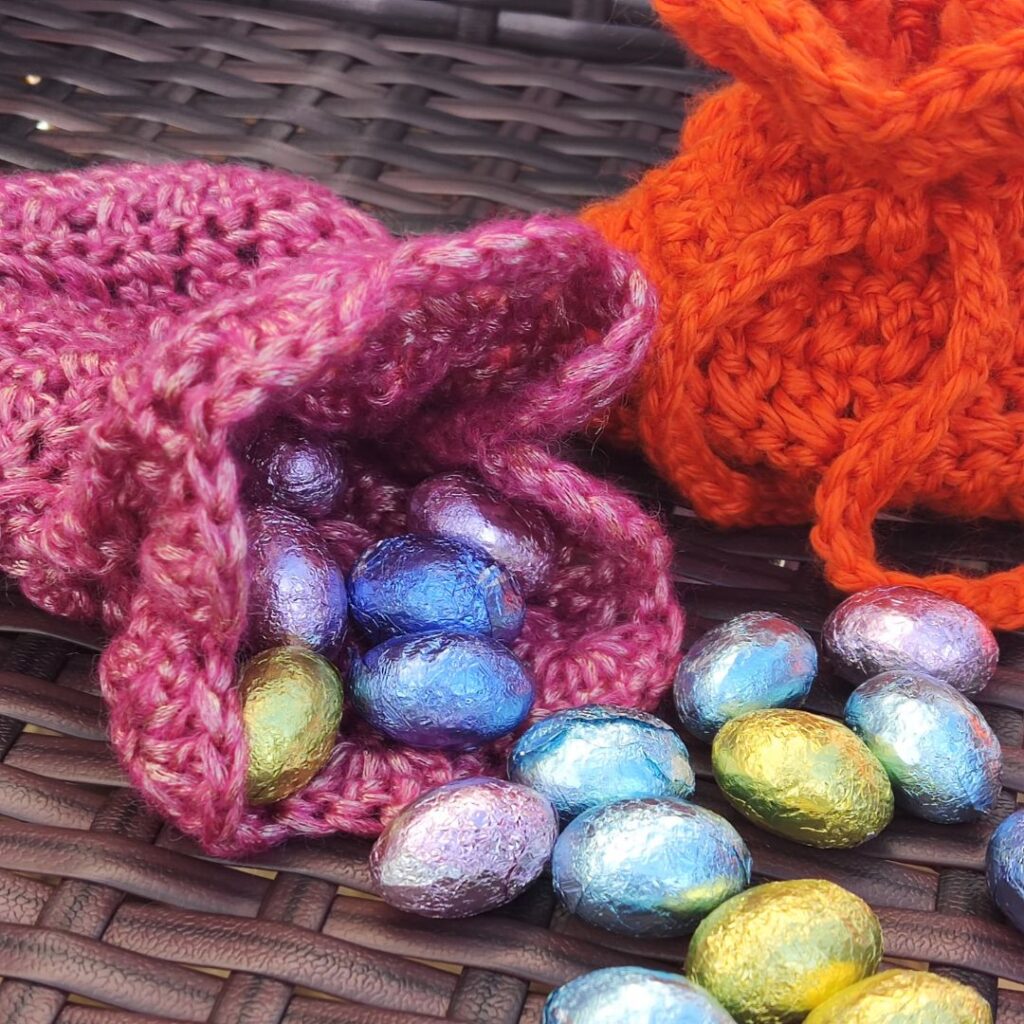
My nieces are always excited to receive my crochet gifts. So, after selecting their favorite colors, I made them two crochet mini purse bags.
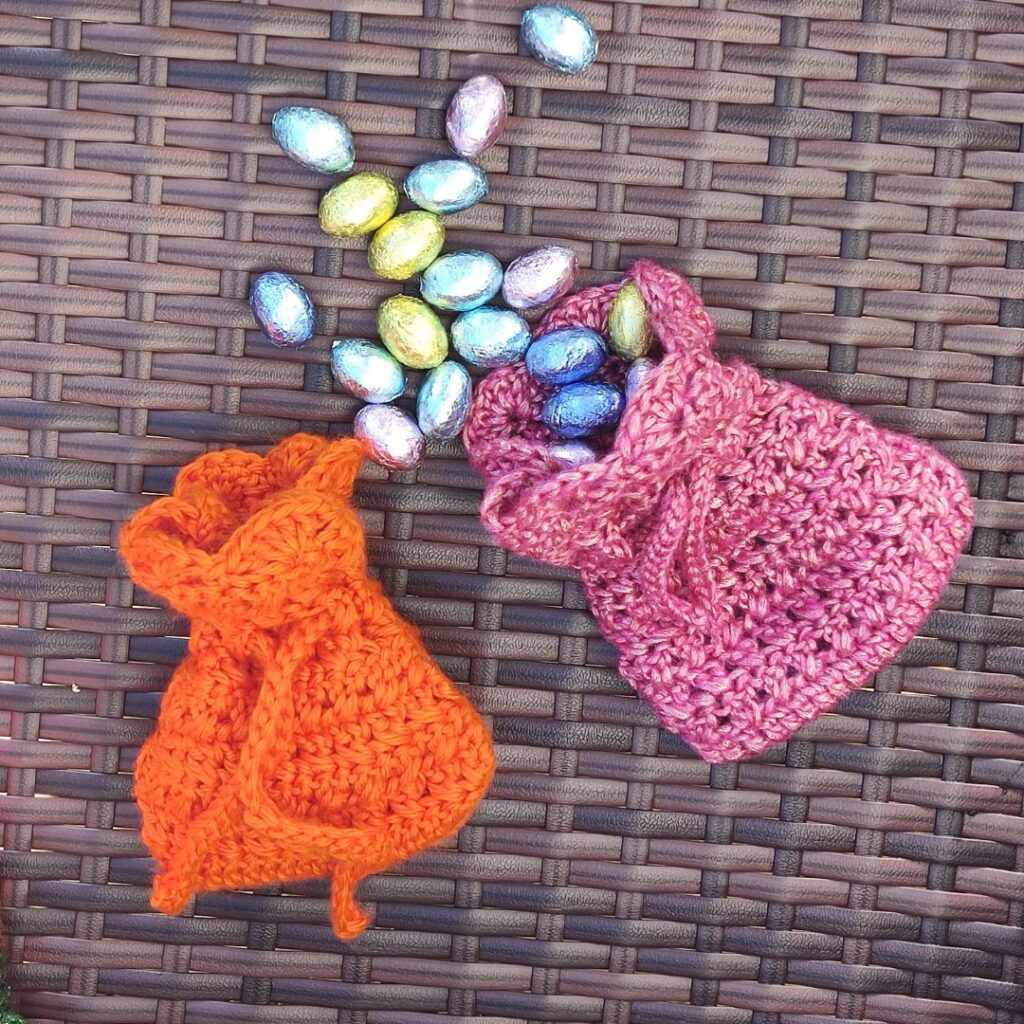
This Crochet Mini Purse Bag is a perfect idea when searching for quick projects, especially those using less yarn. I made each of the bags with less than one skein!

The mini purse is part of the spring/Easter crochet patterns. The other projects are also available here.
More crochet mini bag ideas on the blog:
Coin Purse
Quick and Easy.
Simple and quick.
Perfect for a last-minute project.

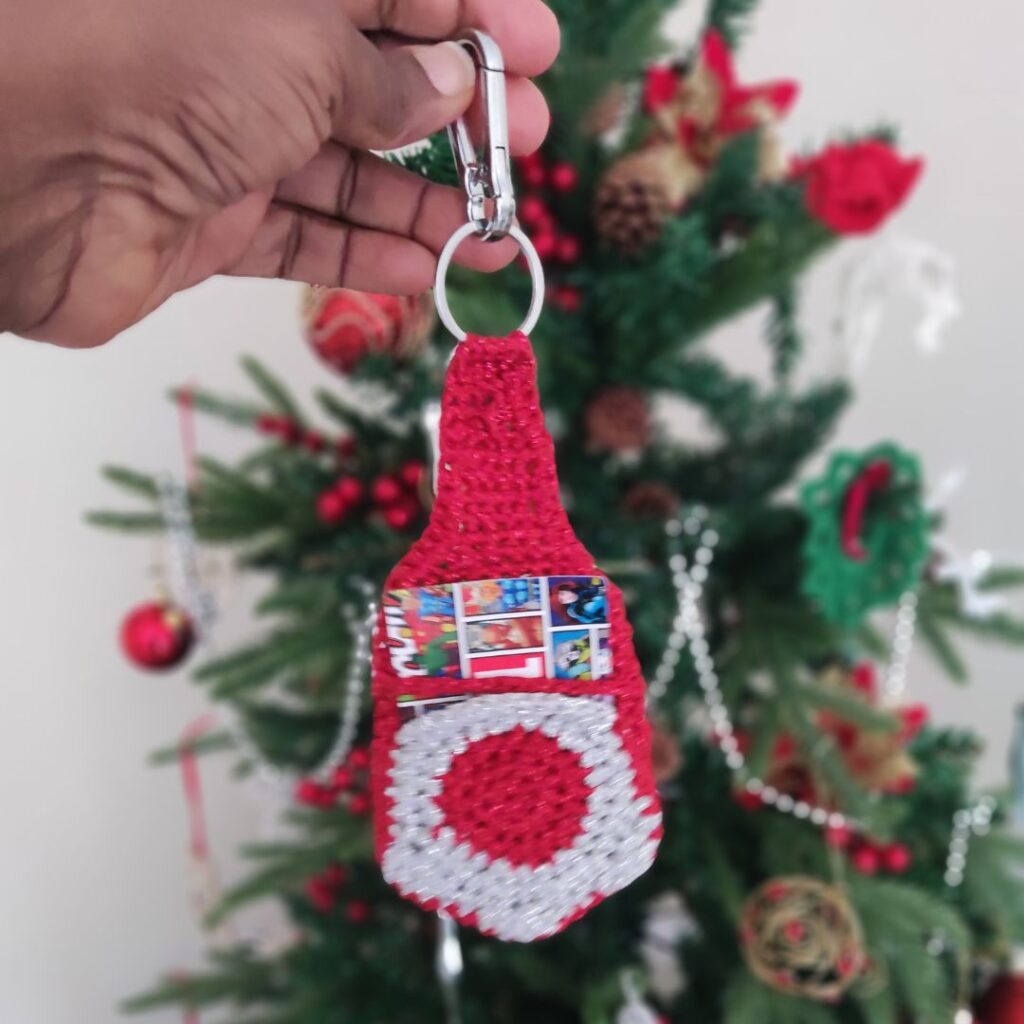
Gift Card Holder
Practical project Idea.
Cute and easy project perfect for beginners.
Season Appropriate project.
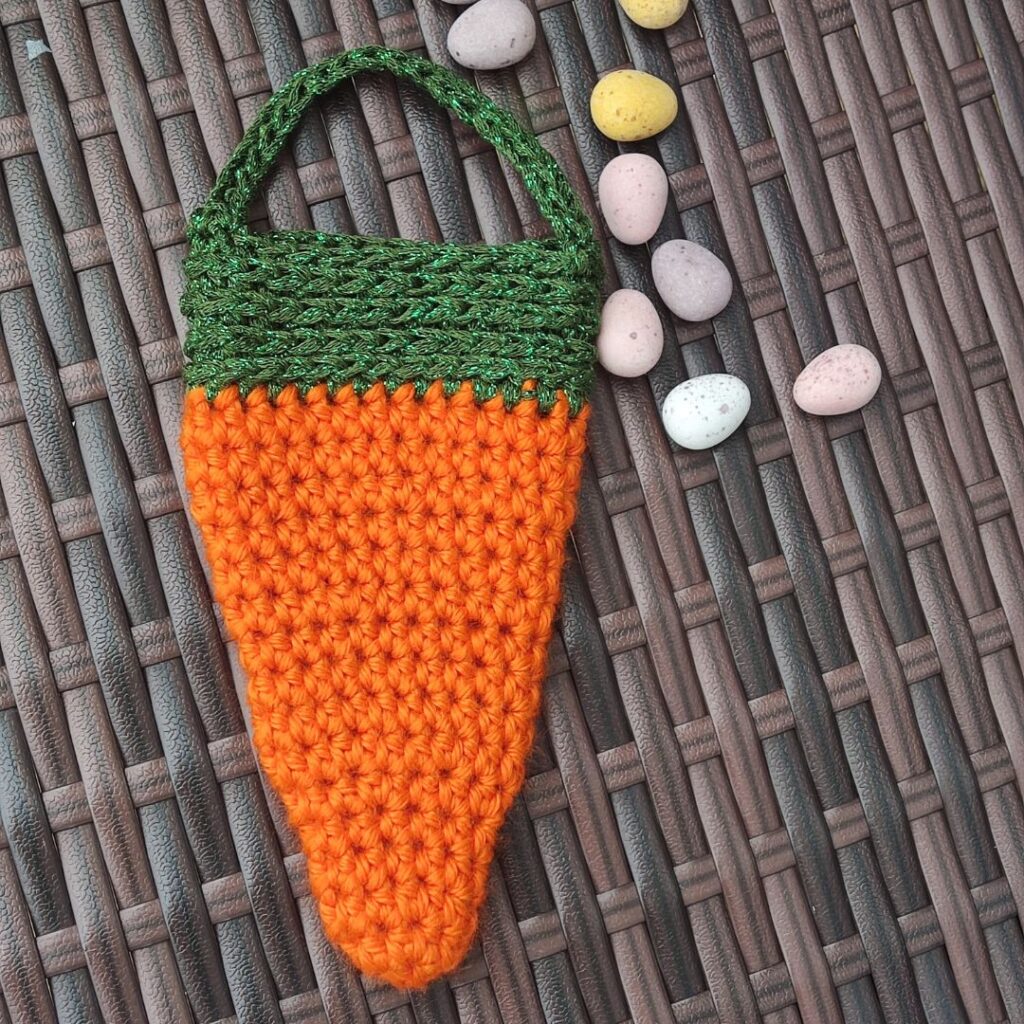
Carrot Bag
Cute Idea for egg hunting.
A scrap yarn project Idea is perfect as a treat bag!
What Supply Do You Need For Crochet Mini Purse Bag Free Pattern
Hobbii Metallico #4 ( 70% Polyamide, 21% Acrylic, 9% Merino Wool, 115 m (126 yds), 50 g (1.75 oz)
Estimated Yardage = 25 yards
Crochet Hook = 6 mm
Gauge – Not crucial to this project
Crochet Mini Purse Bag Pattern Notes
- Please kindly read through the pattern before starting.
- Any other weight of #4 weight yarn can be substituted.
- The beginning chain does not count as a stitch.
Skill Level – Easy
Terms – US Terminology
Stitches Abbreviations
Chain – ch
Single Crochet – sc
Double crochet – dc
Crossed double crochet – xdc
Special stitch
Crossed double crochet – skip next st, dc in next st. Crocheting in front of the dc just made, work dc into the skipped stitch.
Shell – 5 dc in indicated stitch.
Crochet Mini Purse Bag Finished Measurement – 5” X 6”
How To Crochet Mini Purse Bag Pattern
Increase the number of the foundation chain in a multiple of 2 for a wider purse.
Row 1: Ch 22, dc in 3rd ch from hook and in each ch across, turn. 20 dc
Row 2: Ch 2, dc in first st, xdc across until last st, dc in last st, turn. 2 dc, 9 xdc
Rows 3 – 9: Repeat Row 2
Increase the number of repeats until you have the desired height.
Row 10: Ch 2, 5 dc in same st, *skip next 2 sts, sc in next st, skip next 2 sts, shell in next st, rep from * until the last st, sc in last st. 4 sc, 4 shells
Do not fasten off.
Edging
Crocheting around the whole piece
Round 1: Ch 1, 2 sc in each st across until the next edge, (sc, ch 1, sc) at the corner, sc in each st across the foundation row, 2 sc in each st across the next edge, join with a sl st to the ch 3 from the last row.
Fasten off.
Make the second panel.
Joining
- Place the two pieces on each other.
- With the right side facing each other.
- Using either a darning needle or crochet hook, join with either mattress stitch or sl st, join the 3 sides together, leaving the 4th (shell side) as the opening.
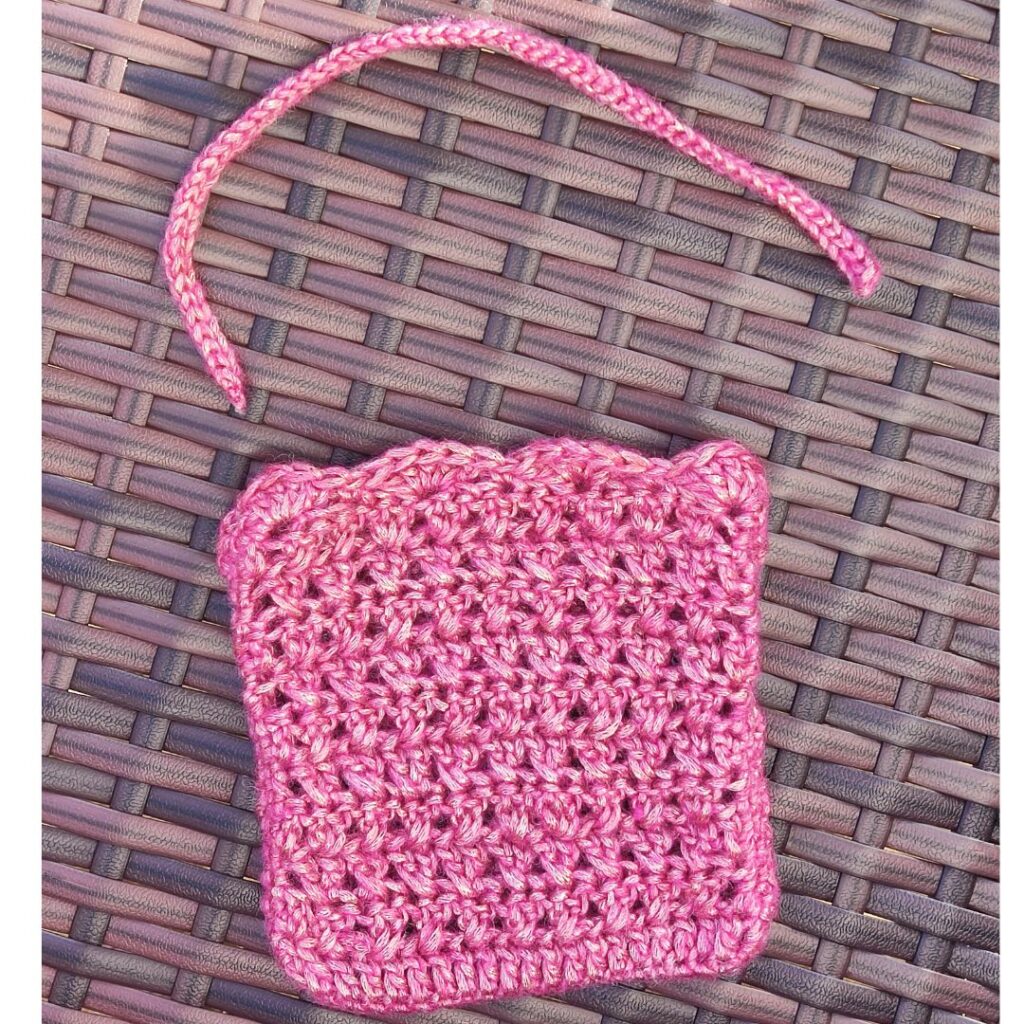
Section – Rope
Chain 61
Row 1: sl st in 2nd ch from hook and in each chain across.
Fasten off.
Pass the rope through the space created by the xdc in any row.
Weave in all ends.

Other fun and quick crochet projects on the blog
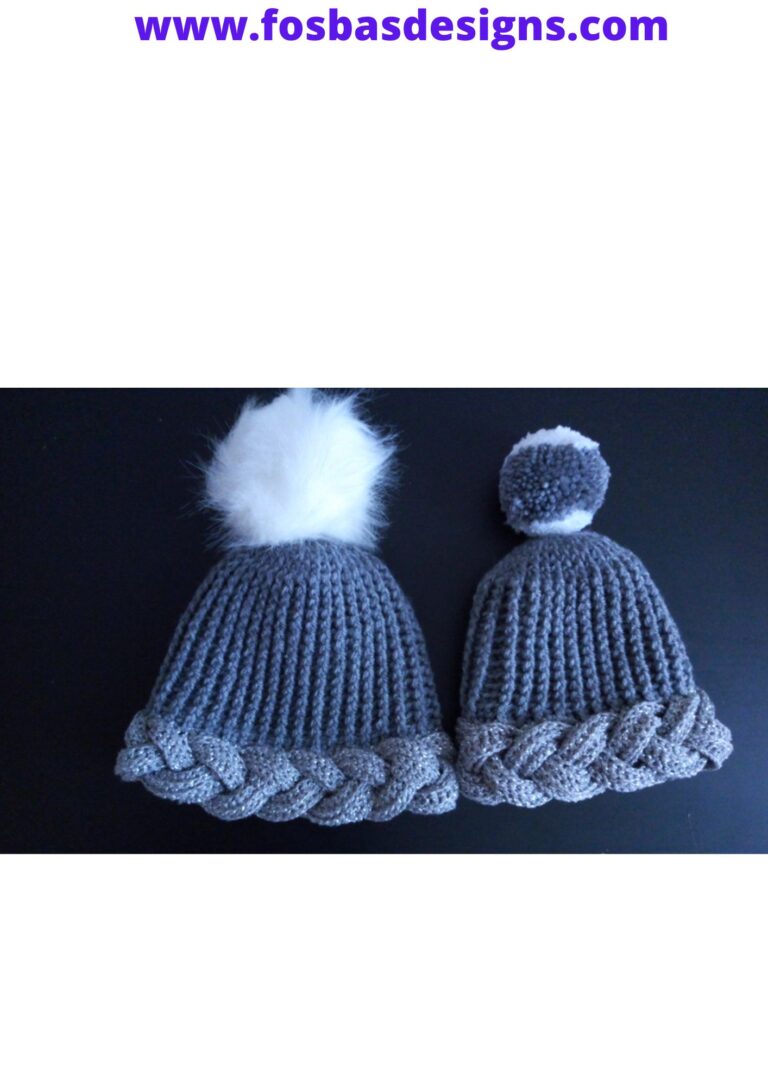
30 minutes crochet beanie pattern
30 minutes crochet hair scarf pattern
The slouchy crochet beanie pattern
About the Designer
Say Hi on Instagram and Subscribe To my email List for pattern discounts and freebies. For questions, send such to [email protected]. Read more about me here.