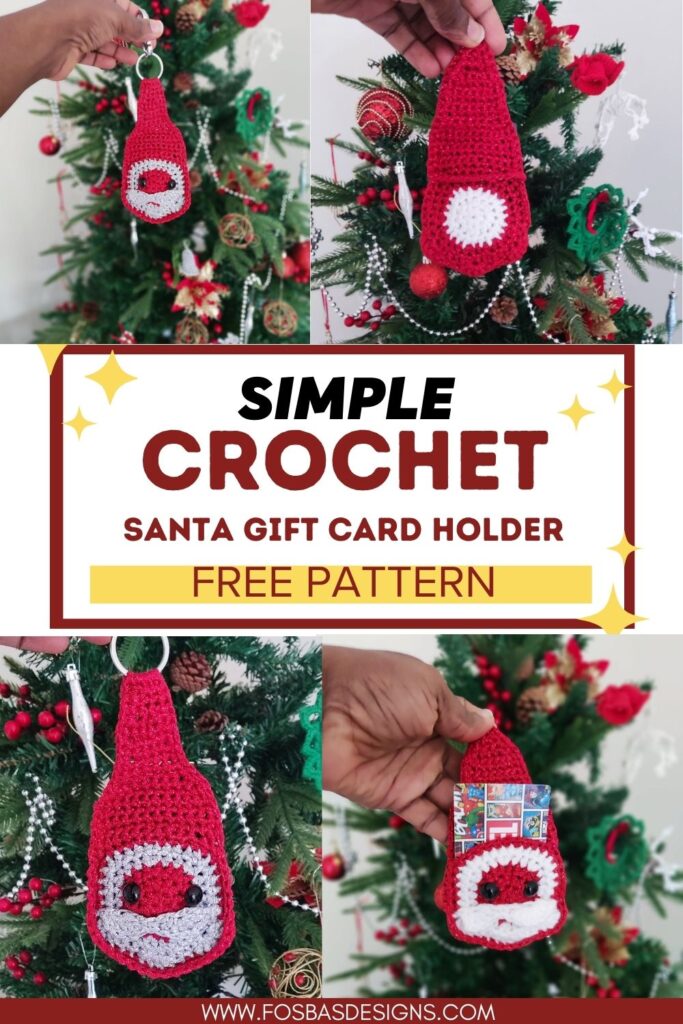
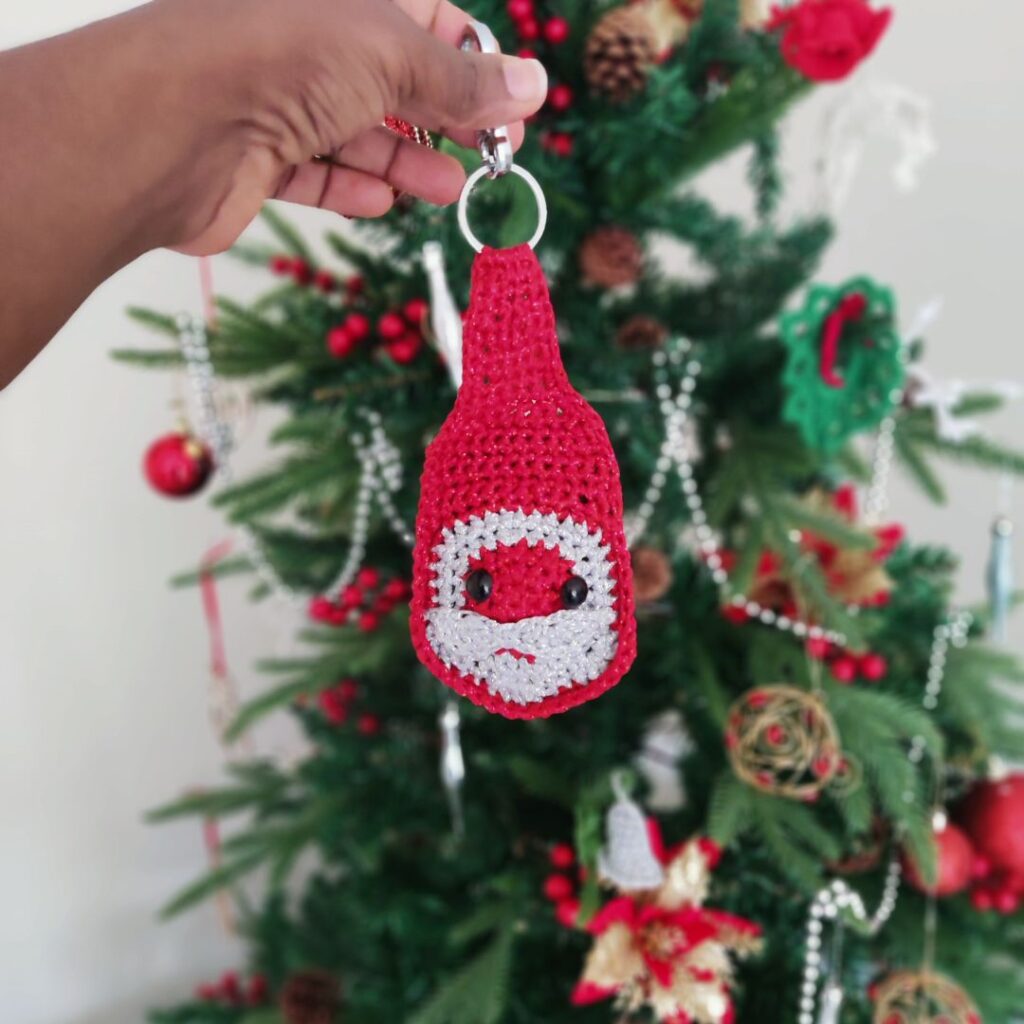
Christmas crochet gift card holder pattern
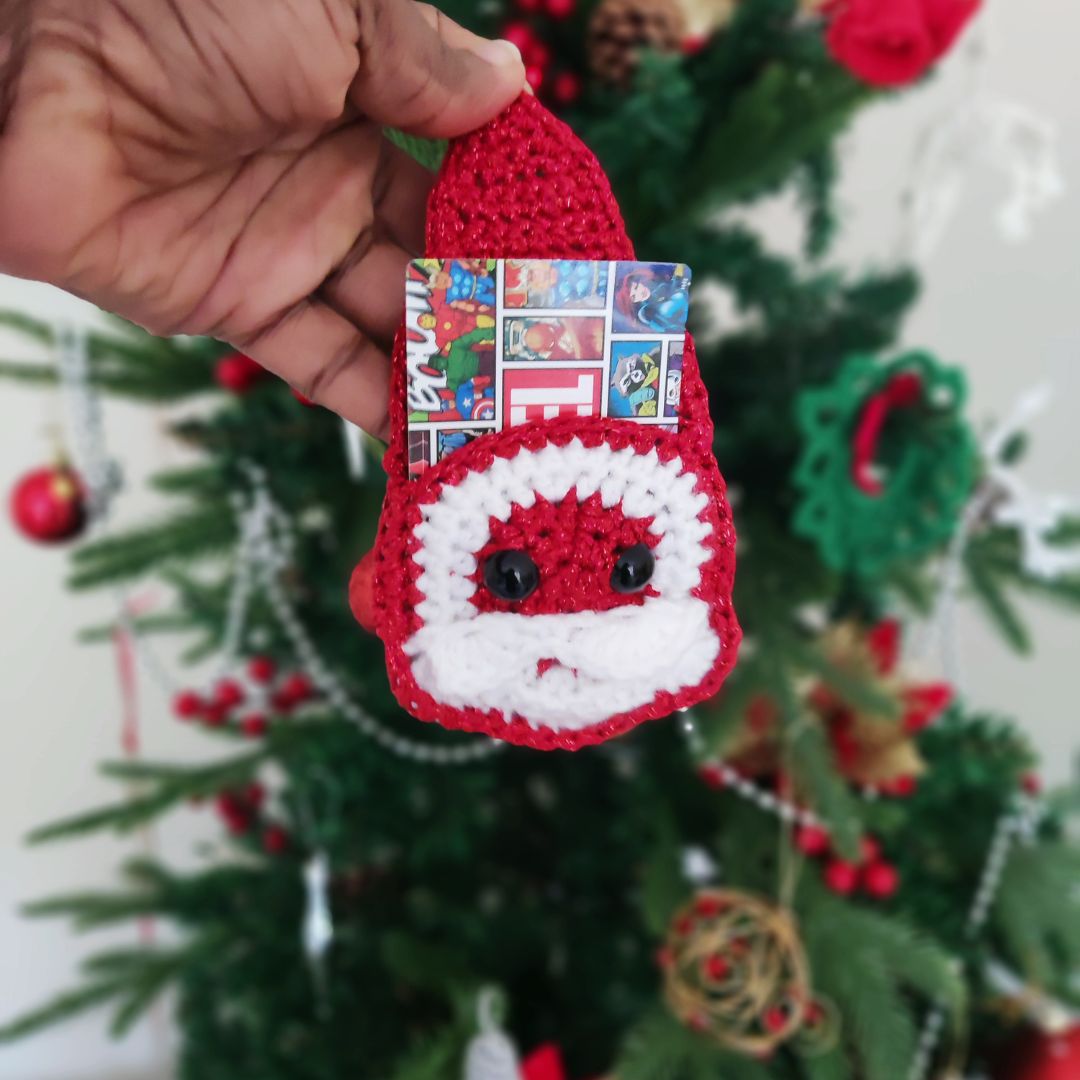
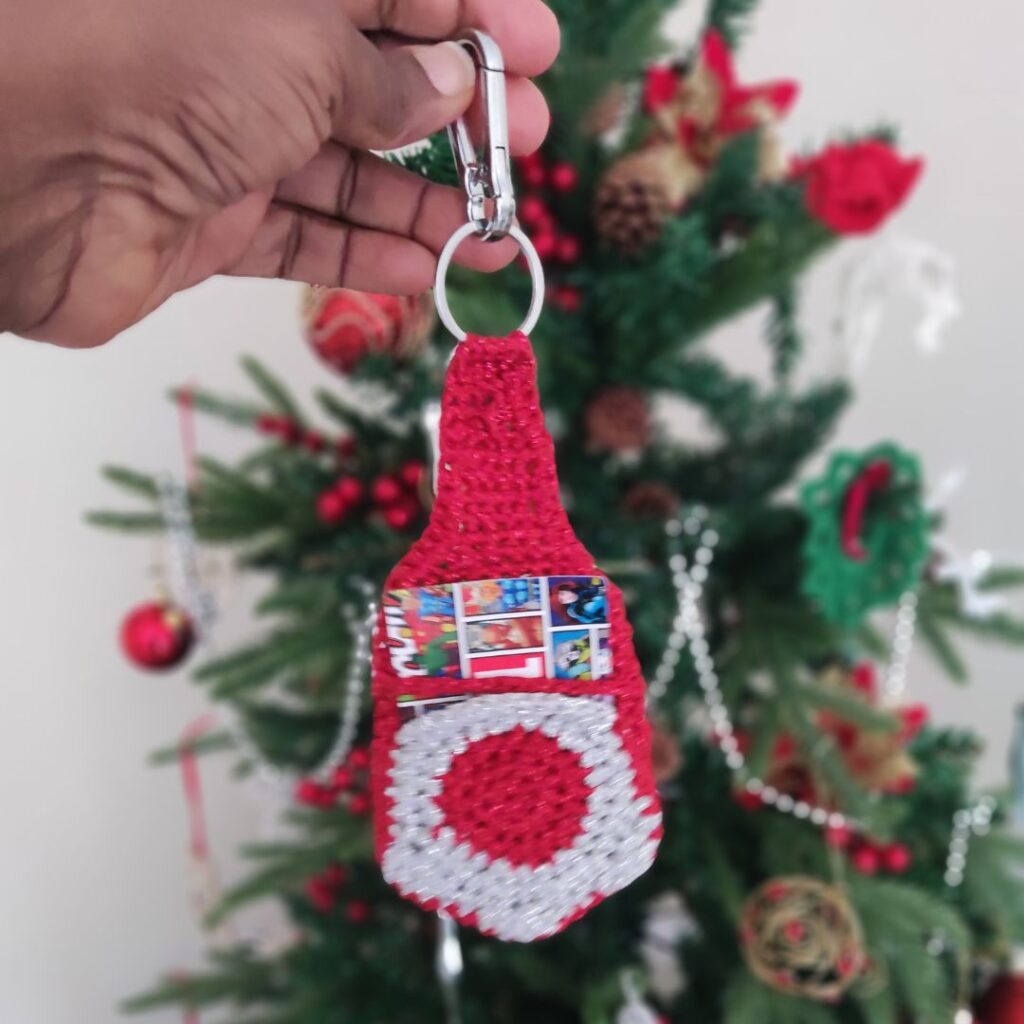
I have always wanted a functional crochet gift card holder pattern and am finally excited to share this with you. After making the Christmas Santa Applique so many times, I thought of modifying the ornament into a pouch and was pleasantly happy with the outcome.
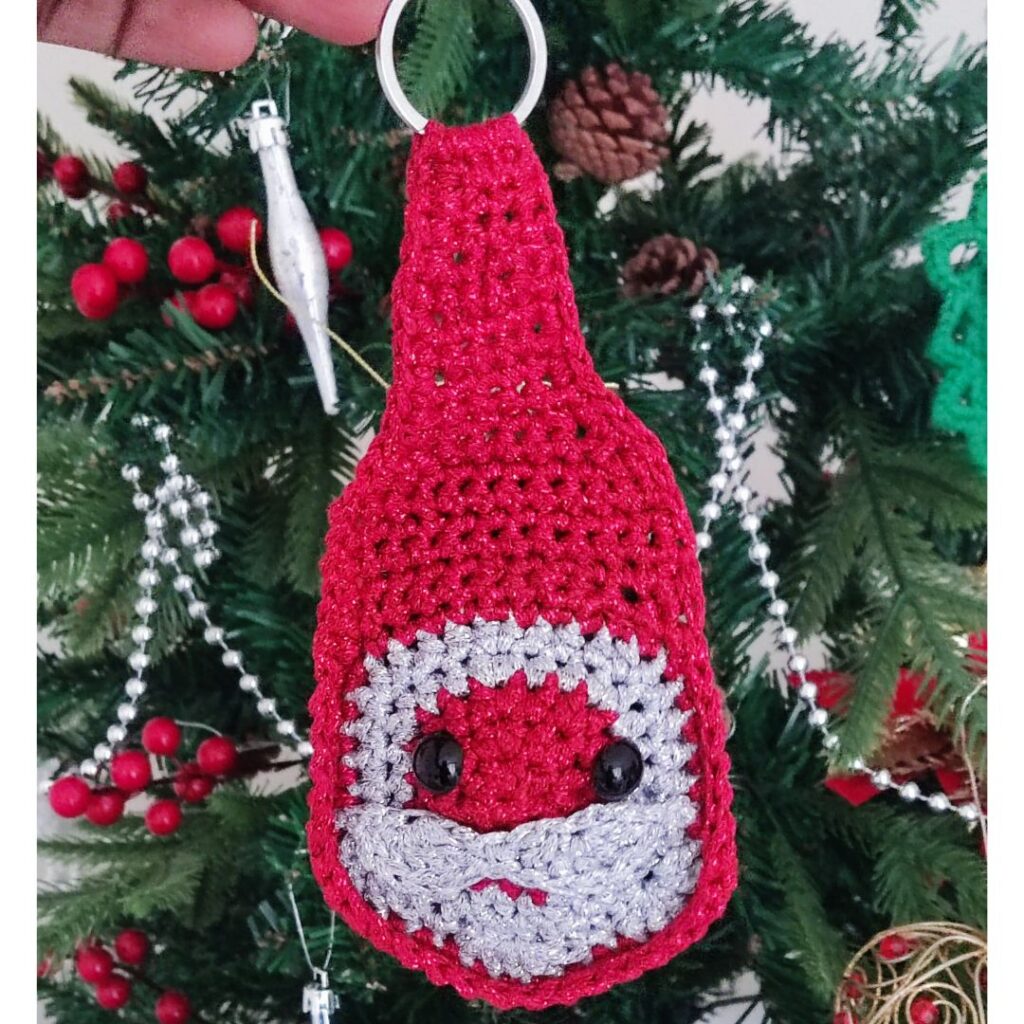
A simple, easy, and practical project to hand your gift card this season. I love that you can create the pocket to be either at the front or the back. I made both and can’t decide which version I love the most.
The crochet gift card holder is a free pattern; scroll down for the instructions.
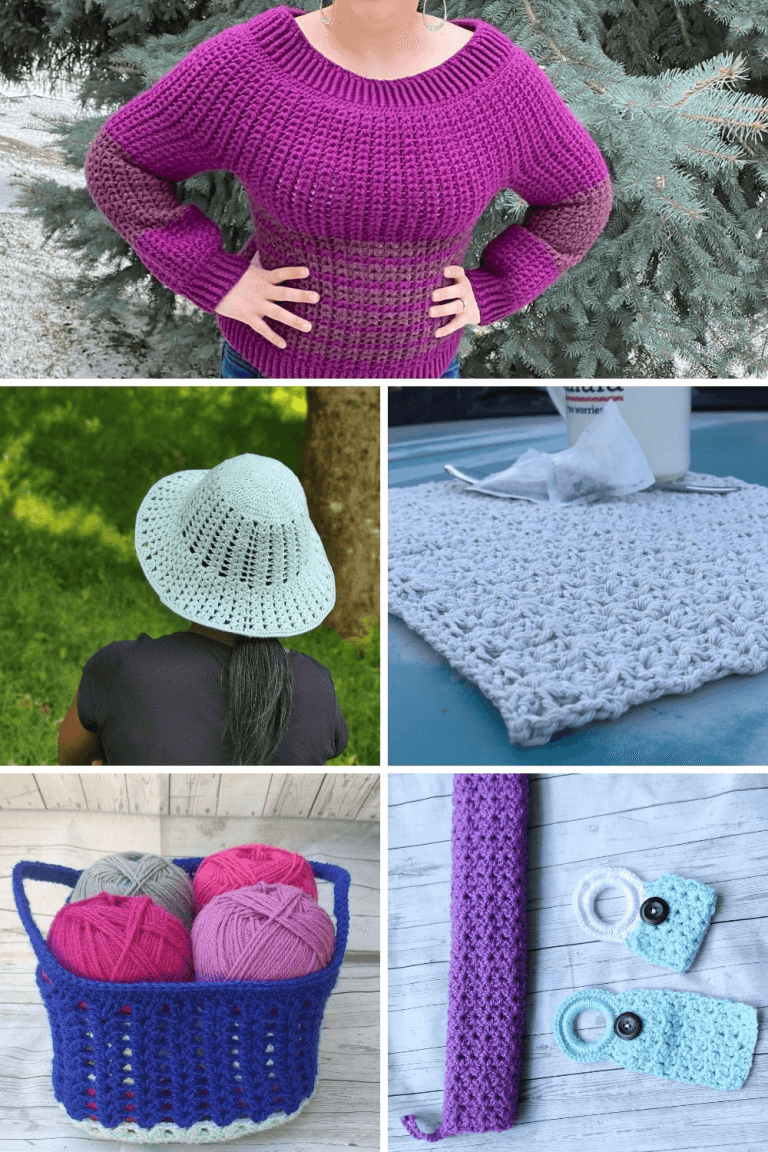
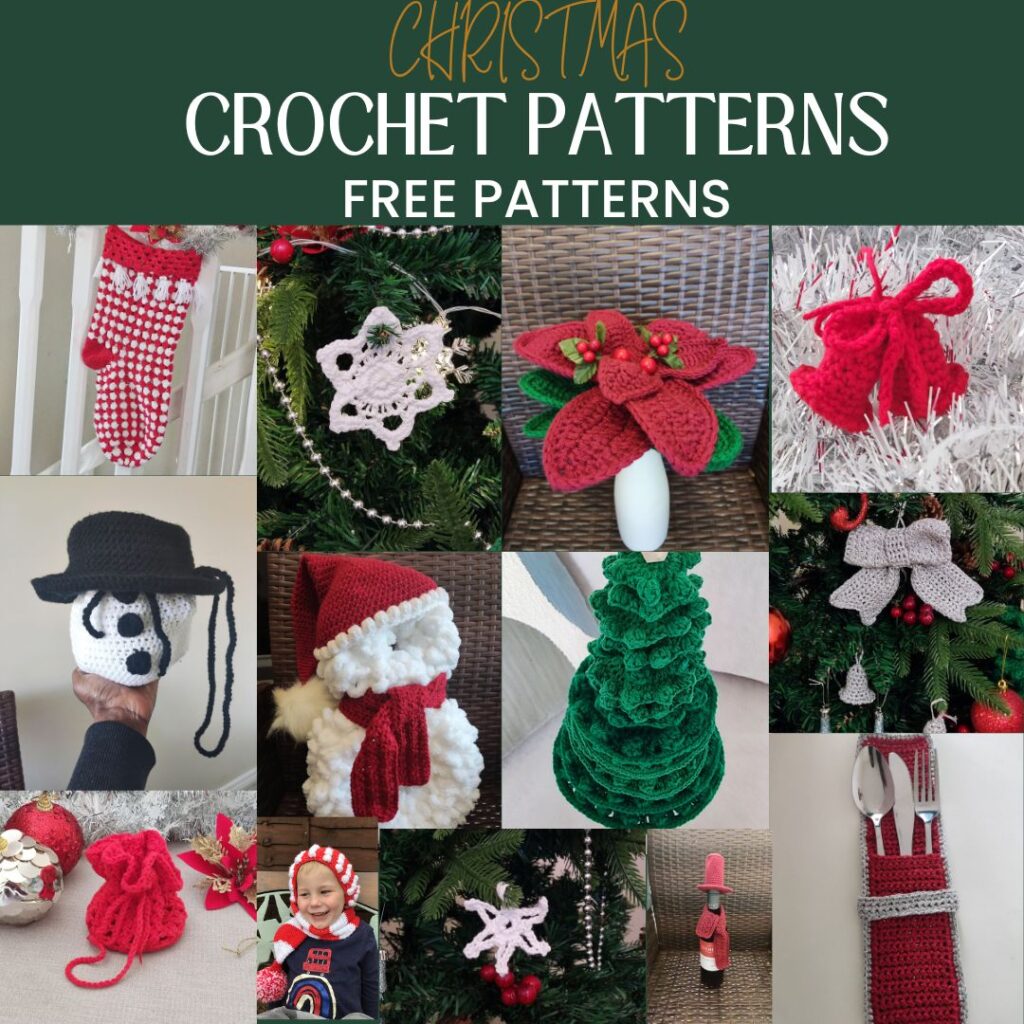
The Santa Christmas crochet gift card holder pattern is featured alongside other crochet patterns in the quick Christmas project ideas; you can grab all the patterns included in this event right here.

Supplies needed for the easy Christmas crochet gift card holder pattern
Hobbii Flash it!, #4 worsted weight (80% Viscose, 20% Metallic fibre, 98 yards/90 m per 1.75 oz/50g skein)
Red = A
Silver = B
Optional
- Black yarn to embroider the eyes or
- 8mm safety Eyes.
Estimated Yardage
30 yards, Red = A
10 yards, Silver = B
Hook and other materials
- US size G/6 (4 mm)
- Safety eyes – 15 mm x 2 pcs
- Yarn needle
- Keychain
Gauge
Gauge is not crucial for this project.
Skill Level – Easy
Terms – US Terminology
Pattern Notes
- Please kindly read through the pattern before starting.
- Any #4 medium-weight of yarns can be substituted
- Chains at the beginning of rounds /rows count as a stitch.
Stitches Abbreviations
Chain – ch
Slip stitch – sl st
Half double crochet – Hdc
Double crochet – dc
Shell – 5 dc in the same st
Repeat – rep
Finished Measurement
Finished Dimension – 7” by 2.5”
How to make the Santa crochet gift card holder
Section 1: Face
Round 1: With A, make a magic ring, ch 2 (counts as hdc here and throughout the pattern), 6 hdc in magic ring, join with a sl st to beginning ch. 7 Hdc
Round 2: Ch 2, hdc in same st, 2 hdc in each st across, join with a sl st to beginning ch. 14 Hdc
Round 3: With B, ch 2, hdc in same st, *hdc in next st, 2 hdc in next, repeat from * around, join with a sl st to beginning ch. 21 Hdc
Fasten off A, join B
Round 4: Ch 2, hdc in same st, *hdc in next 2 sts, 2 hdc in next, repeat from * around, join with a sl st to beginning ch. 28 Hdc
Round 5: Ch 2, hdc in same st, *hdc in next 3 sts, 2 hdc in next, repeat from * around, join with a sl st to beginning ch. 35 Hdc
Lower Beard
Working in rows from here. With B
Row 6: Ch 3 (counts as dc), 4 dc in same st, * skip next 2 sts, sc in next st, skip next 2 sts, 5 dc in next st, repeat from * 1 more time, skip next 2 sts, sc in next st. 15 dc, 3 sc.
Leave the remaining stitches unworked.
Make the second panel.
Continue with just one of the panels
Upper Beard
Row 1: With B, ch 12, slip stitch into the base of ch 3 made in Row 5
Crocheting into the chain 12 made.
Row 2: Ch 1, skip first 2 chs, 5 dc in next ch, skip 2 chs, sc in next ch, skip 2 chs, 5 dc in next ch, skip next 2 chs, sc in last ch. 10 dc, 2 sc
Fasten off.
- Join A with a sl st to the last st (sc) from the upper beard.
- With the right side of the panels facing you.
- Crocheting around the sts left un-worked when making the lower beard.
To join both panels
- Crocheting across both panels
- Place the wrong side together; this makes the right side of the panels facing you.
- Count 4 sts upwards from the lower beard, as indicated with the hook in the picture below.
- Join A with a sl st to both panels in the above stitch.
- Crocheting across both panels and towards the lower beard of both panels upwards to 4 sts above the beard at the same level as the other side.
Row 1: Ch 1, sc in next 4 sts, sc in across the lower beard, continue crocheting upwards, sc in next 4 sts, leave the remaining sts
Do not fasten off.
Crown
- The Crown is only worked on one end; the other part is left open and will be used as a pocket.
- Decide where the pocket opening will be, at the front or the back. I did both; see the photos attached below.
- Crocheting across just one side of the panel opening.
Rows 1 – 5: Ch 1, sc in each stitch across, turn. 11 sc
Row 6: Ch 1, sc2tog, sc in next 7 sts, sc2tog in last 2 sts, turn. 9 sc
Row 7: Ch 1, sc2tog, sc in next 5 sts, sc2tog in last 2 sts, turn. 7 sc
Row 8: Ch 1, sc2tog, sc in next 3 sts, sc2tog in last 2 sts, turn. 5 sc
Rows 9 – 12: Ch 1, sc in each st, turn. 5 sc
Row 13: Ch 1, sc2tog, sc in next st, sc2tog in last 2 sts, turn. 3 sc
Rows 14 – 15: Ch 1, sc in each st, turn. 3 sc
Do not fasten off
Edging
Round 1: Working on the side of the crown, ch 1, sc in each st, until row 1 of the crown, do not fasten off, ch 13, join with a sl st to the opposite side of the crown (on Row 1), sc evenly across the edge, join with a sl st to the beginning chain.
Keyring
If adding keyring
Crocheting over the keyring and the sts on the last row.
Row 1: Sc over the key ring.
Eyes
Option 1
using Black yarn, sew eyes just above the skin tone
Or
Glue in safety eyes.
Or leave without eyes.
Option one – With the keyring, the pocket is at the back of the Face.
Option two – Without a Keyring, the pocket is at the front.

I would love to see your beautiful Christmas gifts made from this crochet gift card holder pattern. Come share with me your beautiful makes.