The Basic Crochet Stitches for Beginners
I am so excited to share with you the basic crochet stitches for beginners, using this post as a simple guide!
Getting Started with Crochet
Taking up crochet as a beginner might seem daunting, but it’s easier than you think. In this section, we’ll help you get started by covering the essentials, such as choosing the right yarn and crochet hook, as well as understanding crochet terminology.
Choosing the Right Yarn and Crochet Hook
When you’re just beginning to learn crochet, choosing the appropriate yarn and hook is essential. For beginners, it’s best to use a smooth, worsted-weight yarn in a lighter color, making it easier to see your stitches.
Crochet hooks come in various sizes and materials. Using an ergonomic hook in the corresponding size for the yarn you’ve selected is recommended. An aluminum crochet hook is commonly recommended for beginners, as the yarn glides smoothly on it.

Understanding Crochet Terminology
When it comes to following crochet patterns, understanding the terminology is crucial. Be aware that UK and US crochet terminology is different, so make sure to use the correct one for your pattern. Here’s a quick overview of some standard crochet terms:
- Chain (ch): The foundation for your crochet project, consisting of a series of loops.
- Slip stitch (sl st): A small stitch used for joining and fastening off your work.
- Single crochet (sc) [US] / Double crochet (dc) [UK]: A basic crochet stitch that forms a tight, dense fabric.
- Double crochet (dc) [US] / Treble crochet (tr) [UK]: A taller stitch that creates a more open and looser fabric.
For this post, I am using US terms. But if you are familiar with UK terms, use the above conversion to help you understand what each stitch stands for.
Basic Crochet Stitches
Foundation Chain
To start crocheting, you need to create a slip knot and a foundation chain. This is crucial to making the main crochet piece. See the starting chain as the foundation of the house.
Slip Stitch
The slip stitch is also called slip knot if you use UK terminology.
To make a slip stitch, fold the yarn around your fingers, forming a loop, and then pass a slightly longer part of the same yarn through that loop, creating another loop.
Tighten the first loop gently to secure the slip knot. Next, you’ll create the foundation chain. Hold the slip knot and insert your hook into the loop. Yarn over and pull through the loop on your hook, forming a new loop. Repeat this process to create a chain of any desired length.
Basic Stitches and Techniques
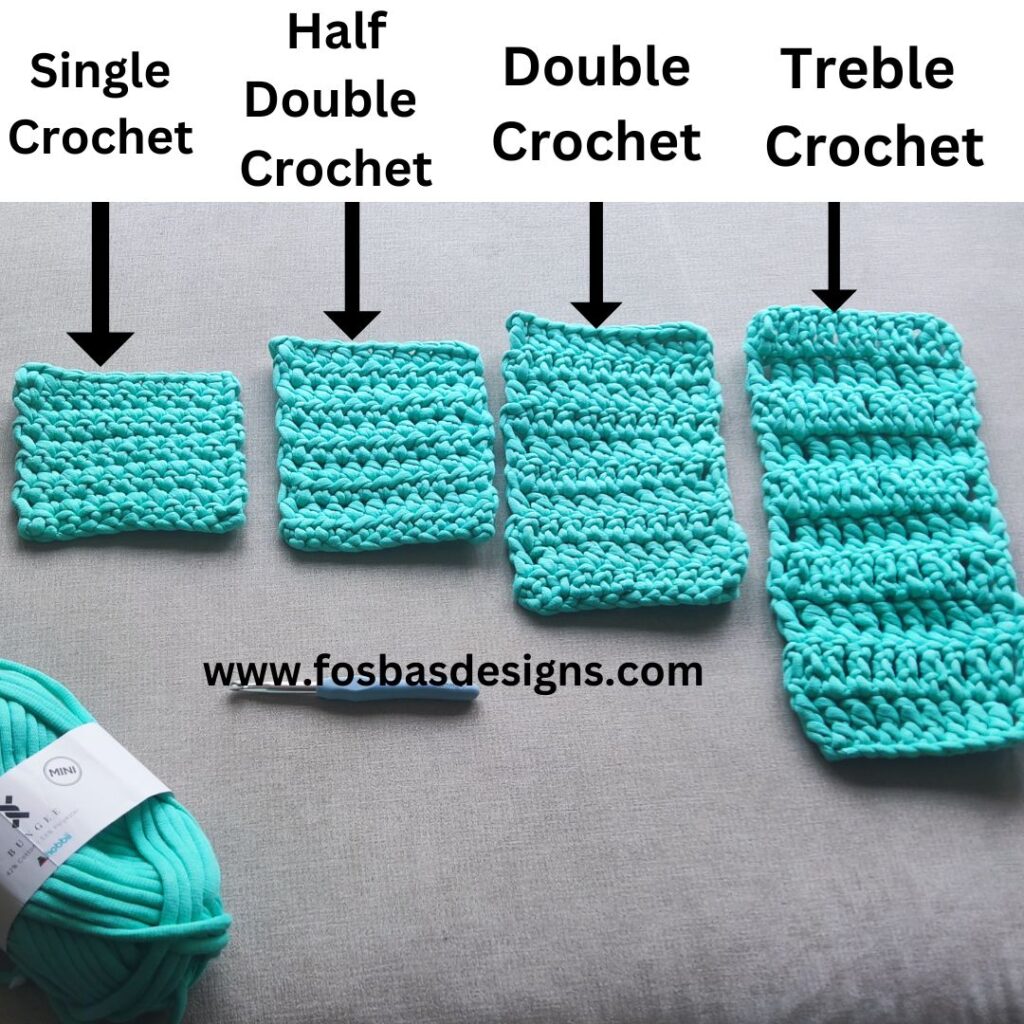
Crochet is a versatile fiber art, and there are various basic stitches and techniques that every crocheter should know to create stunning pieces of work. This section focuses on basic and essential crochet stitches: Single crochet, Double crochet, Trellis stitch, and Shell stitch.
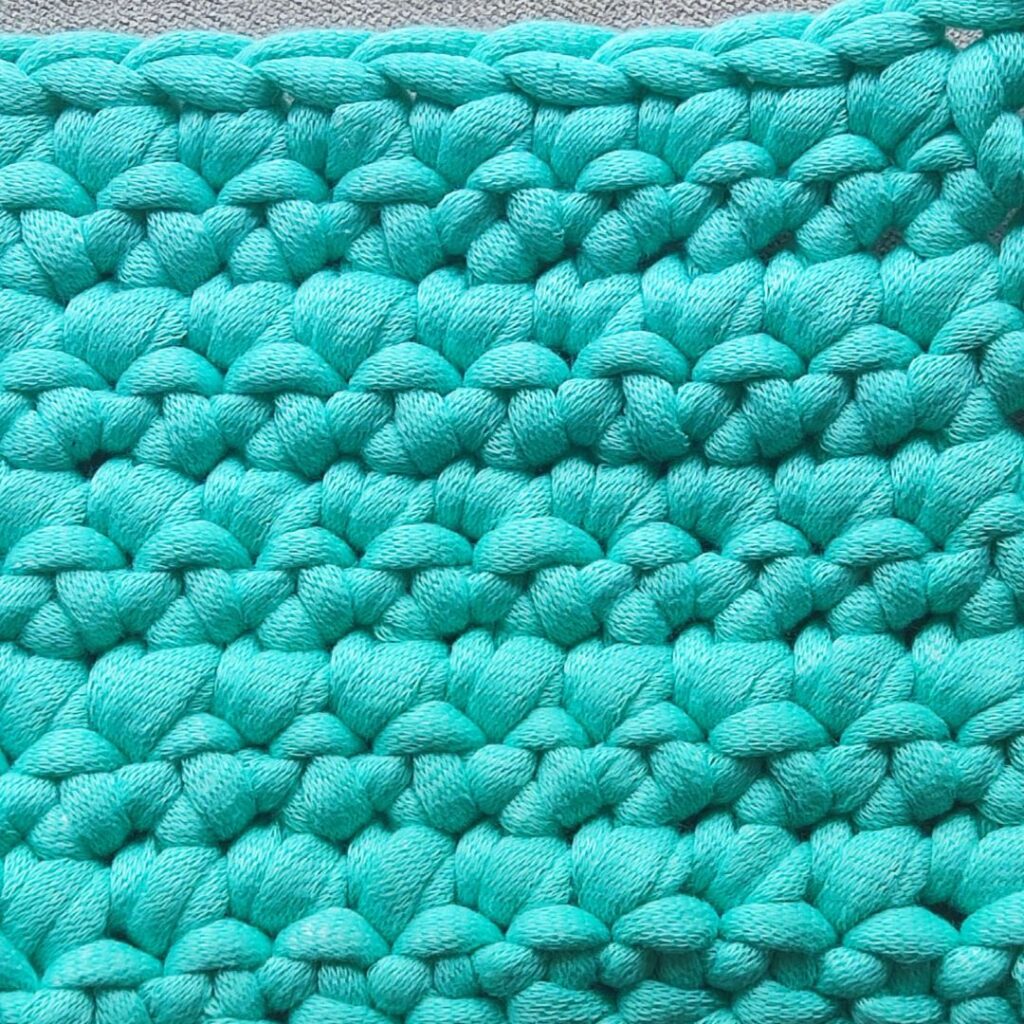
Single Crochet

The single crochet stitch is the foundation of most crochet projects. It is a compact stitch, forming a relatively dense look when worked.
To create a single crochet stitch, insert the hook into the desired stitch, yarn over, pull through, yarn over again, and pull through both loops on the hook.
This stitch is commonly used in amigurumi patterns.
Half Double Crochet Stitch
The Half Double Crochet Stitch is a great beginner stitch that adds height and texture to your work.

To create this stitch:
Step 1: Yarn over the hook and insert the hook into the third chain from the hook on the starting chain.
Step 2: Yarn over the hook and draw up a loop—three loops on the hook.
Step 3: Yarn over the hook again and draw through all three loops on the hook—one half double crochet made.
Step 4: Yarn over the hook and continue to insert it into the next chain, repeating steps 2-3 to create more half-double crochet stitches.
Double Crochet
Double crochet is another essential stitch in crochet. It creates a more open fabric compared to single crochet, and it is twice the height of a single crochet stitch.
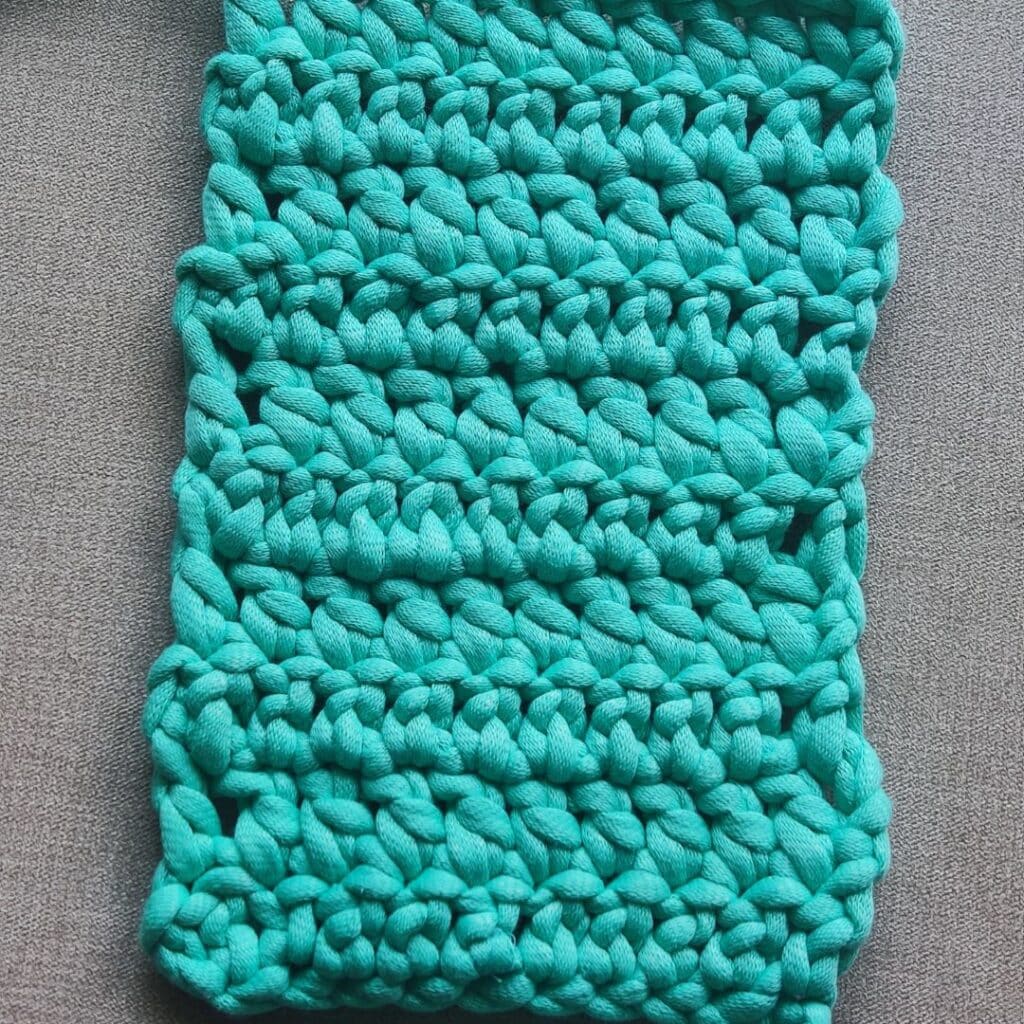
To make a double crochet, yarn over, insert the hook into the stitch, yarn over again, pull through, yarn over, pull through two loops on the hook, yarn over once more, and finally, pull through the remaining two loops.
Treble Crochet Stitch
The treble crochet stitch adds even more height to your work and is another important stitch for beginners to learn.

To make a treble crochet stitch:
Step 1: Yarn over the hook twice.
Step 2: Insert the hook into the work (usually the fifth chain from the hook), and yarn over.
Step 3: Pull up a loop, making sure you have four loops on your hook.
Step 4: Yarn over and pull through the first two loops on the hook, leaving three loops.
Step 5: Yarn over again and pull through the next two loops, leaving two loops on the hook.
Step 6: Finally, yarn over one last time and pull through the remaining loops to complete the treble crochet stitch.
Practice these basic crochet stitches to build a solid foundation for your future projects.
As you become more comfortable with these stitches, you can move on to learning more advanced techniques, and soon, you’ll be able to easily create beautiful crochet projects.
Adding Texture and Variety
In this section, you will learn about adding texture and variety to your crochet projects, focusing on three essential stitches: the Moss Stitch, the Picot Stitch, and Post Stitches. These stitches will help elevate your crochet skills and allow you to create more intricate patterns with a range of textures.
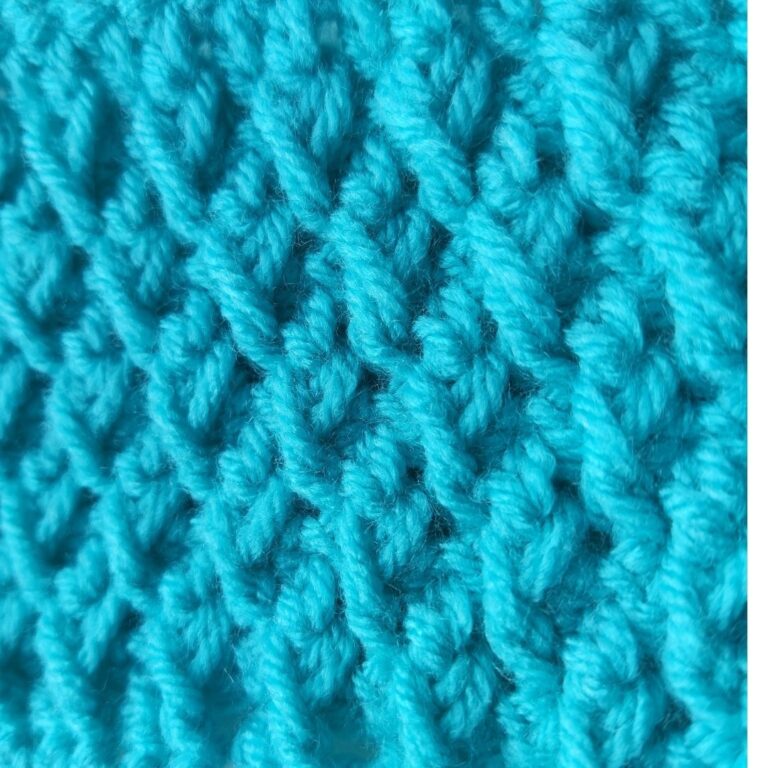
Learning the Moss Stitch
The Moss Stitch, also known as the Granite Stitch or Linen Stitch, is a simple yet attractive stitch that adds texture and dimension to your crochet projects. To create the Moss Stitch, all you need to know are the single crochet and chain stitches.
- Start with a foundation chain of an even number of stitches.
- In the second chain from the hook, work a single crochet.
- Chain 1, skip the next chain, and single crochet into the following chain.
- Repeat step 3 to the end of your foundation chain.
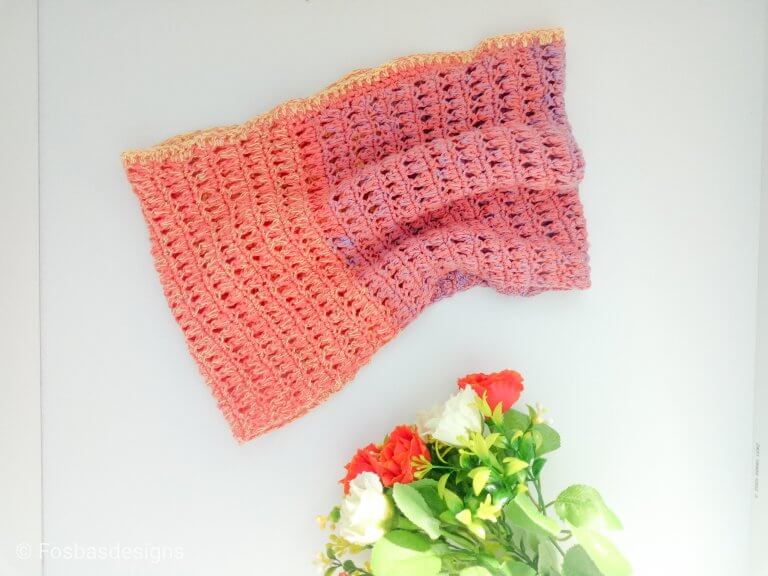
Once you’ve completed the first row, chain 1 and turn your work. Then, work a single crochet into the chain 1 space from the previous row, making sure to chain 1 and skip the next stitch. Repeat this process for the desired length of your work. The Moss Stitch creates an interesting texture perfect for scarves, blankets, and more.
Mastering the Picot Stitch
The Picot Stitch is a small decorative loop that adds a delicate touch to your crochet projects. It’s often used for edging and can be added to the end of a stitch or row. To create a Picot Stitch, follow these steps:
- Chain a desired number of stitches, usually between 3 and 5.
- Slip stitch into the first chain you created.
- Continue with your pattern, incorporating the picot into your work.
You can experiment with different numbers of chains to create varying sizes of picot loops, adding variety to your projects.
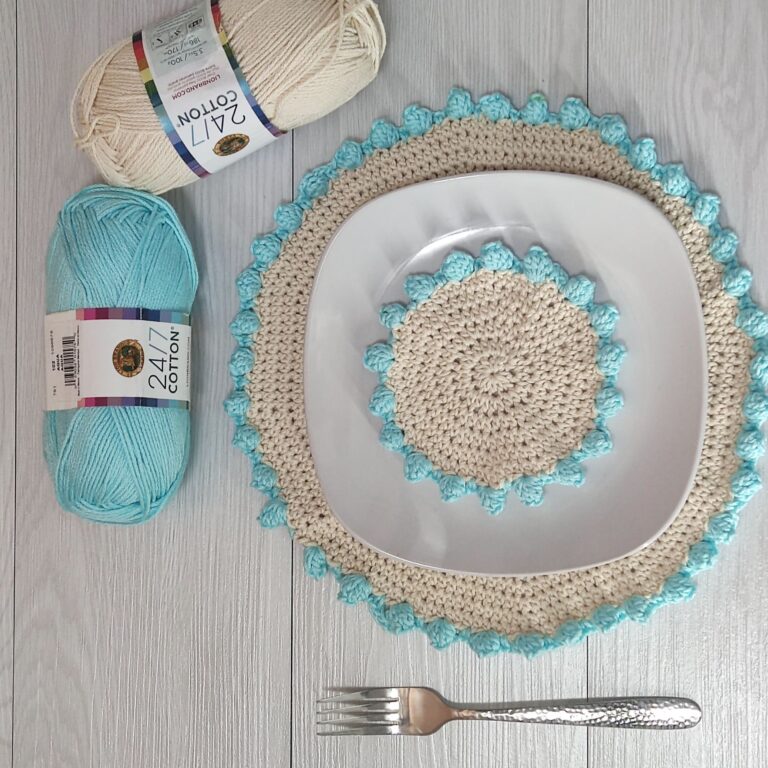
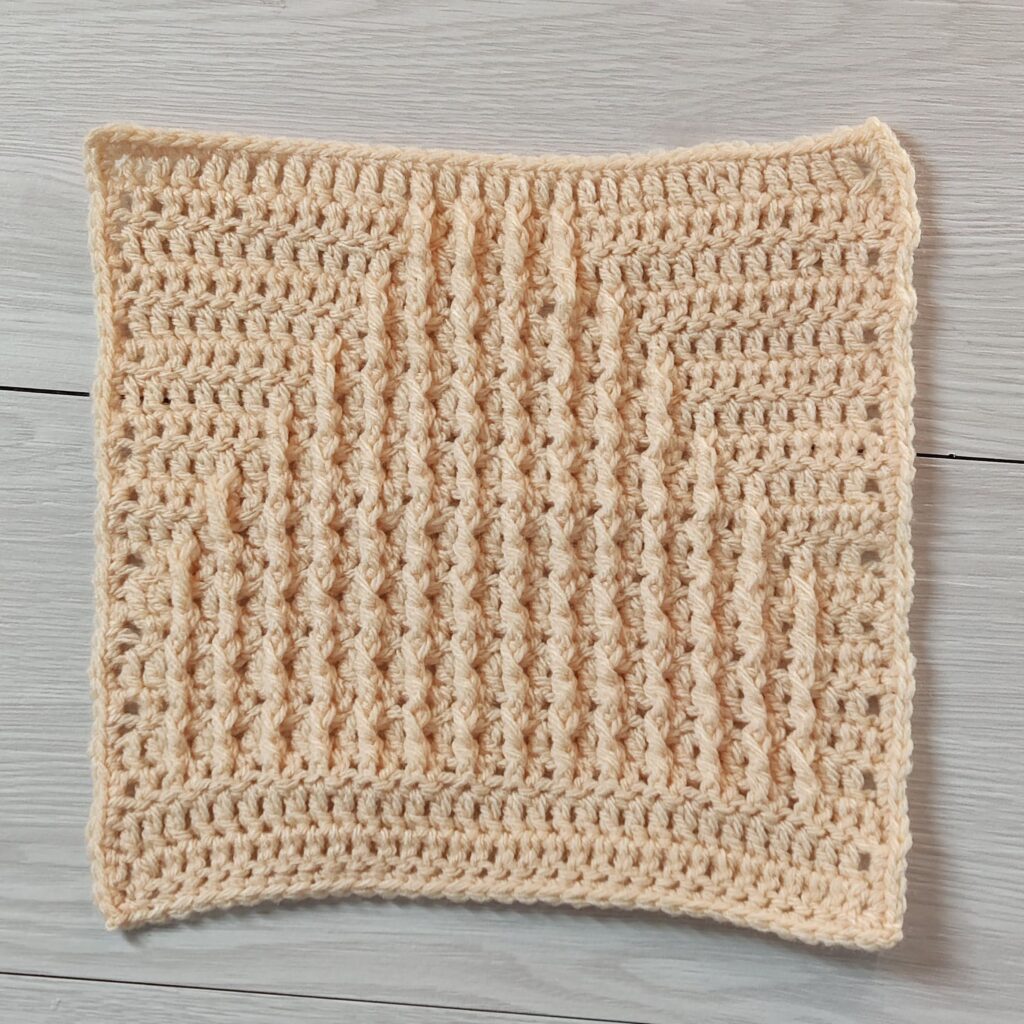
Discovering Post Stitches
Post Stitches, also called Raised Stitches, are a family of crochet stitches worked around the body of the stitch rather than into the loops. They add an interesting texture to your projects and are commonly found in cable or ribbing patterns.
Try this square and this project using the combination of post stitches.
The two main types of Post Stitches are Front Post Stitches and Back Post Stitches.
- Front Post Stitches: To work a Front Post Stitch, insert your hook from the front of your work, around the post of the stitch in the previous row, and back to the front. Complete the stitch as you normally would.
- Back Post Stitches: For a Back Post Stitch, insert your hook from the back, around the post of the stitch in the previous row, and back to the back. Finish the stitch as instructed.
Post Stitches can be done with single, half-double, double, or triple crochet stitches. The more you practice and incorporate these stitches into your projects, the more interesting textures you’ll create.
By incorporating these stitches and techniques into your crochet projects, you will add texture, interest, and variety to your work, making each piece truly unique.
Advanced Techniques
As you progress in your crochet journey, it’s time to explore some advanced techniques that will take your skills to the next level. In this section, we will cover mastering the magic circle, exploring increases and decreases, crocheting in the round, and working with double-treble and triple-treble stitches.
Mastering the Magic Circle
The magic circle, also known as the magic ring or adjustable loop, is a technique for starting a crochet project in the round. It allows you to close the center hole tightly, giving your work a professional finish. Check out this detailed post on how to make a magic circle.
Here’s how to create a magic circle:
Step 1: Hold the yarn with the tail end on the left and the working end on the right.
Step 2: Wrap the yarn around your fingers, forming a circle.
Step 3: Insert your crochet hook into the circle, yarn over, and pull up a loop.
Step 4: Chain a stitch to secure the loop and begin working your first round of stitches into the circle.
Step 5: Once you’ve completed the round, pull the tail end to close the circle tightly.

Practice the magic circle technique to become more comfortable with it, as it will be useful in creating hats, amigurumi, and other projects in the round.
Exploring Increases and Decreases
Increases and decreases are essential for shaping your crochet projects. Increases involve adding extra stitches to your work, while decreases involve removing stitches. Some common techniques include:
- Single crochet increase: Work two single crochet stitches into the same stitch.
- Single crochet decrease: Insert hook into the first stitch, yarn over and pull up a loop, insert hook into the next stitch, yarn over and pull up a loop, yarn over and pull through all three loops on hook.
These techniques can be applied to other stitch types, such as double and treble crochet. Practice both increasing and decreasing to give your projects more intricate shapes and patterns.
Crocheting in the Round

Crocheting in the round creates a circular or tubular piece of fabric. It’s used for making hats, bags, amigurumi, and more. This post details everything you need to make a circle.
To crochet in the round, here are the basic steps:
Step 1: Make a foundation chain or magic circle.
Step 2: Work your first round of stitches into the foundation chain or magic circle. If necessary, join the round with a slip stitch.
Step 3: Continue working subsequent rounds, following the pattern instructions for increases, decreases, or stitch patterns.
When crocheting in the round, make sure to use stitch markers to help you track the beginning and end of your rounds. This will make it easier to maintain the correct stitch count and pattern progression.
Working with Double Treble and Triple Treble
Double treble (dtr) and triple treble (trtr) stitches add height and create an open, lacy fabric. They’re useful for creating intricate patterns and edgings, like in shawls and scarves. Here’s how to work these stitches:
- Double treble (dtr): Yarn over three times, insert hook into the stitch, yarn over and pull up a loop, (yarn over, pull through two loops) four times.
- Triple treble (trtr): Yarn over four times, insert hook into the stitch, yarn over and pull up a loop, (yarn over, pull through two loops) five times.
Experiment with double-treble and triple-treble stitches to create stunning and elaborate patterns in your crochet projects.
Practice these advanced techniques to improve your skills and broaden your crochet repertoire.
About the Designer
Say Hi on Instagram and Subscribe To my email List for pattern discounts and freebies. For questions, send such to [email protected]. Read more about me here.