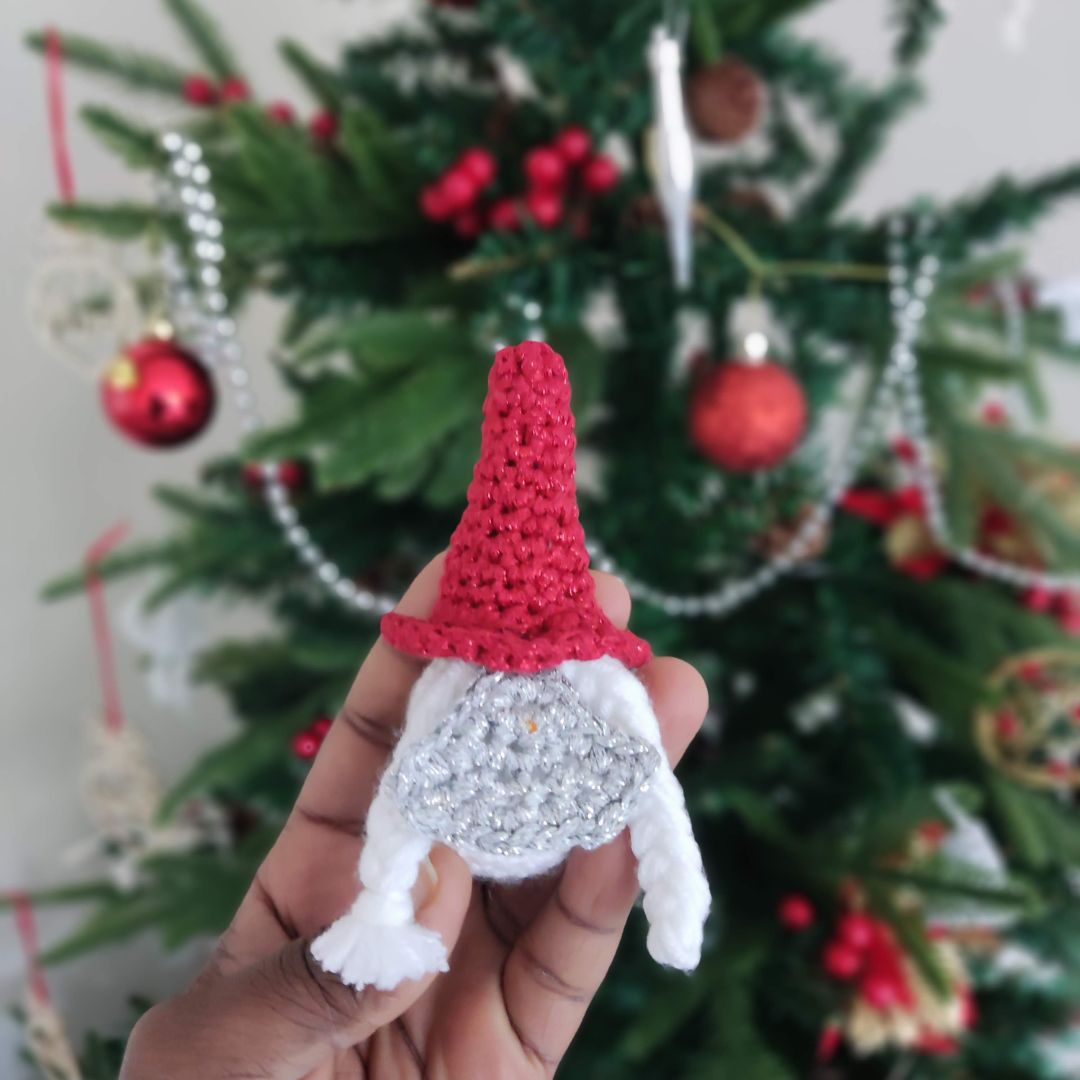
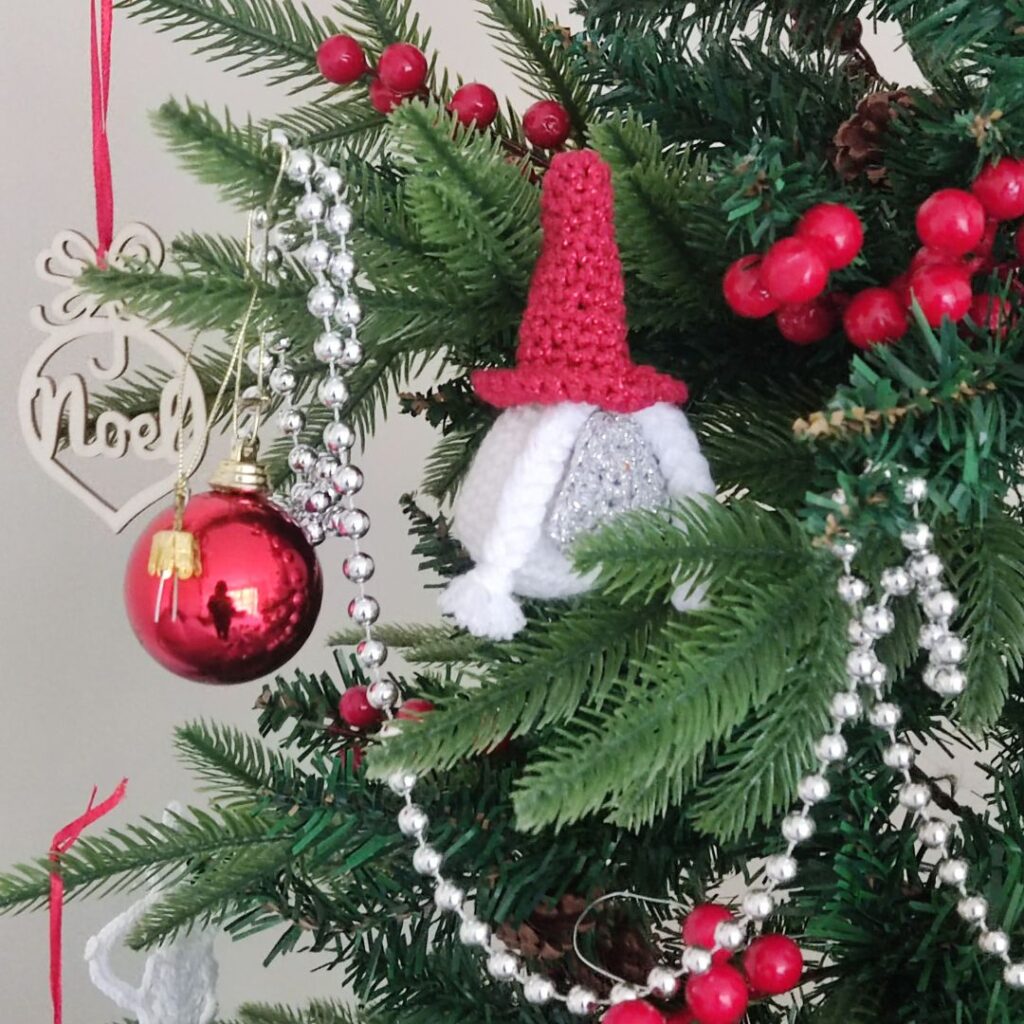
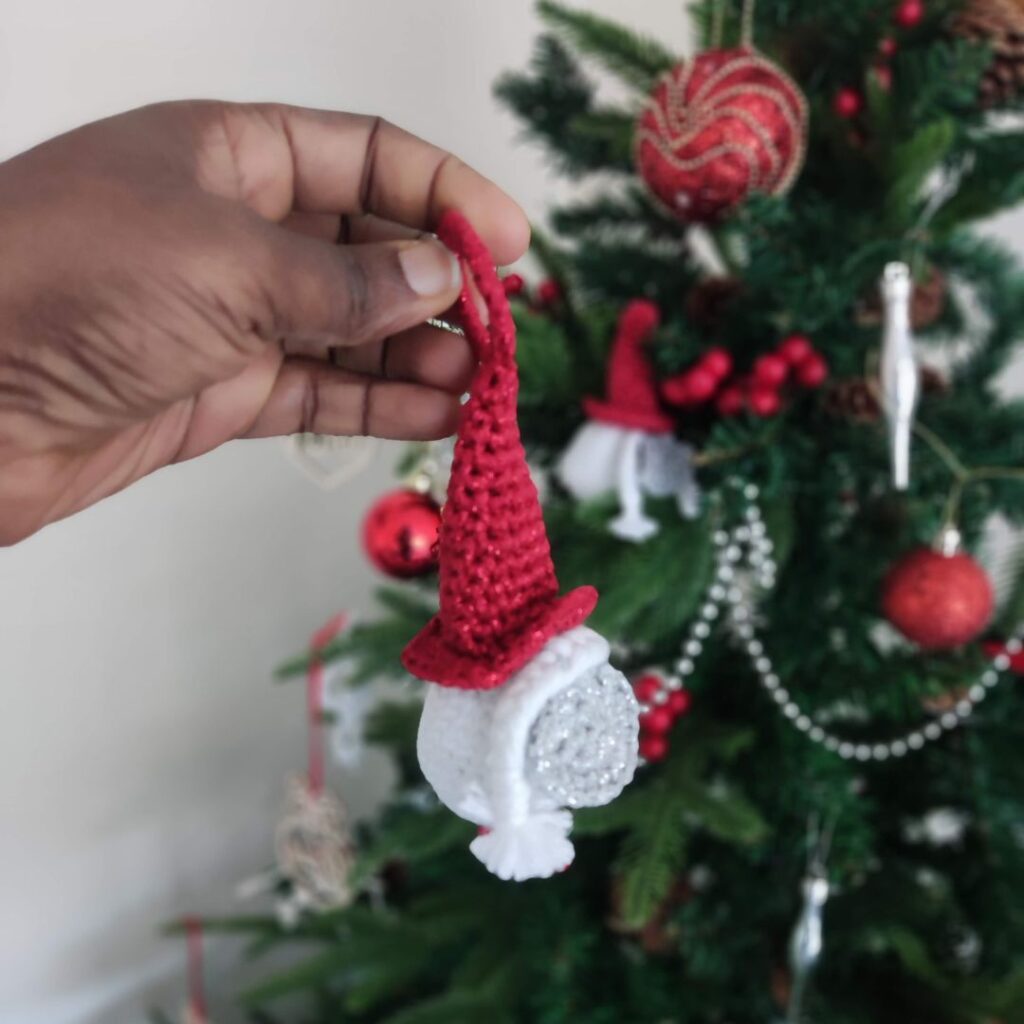
Crochet gnome ornament
As part of our Christmas tree decoration this year, we decided to add more crochet gnome ornaments. And I thought about designing mine. As with most other crochet ornaments I design, it has to be a pair so my kids can pick one each.
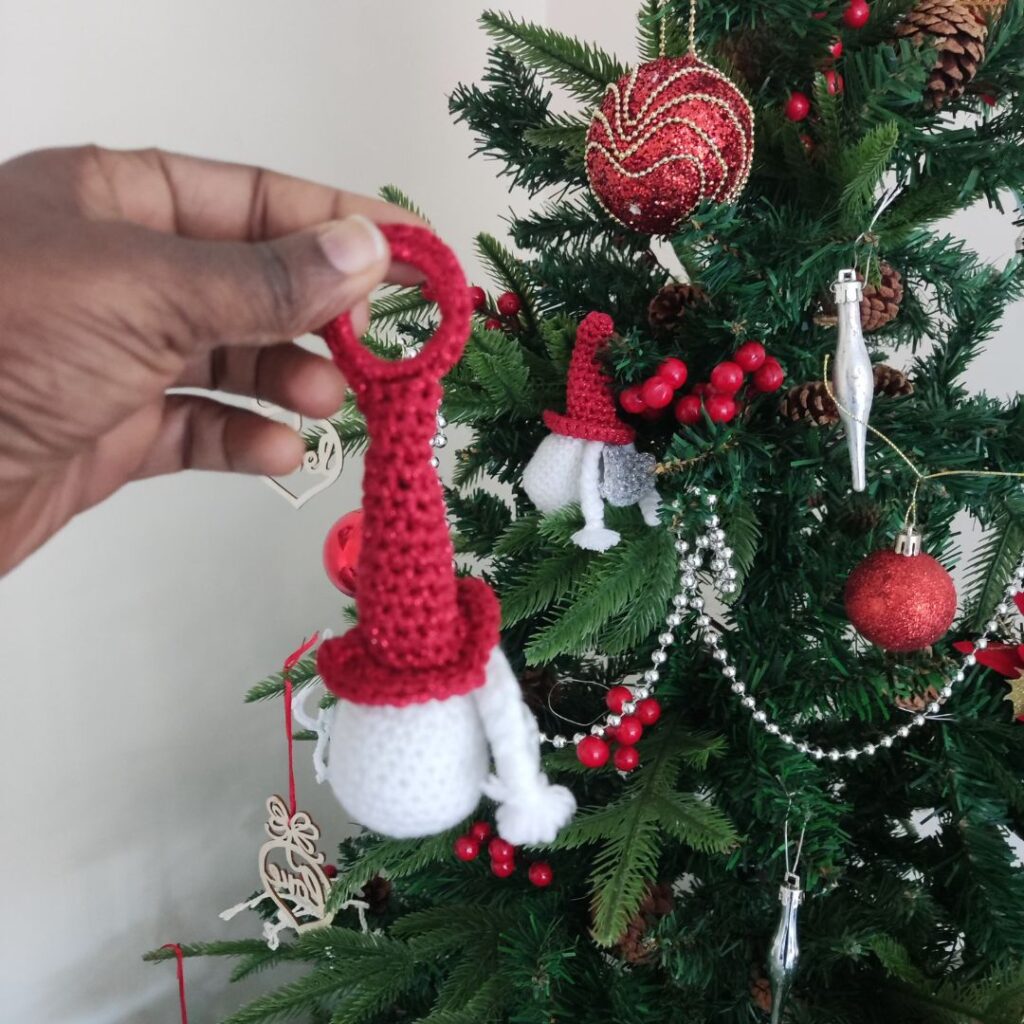
You can customize this crochet gnome ornament by adding a crochet keychain, as the gnome can also be used as a cute keyring!
The easy Christmas crochet gnome ornament pattern is available as a free pattern.
Scroll down for the instructions.

Supplies needed for this crochet gnome ornament
Yarn – Any Worsted weight yarn can be substituted.
Hobbii Flash it!, #4 worsted weight (80% Viscose, 20% Metallic fibre, 98 yards/90 m per 1.75 oz/50g skein)
Estimated Yardage
Red = 40 yards
Silver = 20 yards
White = 10 yards

Hook and other materials
- 3 mm Crochet Hook
- Yarn needle
- Keyring (optional)
- Polyfill
Gauge
Gauge isn’t crucial to this project.
Pattern notes
- Please kindly read through the pattern before starting.
- Similar #4 weight yarn can be substituted.
Skill level – Easy
Terms – US Terminology
Stitch Abbreviations
Chain(s) – ch(s)
Single Crochet – sc
Single Crochet 2 stitches together – sc2tog
Repeat – rep
Magic ring – MR
Finished Measurement
6” by 2.5”
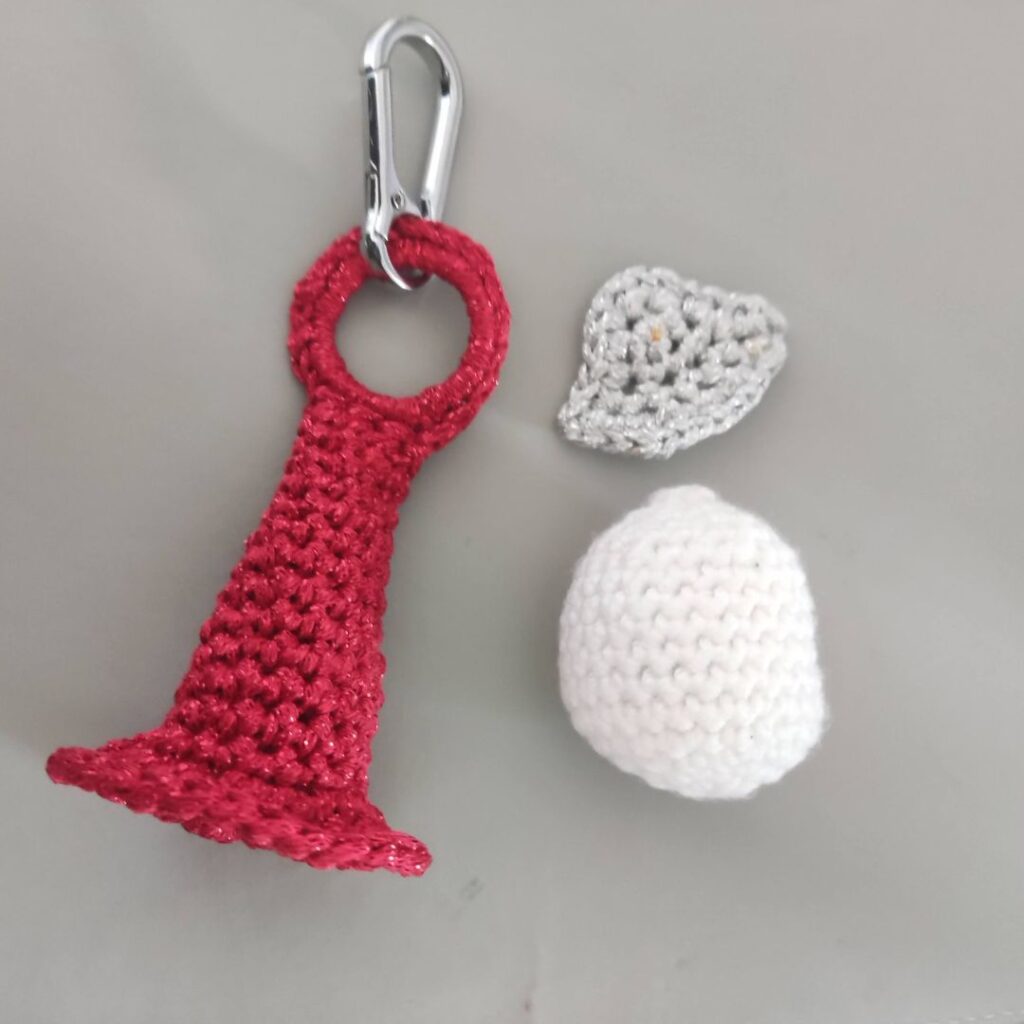
Crochet Gnome Ornament
Section 1: Hat
With Red yarn
If using a key ring
Round 1: Pick up the key ring and attach the yarn with a sl st to the key ring, ch 1, sc evenly around the key ring, join with a sl st to the beginning chain. 24 sc
Round 2: Ch 1, in BLO, sc in next 3 sts, turn, crocheting into the FLO (Loop left unworked, now BLO since you have turned), turn sc in these 3 sts, leave the remaining 21 sts unworked, join with a sl st to the beginning chain, 6 sc
If skipping the keyring, work round 1 below.
Round 1: With color A, in a magic ring, 6 sc into the magic ring. (6 sc)
Place stitch marker.
[if you are not familiar with a magic ring, you can ch 2, 6 sc into 1st chain]
For both types, continue below.
Round 2: sc in each st around; move the stitch marker after every round. (6 sc)
Round 3:*2 sc in next st, sc in next 2 sts, repeat from * to end of the round. (8 sc)
Round 4: sc in each st. (8 sc)
Round 5: *2 sc in next st, sc in next 3 sts, repeat from * to end of the round. (10 sc)
Round 6: sc in each st. (10 sc)
Round 7: *2 sc in next st, sc in next 4 sts, repeat from * to end of the round. (12 sc)
Round 8: sc in each st. (12 sc)
Round 9: *2 sc in next st, sc in next 5 sts, repeat from * to end of the round. (14 sc)
Rounds 10 – 11: sc in each st. (14 sc)
Round 12: In FLO, 2 sc in each st. (28 sc)
In both loops
Round 13: sc in each st. (28 sc)
Fasten off
Section 2: Body
Body
With White yarn
Round 1: With color A, in a magic ring, 6 sc into the magic ring. (6 sc)
Place stitch marker.
[if you are not familiar with a magic ring, you can ch 2, 6 sc into 1st chain]
Round 2: *2 sc in each st around (12 sc)
Round 3: *2 sc in next st, sc in next st, repeat from * to end of the round. (18 sc)
Round 4: *2 sc in next st, sc in next 2 sts, repeat from * to end of the round. (24 sc)
Rounds 5 – 10: sc in each st. (24 sc)
Round 11: *sc2tog, sc in next 2 sts, rep from around. (18 sc)
Round 12: sc in each st. (18 sc)
Round 13: *sc2tog, sc in next st, rep from around. (12 sc)
Stuff
Round 14: sc2tog around. (6 sc)
Section 3: Face details
With Silver yarn
Row 1: In a magic ring, ch 1 (do not count as a st here and throughout),, 2 sc in MR, turn. 2 sc
Close the MR tightly.
Or if you do not want to use a magic ring
Row 1: Ch 3, 2 sc in first ch, turn. 2 sc
Row 2: Ch 1, 2 sc in each st, turn. 4 sc
Row 3: Ch 1, sc in each st across, turn. 4 sc
Row 4: Ch 1, 2 sc in first st, sc in next 2 sts, 2 sc in last st, turn. 6 sc
Row 5: Ch 1, 2 sc in each st across. 12 sc
Edging
Crocheting around the whole piece, ch 1, sc in each st around, join with a sl st to the first st in Row 5
Beard
With white yarn
Step 1: Cut 6 pieces of 20” yarn.
Step 2: Fold in 2
Step 3: Braid using 2 cords on each side, braid for about 5”, and knot the end securely.
Cut off excess yarn.
Assembling
Step 1: Fold the beard into two.
Step 2: Place the face panel with the apex next to the bend created by the beard.
Step 3: Secure the apex of the face to the bend and then secure to the body
Step 4: Sew the body to the hat. You can use the loop left when working in FLo in Round 12.
Sew in all ends.
I would love to see your version of this simple crochet gnome ornament. When you do, kindly tag me with your makes.

Other fun Christmas-related crochet projects on the blog
Christmas Trees in 3 different sizes,
Wind spinner Christmas Tree Pattern
Christmas Coaster Free Pattern
Christmas Placemat free pattern
Christmas Stars in 3 different sizes
Christmas Baubles Free Pattern