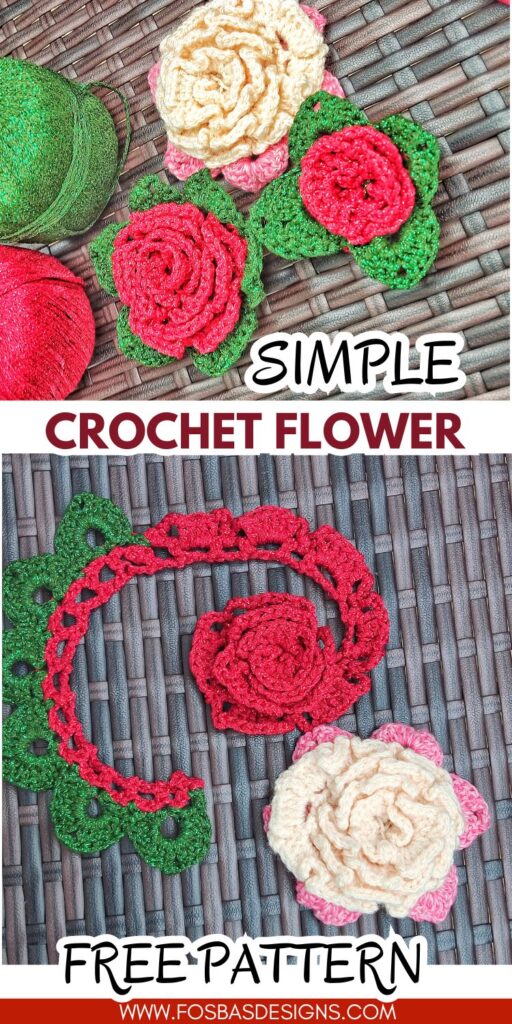
How to Crochet a Flower for Beginners step-by-step Instructions
Crochet flowers are one of the easiest crochet projects to make! Excited to share my go-to crochet flower pattern with you!
I’m thrilled to share the charm of crocheting flowers, especially for those just starting their yarn craft journey. The simplicity of this project is part of what makes it so appealing; it uses basic crochet stitches.
Best yarn to crochet a flower
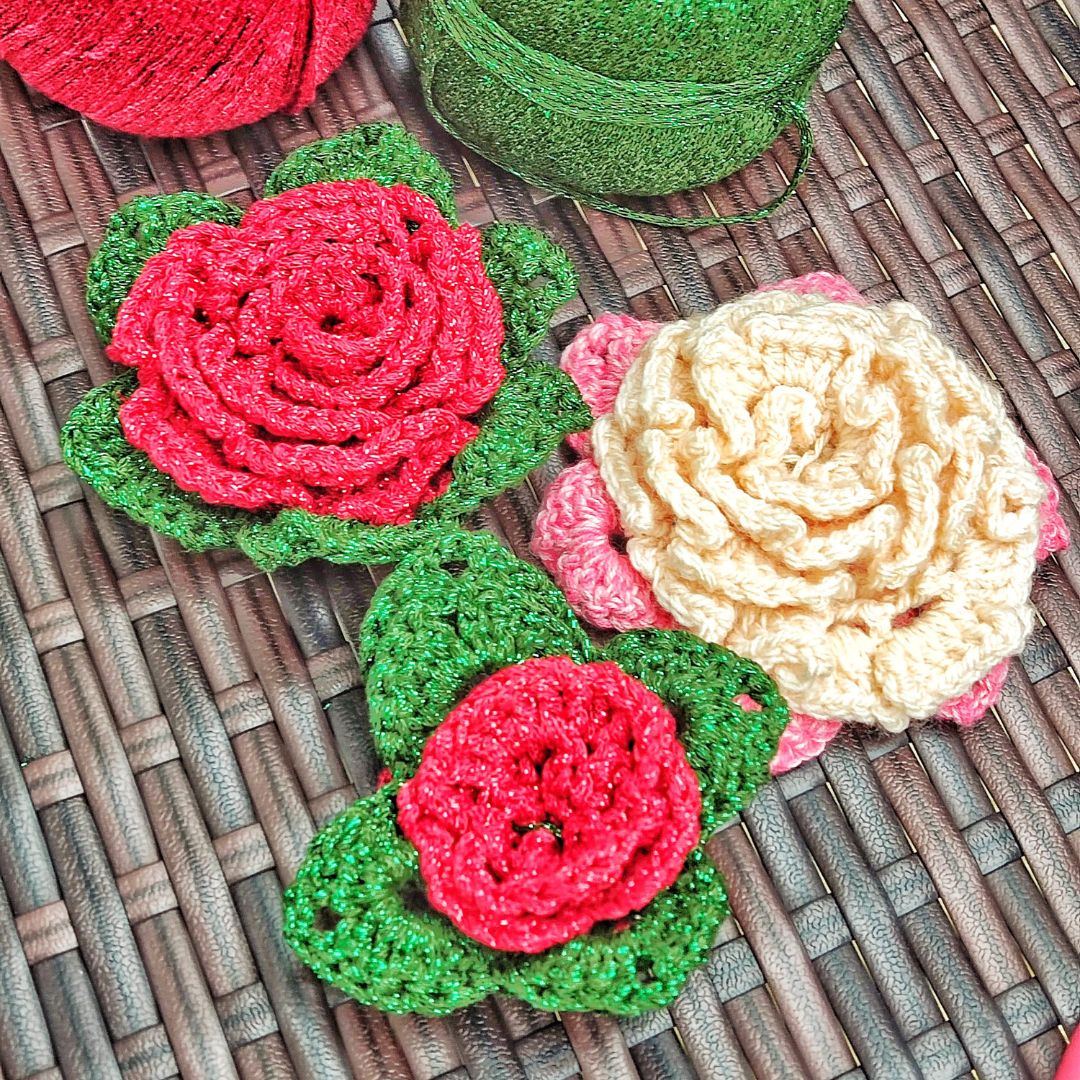
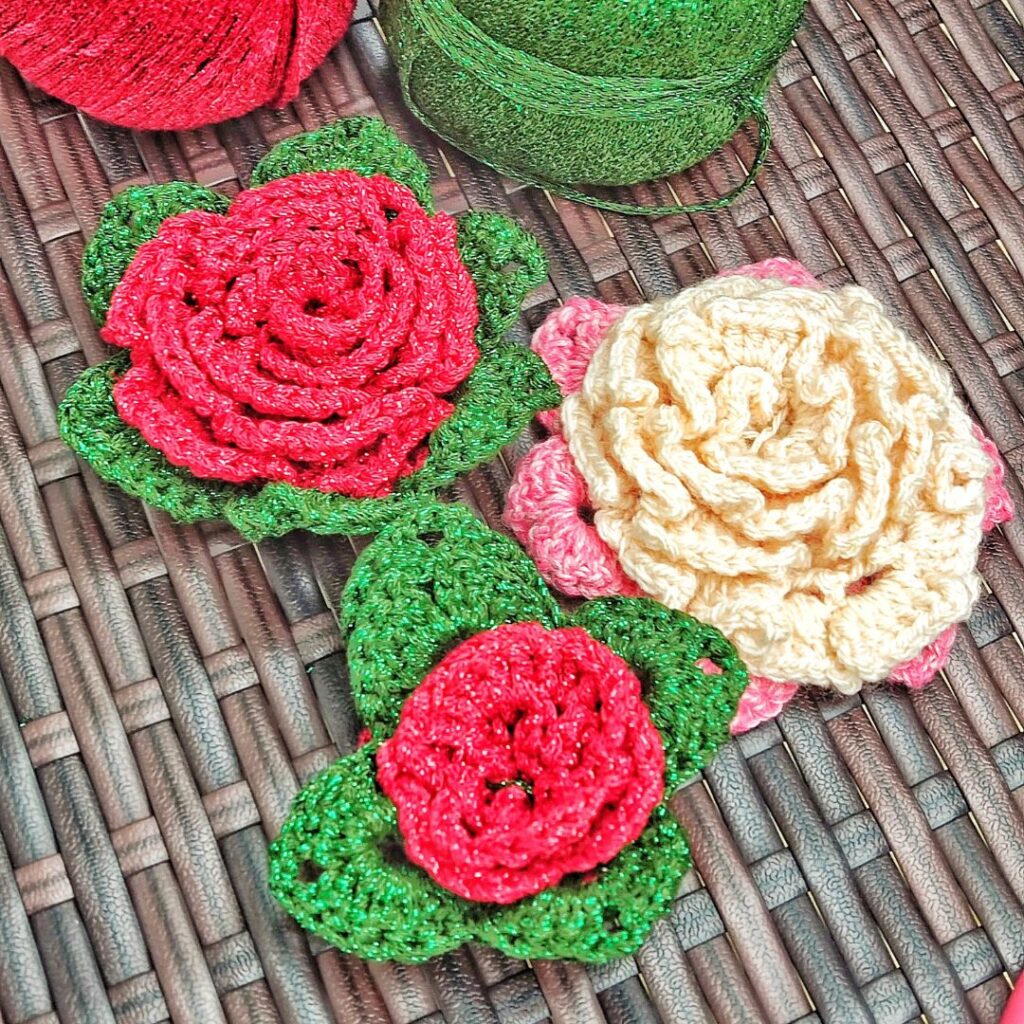
Cotton yarn is recommended for crochet flowers because of the amazing stitch definition, making the finished flower pop. I often reach for brands like Lily Sugar’n Cream or Patons Grace for their durable and vibrant options.
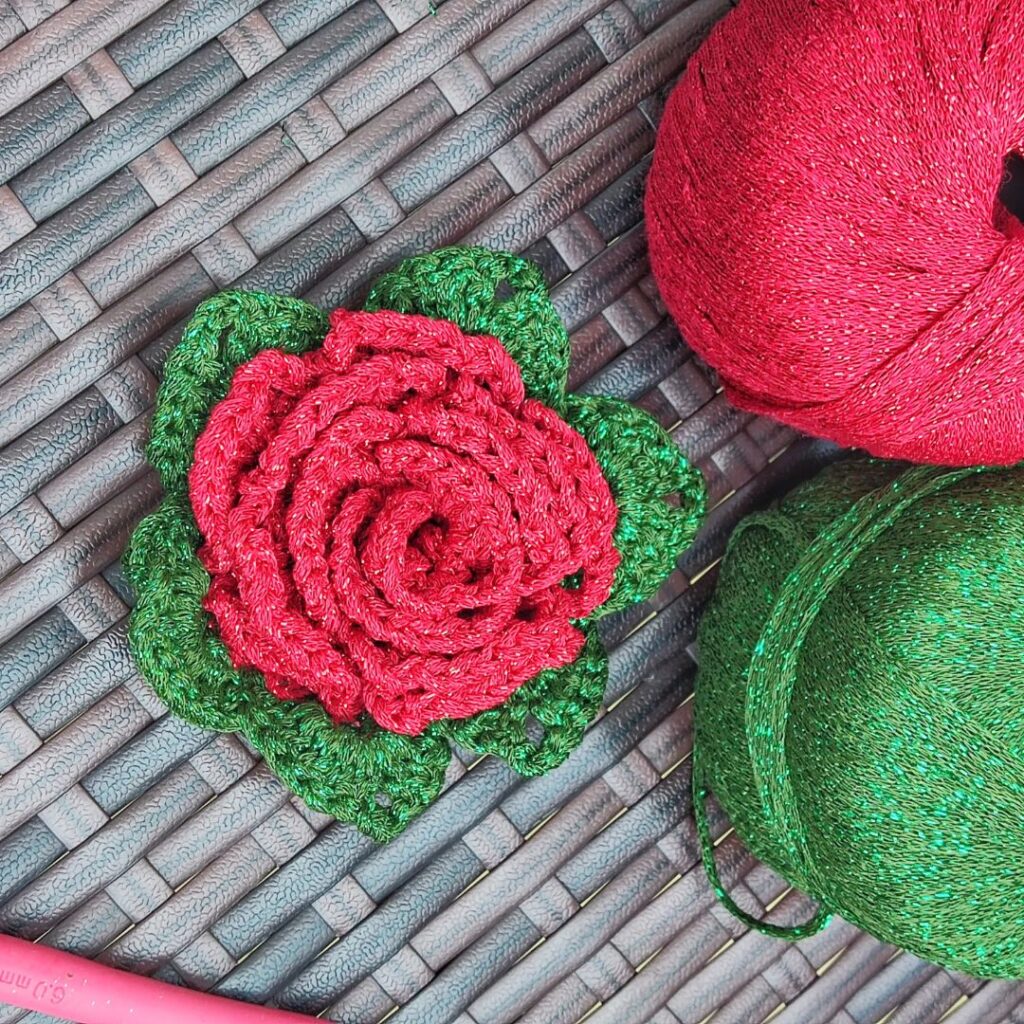
However, I went for a metallic blend yarn for this project for the finished flower’s beautiful shine.
In this post, I’ll walk you through each step to craft a simple crochet flower, unwrapping the layers of this delightful art at an easy and engaging pace for all skill levels.
Materials needed for a crochet flower
You can use any medium-weight yarn of your choice. For this crochet flower, I used Hobbii Flash it!, #4 worsted weight (80% Viscose, 20% Metallic fibre, 98 yards/90 m per 1.75 oz/50g skein)
Red = A
Green = B
Estimated yardage
20 yards in A
10 yards in B
Hook
US size H (5 mm) Crochet Hook
Gauge
14 sts over 8 rows = 10 cm square/4” made in dc
Gauge isn’t important for this project.
Pattern notes
- Please kindly read through the pattern before starting.
- Any #4 weight of yarns can be substituted
- Chains at the beginning of the rows do not count as a stitch.
Difficulty – Easy
Terms – US Terminology
Stitches
Chain(s) – ch(s)
Half Double Crochet – hdc
Double Crochet – dc
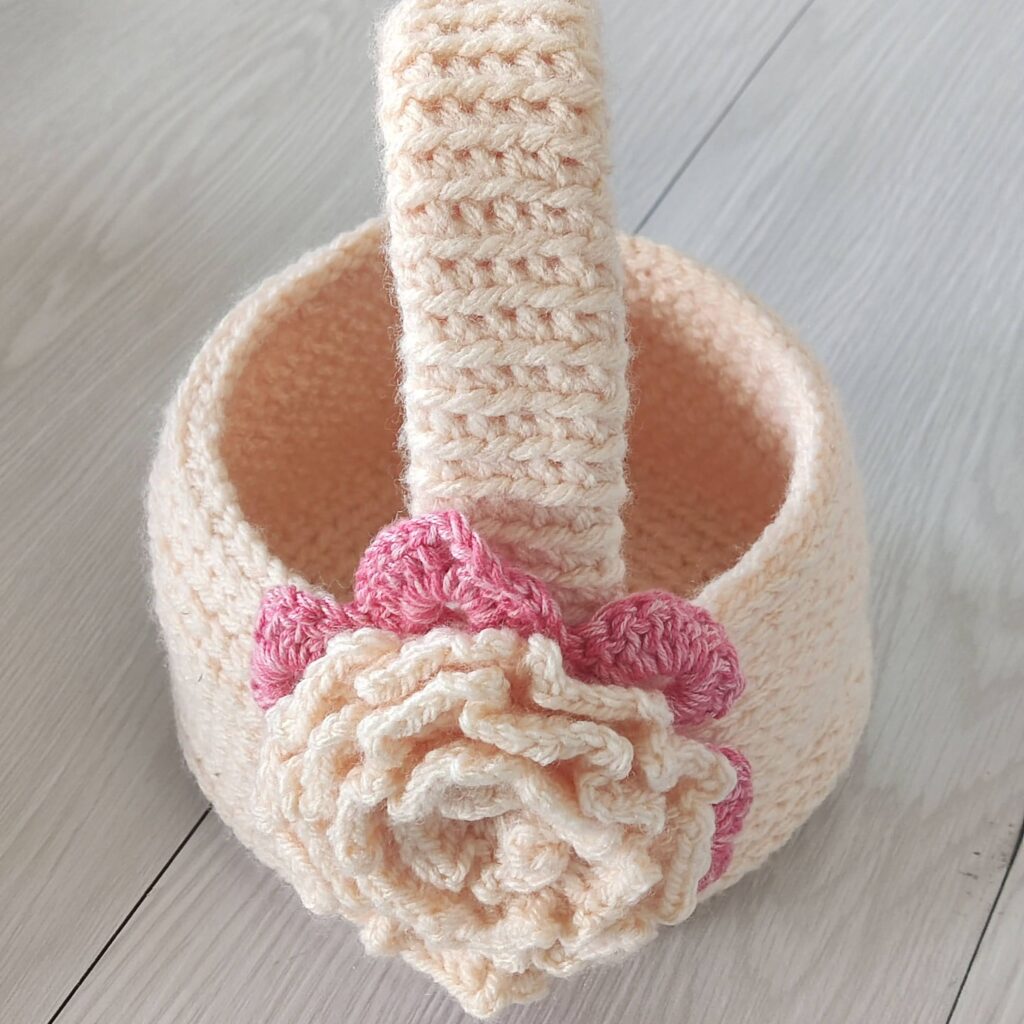
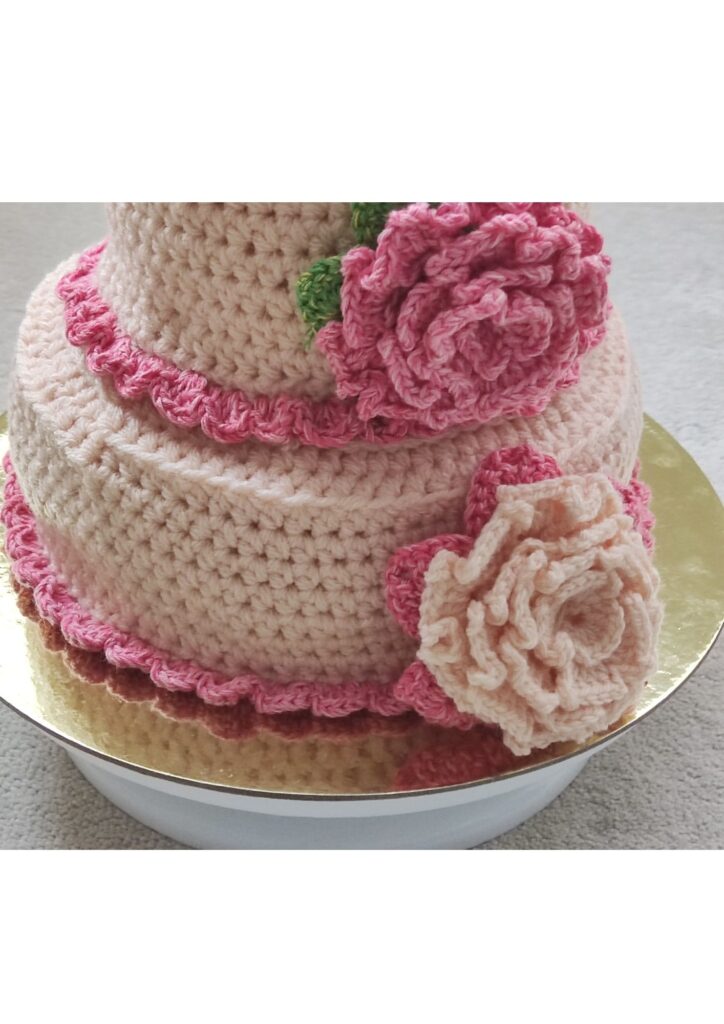
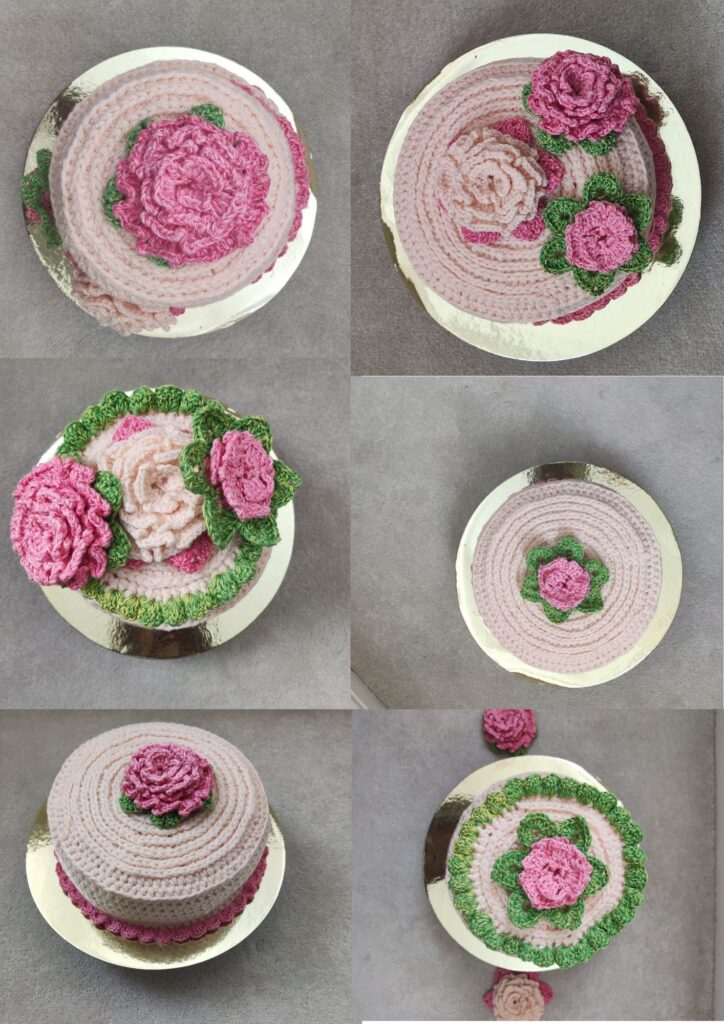
The finished crochet flowers can be joined to a basket, cakes, used as home decor, attached to sun hats, used as a brooch, joined into pillows/cushions covers, and framed! The list is endless. Let your imagination flow.
More crochet flower patterns on the blog:
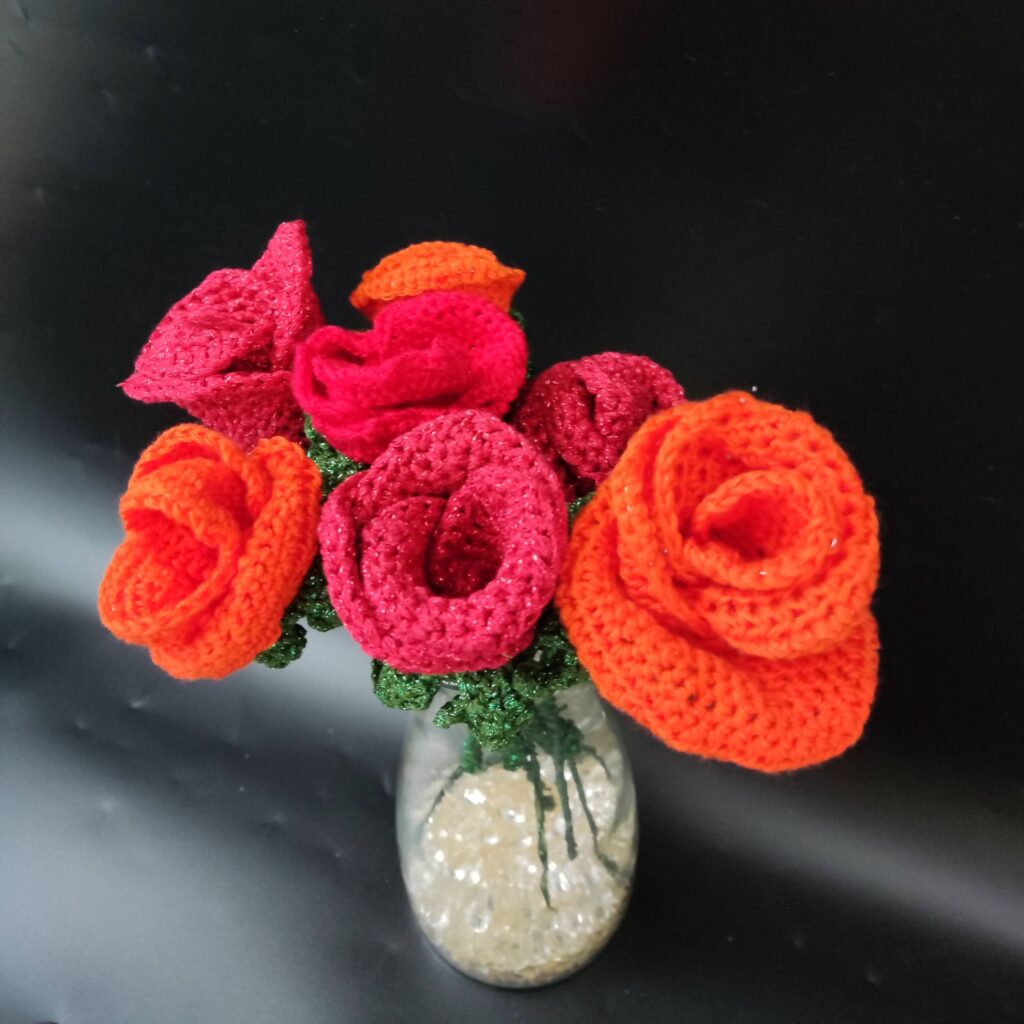
Crochet rose bouquet-free pattern
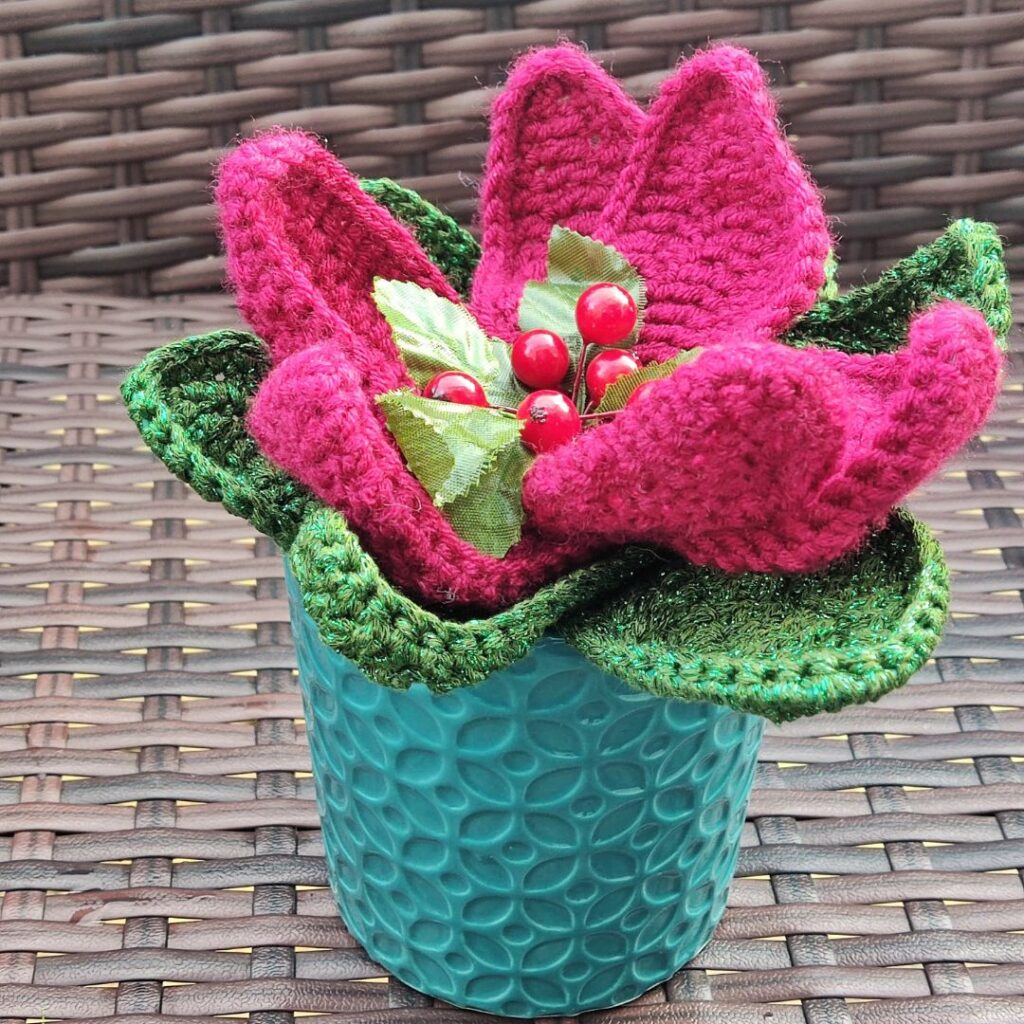
Poinsettia Flowerpot, towel hanger
Crochet easy flowers (round Up)
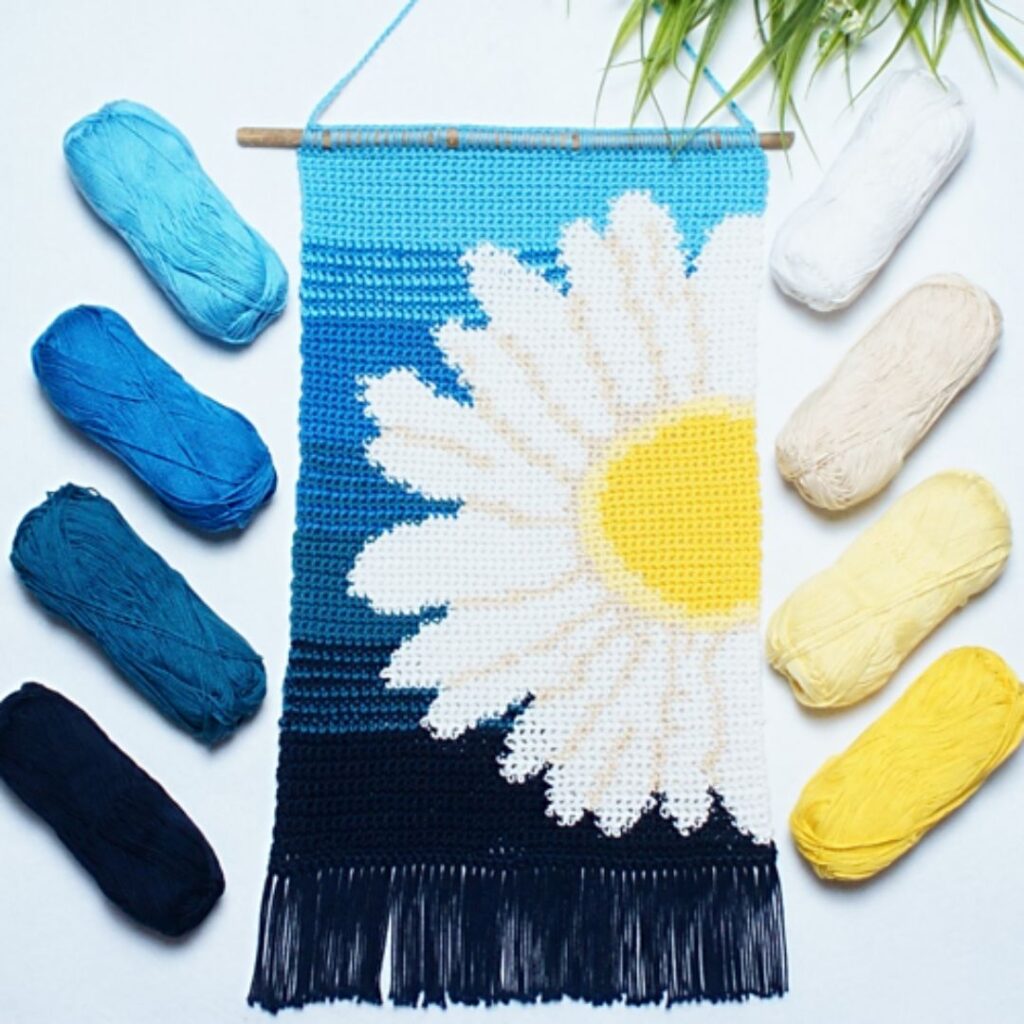
Easy Daisy crochet wall hanging pattern
How to Crochet a Flower
Big Flower
With A, Chain 125
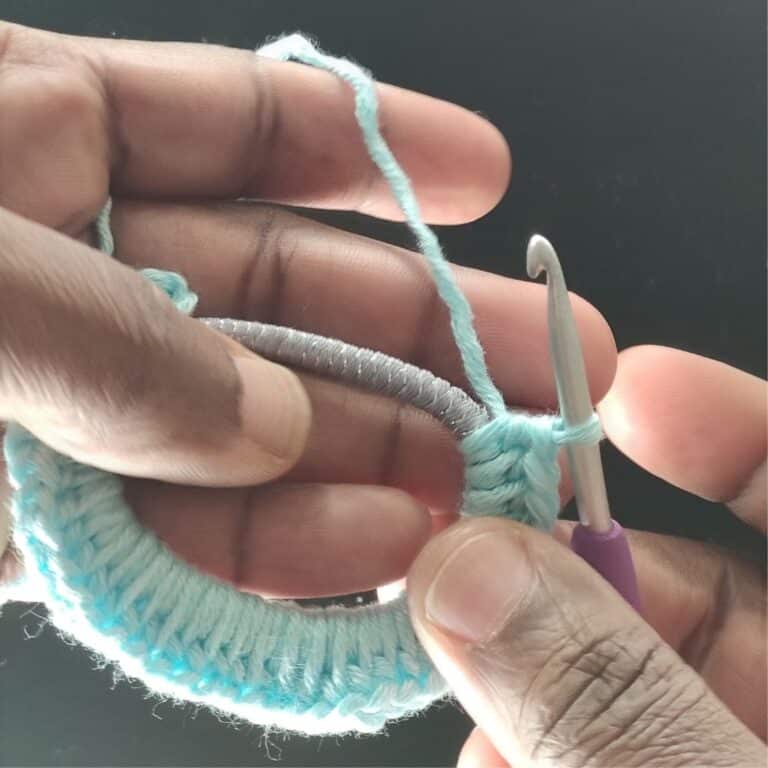
Row 1: Dc in 5 th ch from hook, *ch 2, skip next 2 chs, rep from* to end, turn. 41 dc, 40 ch sp
Row 2: Ch 3 (counts as a st), 3 dc in first ch sp, *ch 4, sc in next st, ch 4, 4 dc in next ch sp, rep from * until last 12 ch sps, fasten off A, join B. **Ch 2, skip next ch sp, sc in next st, ch 5, sc in same st, ch 2, skip next ch sp, sc in next st, rep from ** to end, turn. 6 ch-5 sps, 28 sc, 112 dc
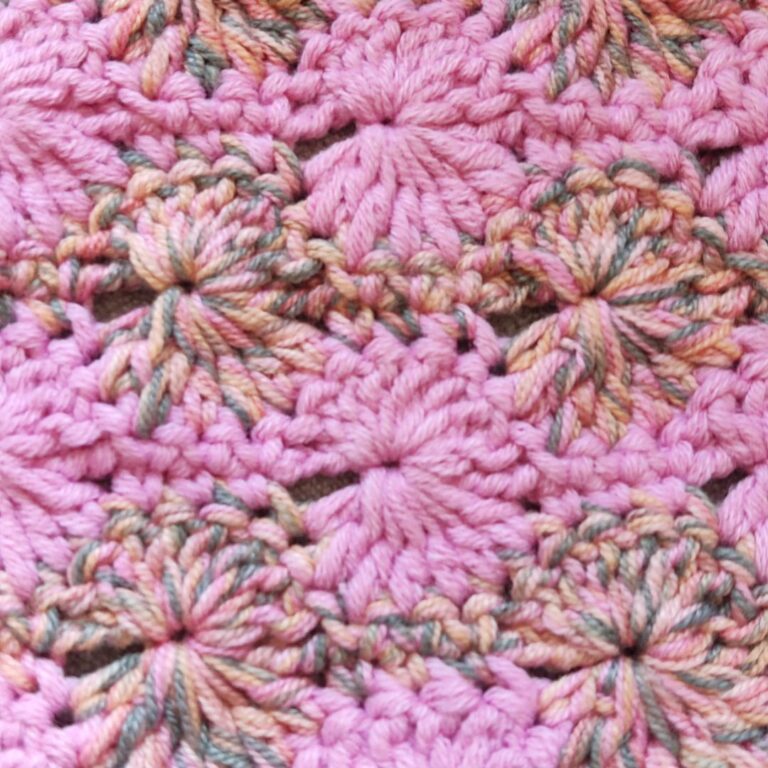
Row 3: With B, ch 1, sc in first ch sp, *(5 dc, ch 3, 5 dc) in ch 5 sp, skip next ch 2 sp, sc in next ch 2 sp, rep from * until last ch 5 sp, (5 dc, ch 3, 5 dc) in ch 5 sp, sl st to the next ch 2 sp.
Fasten off.
Small
With B, chain 65
Row 1: Dc in 5th ch from hook, *ch 2, skip next 2 chs, dc in next st, rep from* to last ch, dc in last ch, turn. 22 dc, 20 ch sp
Row 2: Ch 3 (counts as a st), 4 dc in first ch sp, *ch 4, sc in next st, ch 4, 5 dc in next ch sp, rep from * until the last 12 ch sps, ch 4, sc in next st, fasten off B, join A with a sl st to the same ch sp where you placed the last sc, **ch 2, skip next ch sp, sc in next st, ch 5, sc in same st, ch 2, skip next ch sp, sc in next st, rep from ** to end, turn. 6 ch-5 sps, 21 sc, 25 dc
Row 3: With B, ch 1, sc in first ch sp, *(5 dc, ch 3, 5 dc) in ch 5 sp, skip next ch 2 sp, sc in next ch 2 sp, rep from * until last ch 5 sp, (5 dc, ch 3, 5 dc) in ch 5 sp, sl st to the next ch 2 sp.
Fasten off.
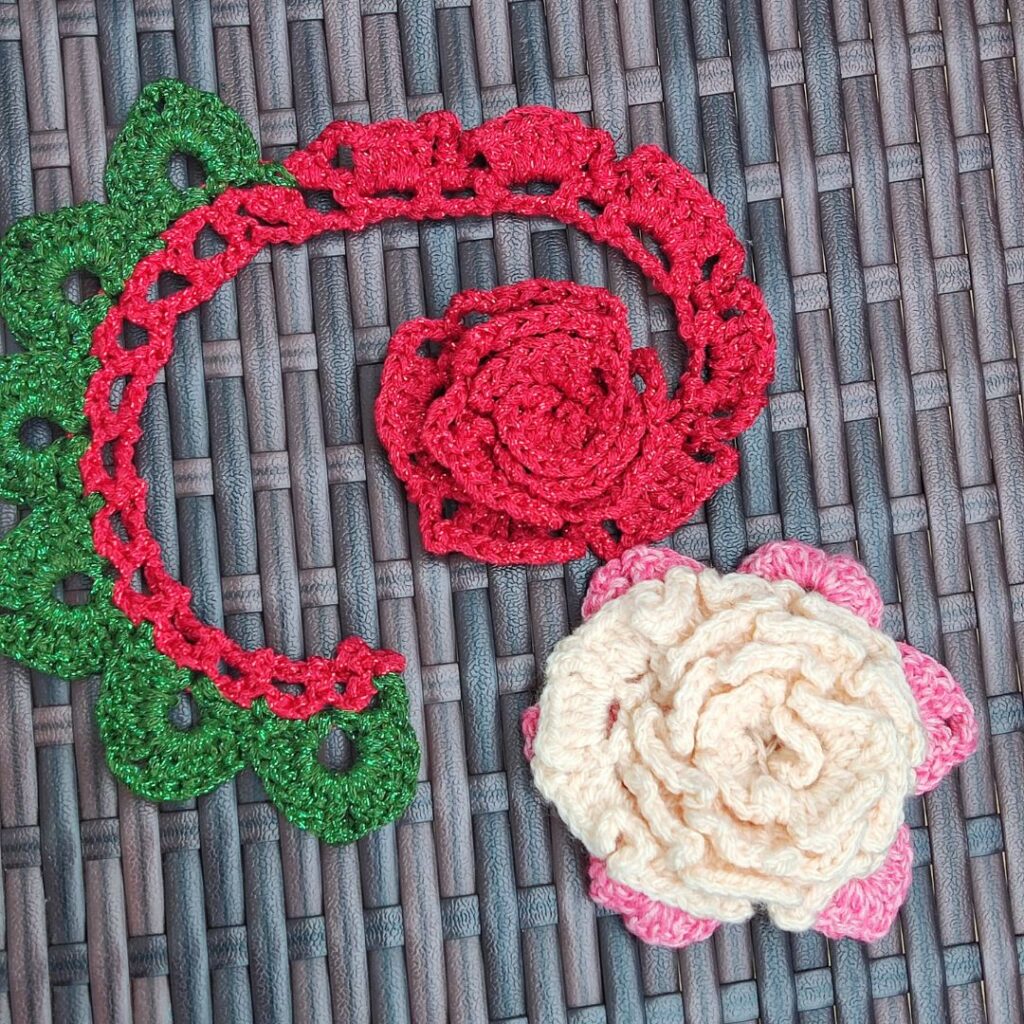
To assemble the flower
· Start from the ruffled end
Roll circularly and gradually expand the circle until you have completed the whole piece.
· Secure with yarn at different spots on the base.
· Sew it ends.

I hope you are confident in making your first version of a crochet rose flower. When you make one or two, do tag me with your beautiful versions.
About the Designer
Say Hi on Instagram and Subscribe To my email List for pattern discounts and freebies. For questions, send such to [email protected]. Read more about me here.
About the Designer
Say Hi on Instagram and Subscribe To my email List for pattern discounts and freebies. For questions, send such to [email protected]. Read more about me here.