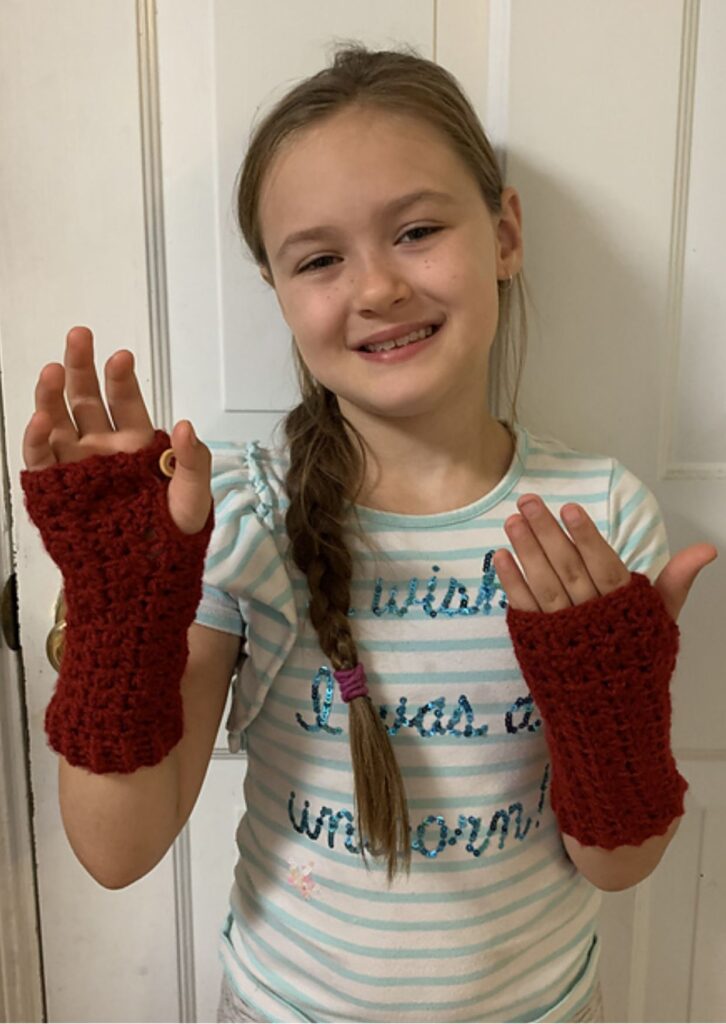
Crochet fingerless glove free pattern
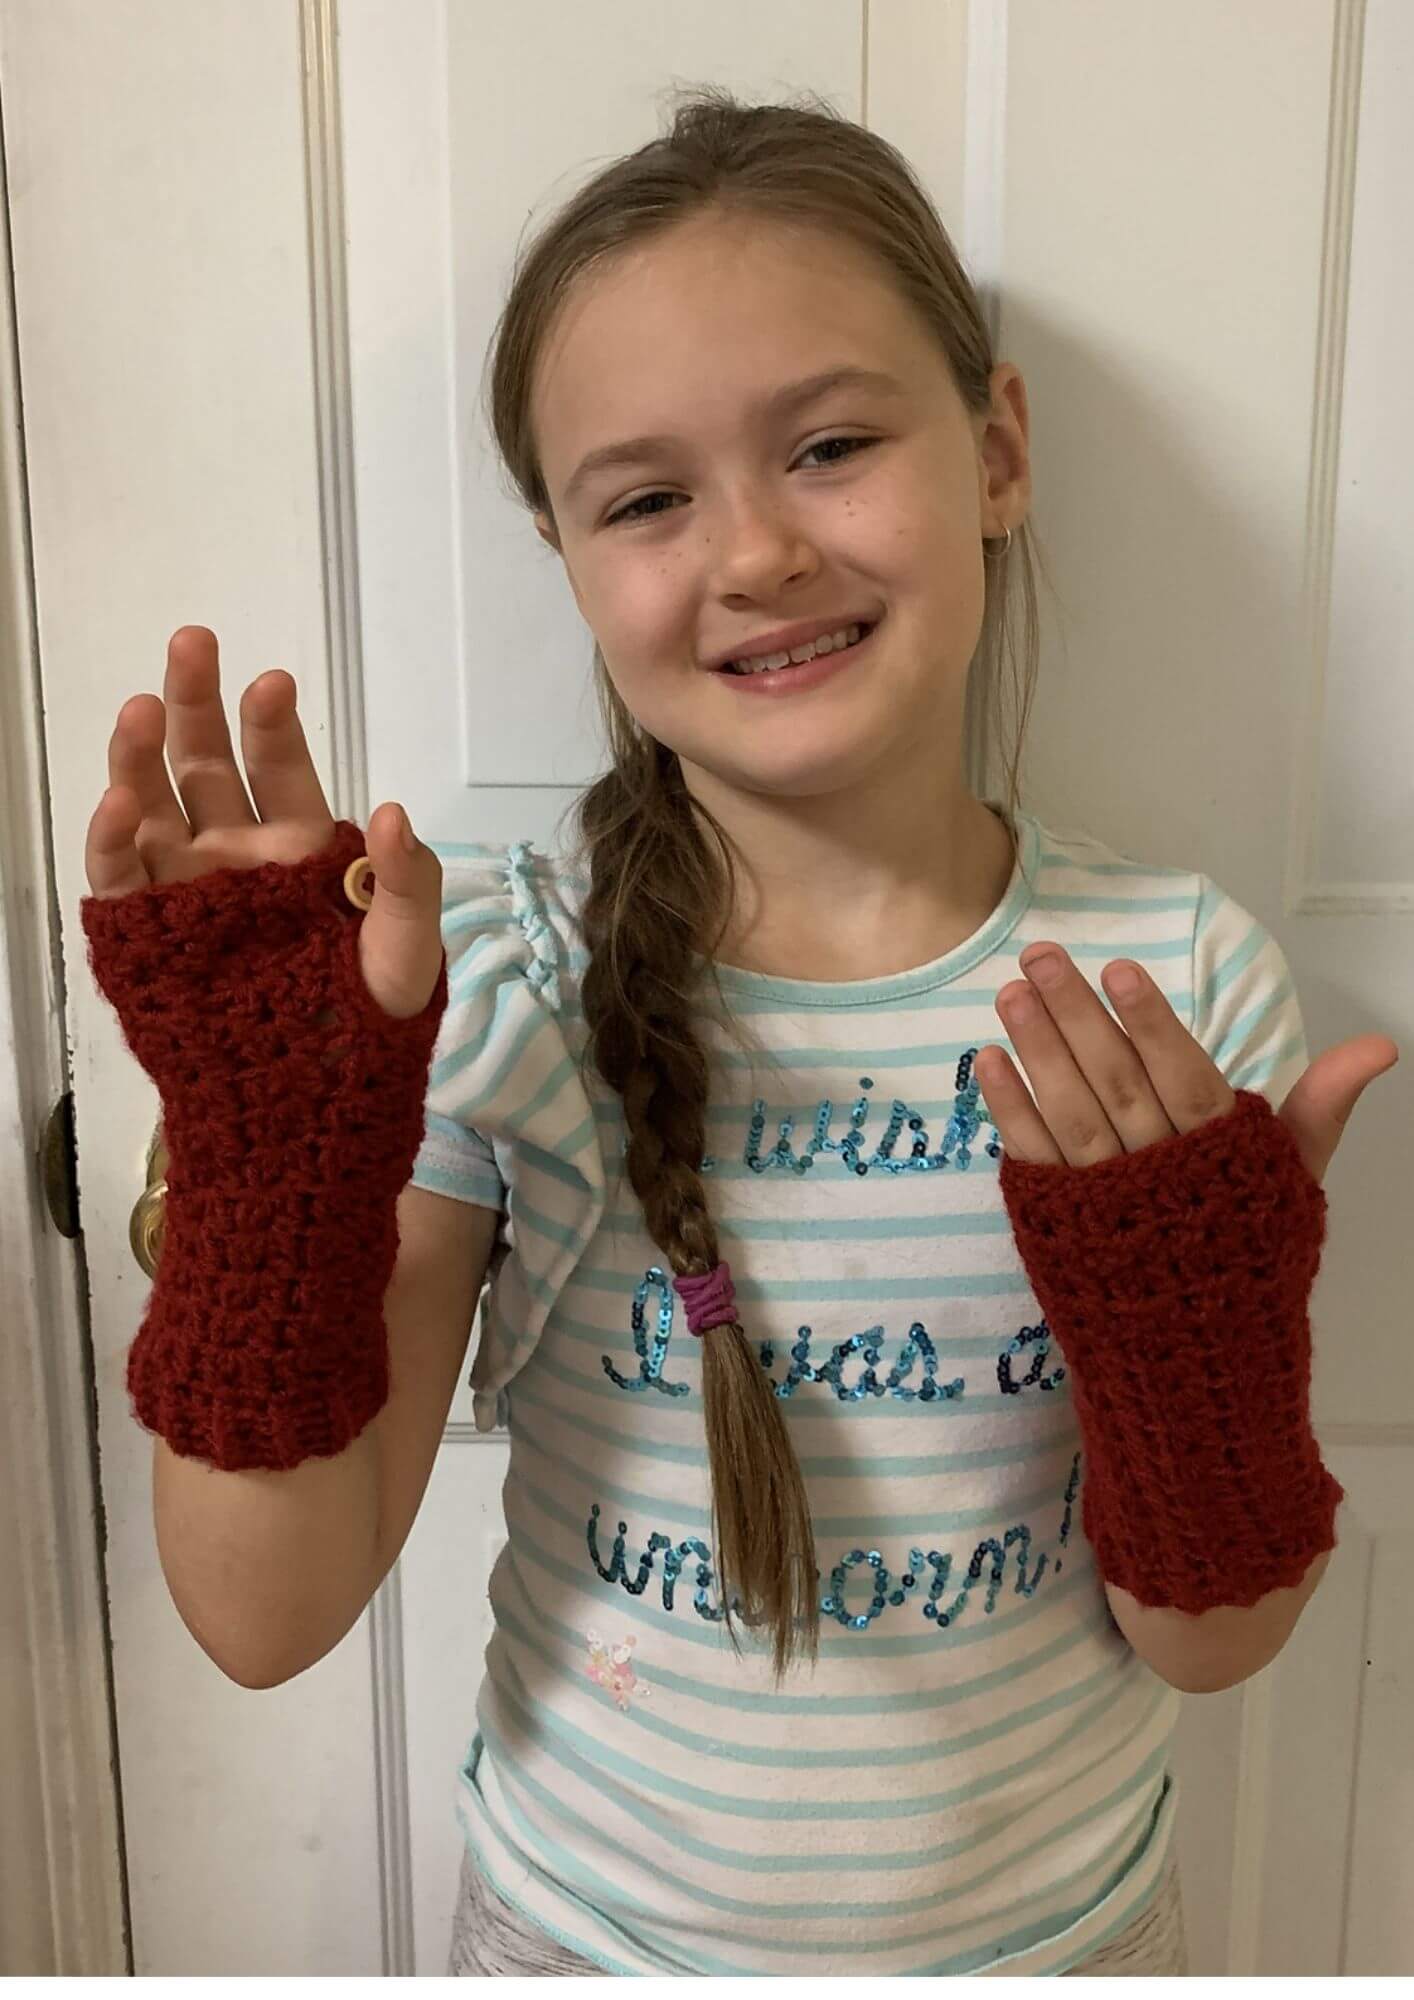
Crochet Fingerless gloves are an amazing way to keep your fingers warm and cozy on cold days. Fingerless gloves come in handy when one wants to preserve the functions of one’s fingers and still wants to keep the wrist and palm warm.
My fingerless mitts come in handy for those days I am out in the garden or pushing prams. As such, I couldn’t resist designing my version of the crochet fingerless glove pattern.
Have you ever made fingerless gloves? I love that you can customize this pattern for a perfect fit. This pattern is graded into 3 different sizes with instructions on how to make a fitting glove.
Crochet fingerless gloves and hand warmer
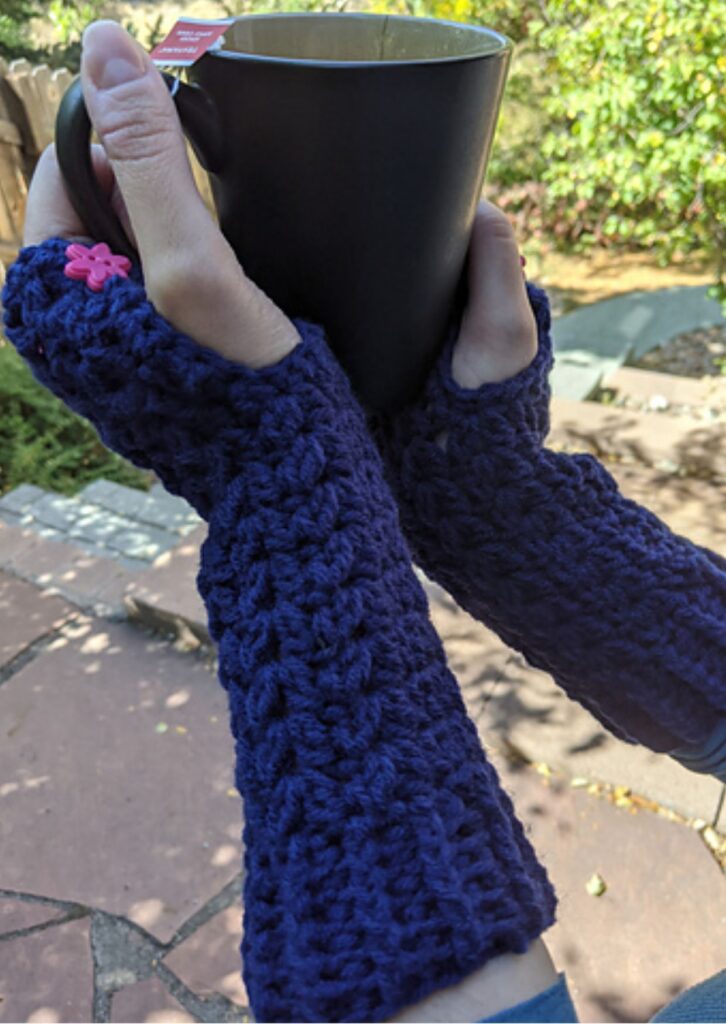
I picked the texture for this pattern as it works up pretty fast. The stitch combination is easy to master, and in no time, you will have some cute fingerless gloves ready to keep your hands warm.
The easy, breezy fingerless crochet glove is a fast, effortless project and is available as a free pattern. You can get the ad-free version on Ravelry
It is also simple to customize; in no time, you can make yourself a set you’ll cherish for a long time.
The stitch is one of my favorites, and I’ve used it in many other patterns. Check out the Boat neck Vestige Pullover pattern, Easy breezy beanie and cowl pattern, Wine bag, and sun hat pattern.
Best yarn to make your crochet fingerless glove with
The best yarn for crochet fingerless gloves should have some elasticity or stretch.
This pattern was designed and tested using double-knit yarn (#3). You can use any yarn in this category to make your version of these easy-breezy crochet fingerless gloves.
Materials for this crochet fingerless glove pattern.
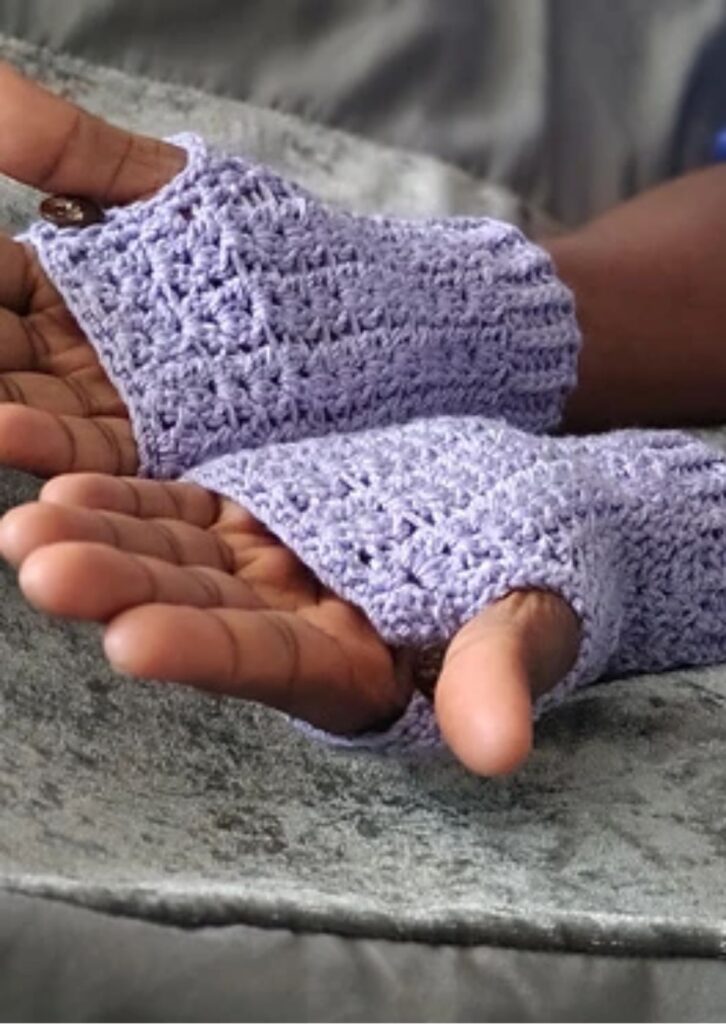
The prototype was made using Lion Brand Truboo, DK, #3, (100% Bamboo, 241 yards/220 m per 3.5 oz/100g Ball)
1 (1, 1) Ball in Lilac
ESTIMATED YARDAGE
60 (80, 100) yards
Hook and other supplies needed for this fingerless crochet glove
- 4.5 mm Crochet Hook
- Buttons – 2 pcs, 8 -15mm each
- Yarn needle
Gauge
5 dc clusters over 10 Rows = 10cm/4” Square
Adjust hook size if necessary, to obtain gauge.
DIFFICULTY LEVEL – Easy
TERMS – US Terminology
Adjusting your fingerless glove for a perfect fit
- Increase/decrease your starting chain for a perfect fit.
- You can increase or decrease the repeats for a better fit.
Important things you should note while making this fingerless glove pattern
- Please kindly read through the pattern before starting.
- Any #3 weight of yarns can be substituted
- Chains at the beginning of Rows/Rounds do not count as stitches.
- Each DC cluster is worked on and stacked on previous DC clusters.
Stitches used for this crochet fingerless glove pattern
Chain(s) – ch(s)
Slip Stitch – sl st
Half Double Crochet – hdc
Double Crochet 2 stitches together– dc2tog
Front post half double crochet – FPhdc
Back post half double crochet – BPhdc
SPECIAL STITCH
Double crochet Cluster = [dc2tog, ch 1, dc2tog] in indicated stitch.
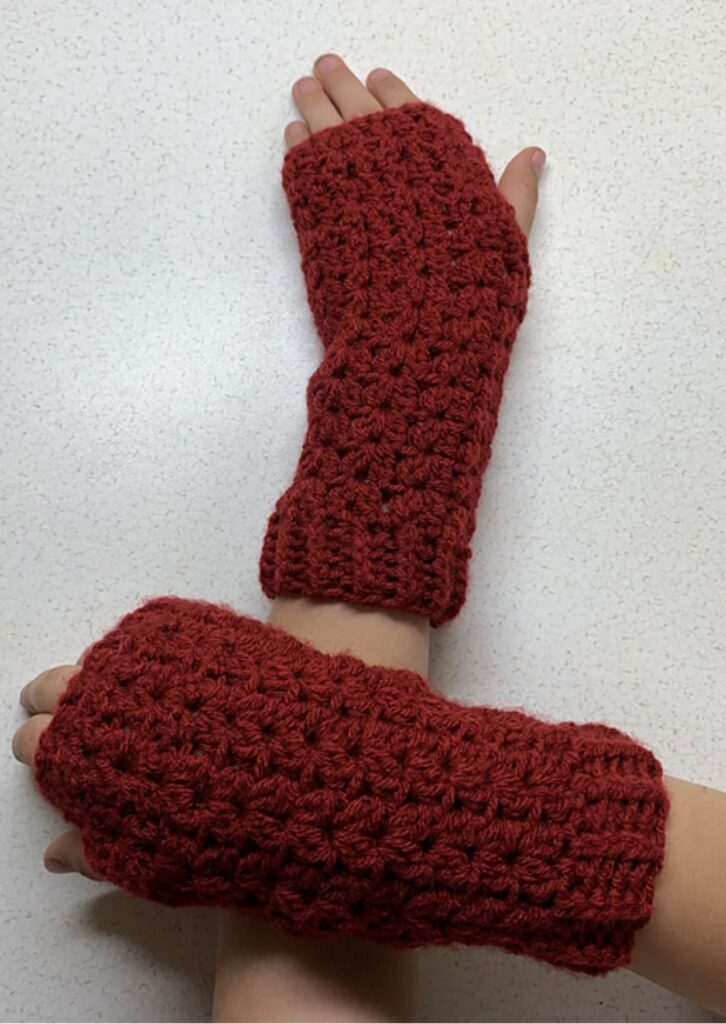
Crochet fingerless glove finished measurement
7” x 4” (7” x 5”, 7” x 6”)
Instructions for this easy crochet fingerless glove-free pattern
Chain 26 (34, 40)
Starting ch should be a good fit around your fingers in multiples of 2
Row 1: Sc in 2nd ch and in each ch across, turn. 25 (33, 39) sc
Row 2: Ch 3, dc in same st, skip next 2 sts, [dc2tog, ch 1, dc2tog] in next st, *skip next 2 sts, [dc2tog, ch 1, dc2tog] in next st, rep from * to last 3 sts, skip next 2 sts, dc in last st, turn. 7 (10, 12) dc clusters, 2 dc
Row 3: Ch 3, dc in first st, *[dc2tog, ch 1, dc2tog] in each ch 1 sp across, dc in last st, turn. 7 (10, 12) dc clusters, 2 dc
Rows 4 – 5: Rep Row 3.
Working in rounds from here
Round 6: Ch 3, dc in first st, *[dc2tog, ch 1, dc2tog] in each ch 1 sp across, dc in last st, ch 4, sl st to beginning ch. 7 (10, 12) dc clusters, 2 dc
Shape for Thumb
Round 1: Ch 3, dc in first st, *[dc2tog, ch 1, dc2tog] in next ch 1 sp, rep * 6 (9, 11) more times, skip last dc and first ch, [dc2tog, ch 1, dc2tog] in next ch, skip next ch, dc in last ch, sl st to beginning ch. 8 (11, 13) dc clusters, 2 dc
Round 2: Ch 3, dc in first st, *[dc2tog, ch 1, dc2tog] in each ch 1 sp across, dc in last st, sl st to beginning ch. 8 (11, 13) dc clusters, 2 dc
Rounds 3 – 8: Rep Round 2
Band
Round 1: Ch 2, hdc in first st, *hdc in next dc2tog, hdc in next ch 1 sp, rep from * to last st, hdc in last st, sl st to beginning ch. 25 (33, 39) hdc
Round 2: Ch 2, FPhdc in next, BPhdc in next st, rep from * to end, sl st to beginning ch. 13 (16, 19) FPhdc, 12 (15, 18) BPphdc
Rounds 3 – 6: Rep Round 2.
Fasten off.
Edging (along the thumb opening)
Join yarn with a sl st to the beginning of row 1. (as shown with the red arrow)
Row 1: Ch 1, working down the opening for the thumb, sc in each st across the edges, turn. 20 sc
Button Hole
Row 2: Ch 1, sc in first st, ch 4, skip next 3 sts, sl st in remaining sts.
Fasten off sew-in ends.
Put the Glove on to determine where you would love to sew the buttons.
Sew buttons on one side.
Block to measurement.
Make second hand.
I would love to see your makes from this crochet fingerless glove free pattern, do tag me with your makes.
About the Designer
Susanna Biaye is the designer behind Fosbas Designs. A mother to an adorable Toddler whose pregnancy rekindled her love for design, her designs are aimed at helping you feel confident while making your crochet wardrobe.
Come say Hi on Instagram, Blog, and Subscribe To my email List for pattern discounts and freebies.
For questions, send such to [email protected]
Get the PDF pattern on Ravelry
Other crochet shawls and scarf patterns to check on the blog
One skein Shanae shawl-free pattern
Convertible rectangular scarf pattern
Chunky rectangular scarf-free pattern
Reversible crochet scarf pattern

One Comment
Comments are closed.