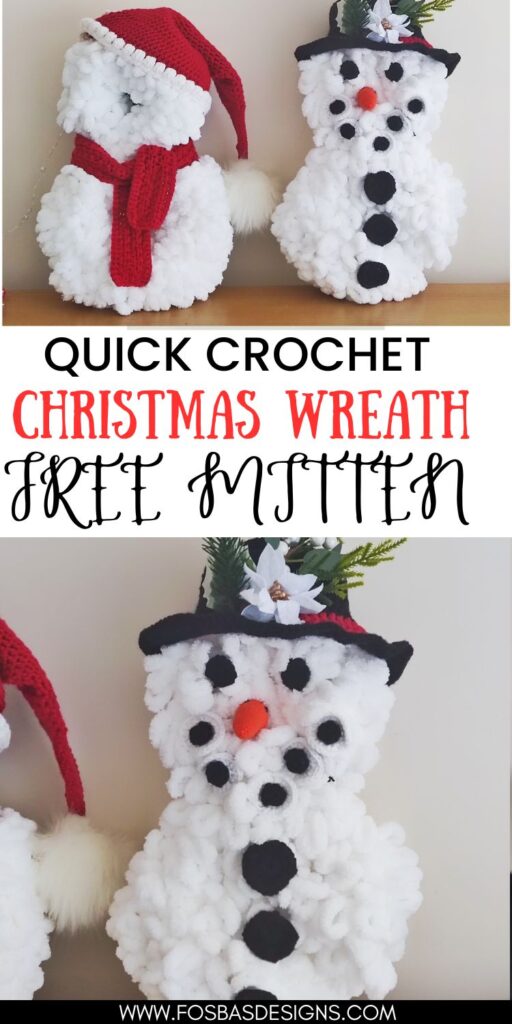
Easy snowman wreath DIY
It’s time for a fun project: the snowman wreath DIY. Yes, the main body of the snowman is purely a DIY, as you only need to wrap the yarn around the wreath ring.
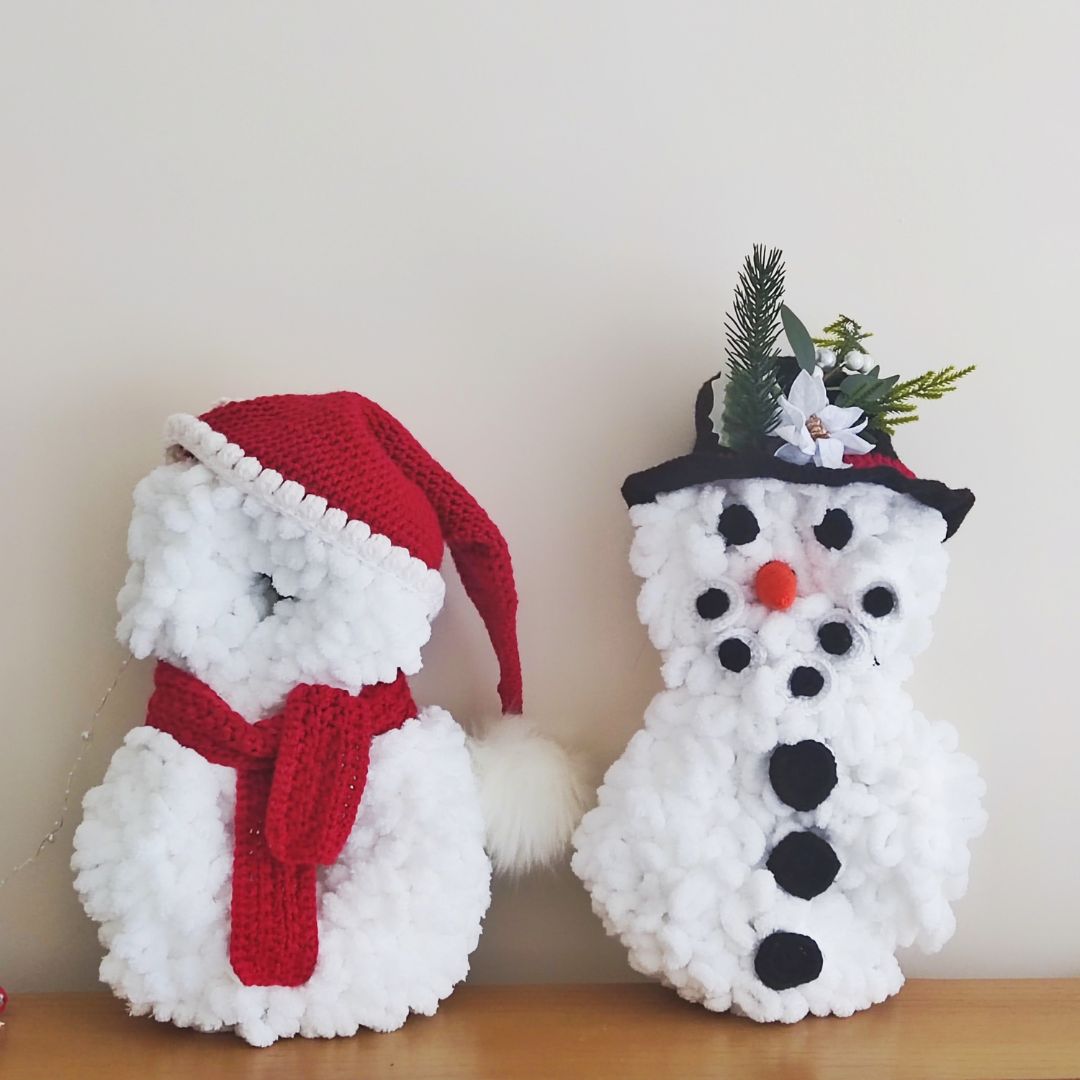
After making the Santa snowman, I knew a super easy snowman wreath was needed to keep the Santa wreath company.

A no-sew, snowman wreath that is perfect as a DIY. It’s a perfect project to make with kids.
The Snowman Wreath instructions can be seen below; scroll down for details.
Snowman Wreath Supplies
Wreath – Loopy Yarn
Alize Puffy #7, 100% (Micropolyester, 9.8 yds/9 m per 3.53 oz/100g Ball)
Hat/Buttons- Worsted weight yarn (Black)
Stylecraft Special Aran, (#4, 100% Acrylic, 196 m per 3.5 oz/100g Ball)
Carrot Nose – Sport weight yarn (Orange)
Hobbii Friends Wheel, #2 Sport weight (55% Cotton, 45% Acrylic, 437 yards/400 m per 3.5 oz/100g Skein)
Estimated yardage
Loop Yarn = 28 yards
Red = 10 yards
Black = 60 yards
Orange = 15 yards
Hook and other materials for the Hat, Tie, and Carrot
- Darning Needle
- 4 mm Crochet Hook – For the Hat and Buttons
- 2.5 mm Crochet Hook – For the Carrot.
- Polyfibre
- Stitch marker
Materials for the snowman wreath DIY
- 2 Rolls of White Loop Yarn
- 2 form rings of different diameters (I used 20 cm and 14 cm).
- Scissors
- Glue or Pin to secure the loops to the ring (optional)
Gauge for the hat and tie =
Gauge for the hat and tie = 14 sts over 10 rows = 4 x 4” made in hdc, before blocking.
Adjust hook size, if necessary, to obtain gauge.
Pattern Notes
- Please kindly read through the pattern before starting.
- Any other brand of loop yarn can be substituted for the wreath.
- You can use any other size of ring, but the estimated yardage of loop yarn will be different.
- Any # 4 weight yarn can be substituted for the hat and tie.
Skill Level – Advanced Beginner
Terms – US Terminology
Stitch Abbreviations
Chain(s) – ch(s)
Stitch(es) – st(s)
Single Crochet – sc
Half Double Crochet – hdc
Repeat – Rep
Construction Notes
This project is done in 2 sections
Section 1 – The Wreath – made in two parts and joined together.
Section 2 – Snowman Hat also made in rounds.
Finished measurements
40cm – high
24 cm at the widest diameter
The other quick crochet Chrsitmas projects includes more patterns that are perfect for the Holiday.
Snowman wreath DIY
Section 1: Wreath
Part 1 – Large Wreath
Step 1: Pick up the large wreath ring and the first Ball of white loop yarn.
Step 2: Secure the end of the loop yarn with either a pin or glue to the wreath ring and wrap the loop yarn around the wreath form.
Step 3: Pass the whole roll through the center of the wreath ring and continue to wrap the loop yarn around the ring a few times to firmly secure the yarn around the ring.
Step 4: Stop wrapping around the ring from the inside the hole. But this time around the whole ring to cover the sides. At intervals, secure the loop yarn with glue or pins and ensure a tight wrap.
¾ way through the large wreath, the 1st ball of loop yarn should be finished. Join a new ball with glue or make a knot with loops on each end of the yarn. Be sure the end is secured before continuing.
Continue to wrap the loop yarn around the ring until the end.
Cut off excess yarn and secure the end properly to the wreath ring.
Part 2 – Small
Step 1: Pick up the small wreath ring and the roll from the previous wreath.
Step 2: Secure the end of the loop yarn with either a pin or glue to the wreath ring and wrap the loop yarn around the wreath form.
Step 3: Continue to wrap the roll around the wreath ring. Secure the loop yarn with glue or pins on either side of the ring at intervals and ensure a tight wrap.
Continue to wrap the loop yarn until the end of the next roll, if you need another roll, join the next roll with either glue, knot, or overlap the next roll.
Secure the end properly to the wreath ring.
Please do not cut off excess yarn, as it will be used for the joining the two rings together.
To join the two rings
Pick up both rings and wrap the excess yarn around the two rings to secure both rings firmly.
Secure the end properly to the wreath ring.
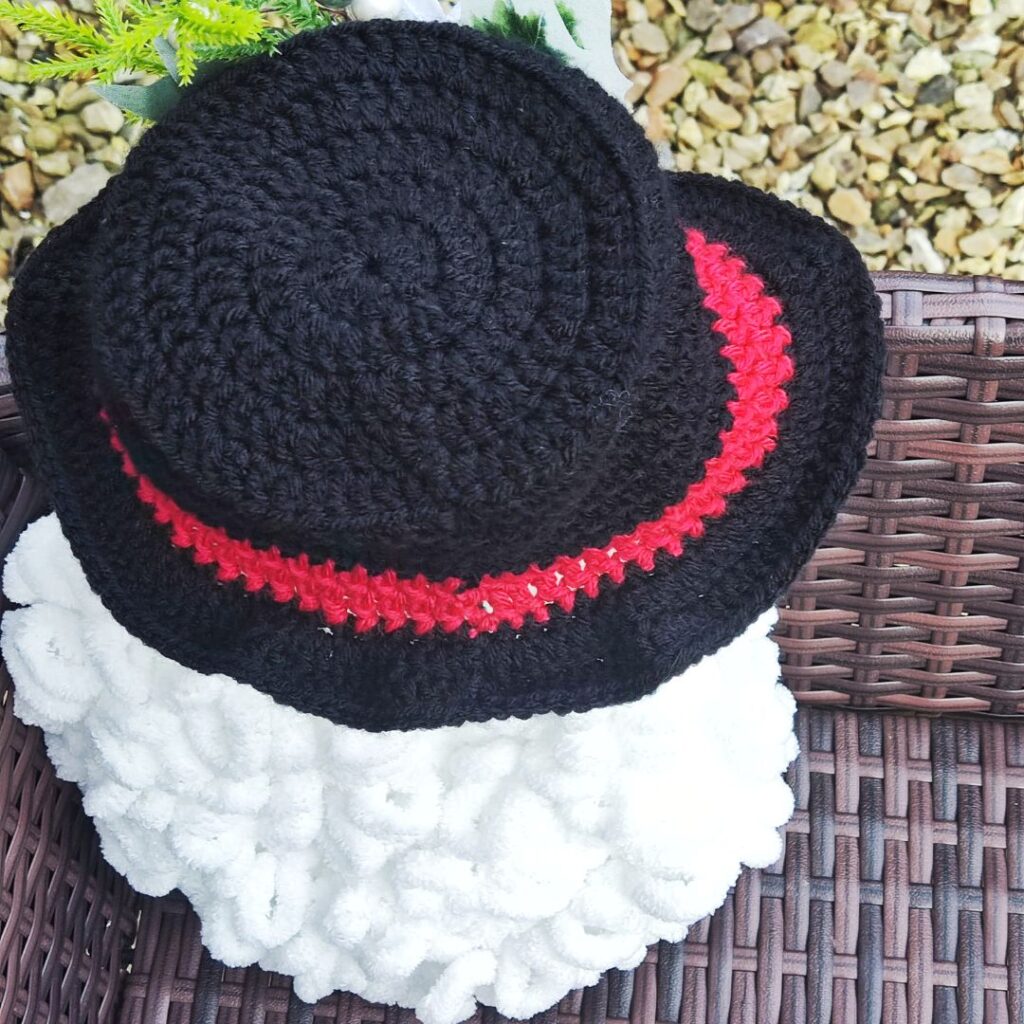
Section 2: Snowman Hat
Make 2
With Black Yarn
Round 1: In a magic ring, ch 2 (does not count as a stitch), 12 dc in magic ring, join with a slip stitch to the top of the first stitch of the round 12 dc
Round 2: Ch 2, 2 dc in each around, join. 24 dc
Round 3: Ch 2, *dc in next, 2 dc in next, repeat from * around, join. 36 dc
Round 4: Ch 2, *dc in next 2 sts, 2 dc in next, repeat from * around, join. 48 dc
Round 5: Ch 2, *dc in next 3 sts, 2 dc in next, repeat from * around, join. 60 dc
Body
Round 1: Ch 2, in BLO, dc in each st around, join. 60 dc
Rounds 2 – 7: Ch 2, dc in each st around, join. 60 dc
Drop Black yarn and continue with Red Yarn.
Rounds 8 – 9: Ch 2, dc in each st around, join. 60 dc
Fasten off the Red yarn and continue with the Black yarn.
Round 10: Ch 2, dc in each st around, join. 60 dc
Brim
Round 10: Ch 2, *2 dc in next st, dc in
next st, repeat from * around, join. 90 dc
Round 11: Ch 2, dc in each st around, join. 108 dc
Fasten off.
Place the hats on each other and sew the edges of the brim together.
Section 3: Carrot
With Orange yarn
- Crocheting in spiral.
- Place a stitch marker at the start of the round and move it after each round.
Round 1: 5 sc in a magic ring. 5
Round 2: sc around. 5
Round 3: 2 sc in each st around. 10
Rounds 4 – 5: sc around. 10
Round 6: *sc in next st, 2 sc in next, rep from * around. 15
Rounds 7 – 12: sc around. 15
Round 13: *sc in next 2 sts, 2 sc in next, rep from * around. 20
Rounds 14 – 16: sc around. 20
Round 17: *sc in next 3 sts, 2 sc in next, rep from * around. 25
Rounds 18 – 23: sc around. 25
Stuff lightly.
Section 4: Snowman Buttons
Make 8 pieces
3 in Black, 5 in White.
Round 1: In a magic ring, ch 2 (does not count as a stitch), 12 hdc in magic ring, join with a slip stitch to the top of the first stitch of the round 12 hdc
Round 2: Ch 2, 2 hdc in each around, join. 24 hdc
Fasten off.
Section 5: Snowman Mouth
Make 5 pieces
With Black yarn
Round 1: In a magic ring, ch 2 (does not count as a stitch), 6 hdc in magic ring, join with a slip stitch to the top of the first stitch of the round 6 hdc
Section 6: Snowman Eyes
Make 2 pieces
With Black yarn
Round 1: In a magic ring, ch 1 (does not count as a stitch), 6 sc in magic ring, join with a slip stitch to the top of the first stitch of the round 6 sc
Round 2: Ch 1, 2 sc in each around, join. 12 sc
Fasten off.
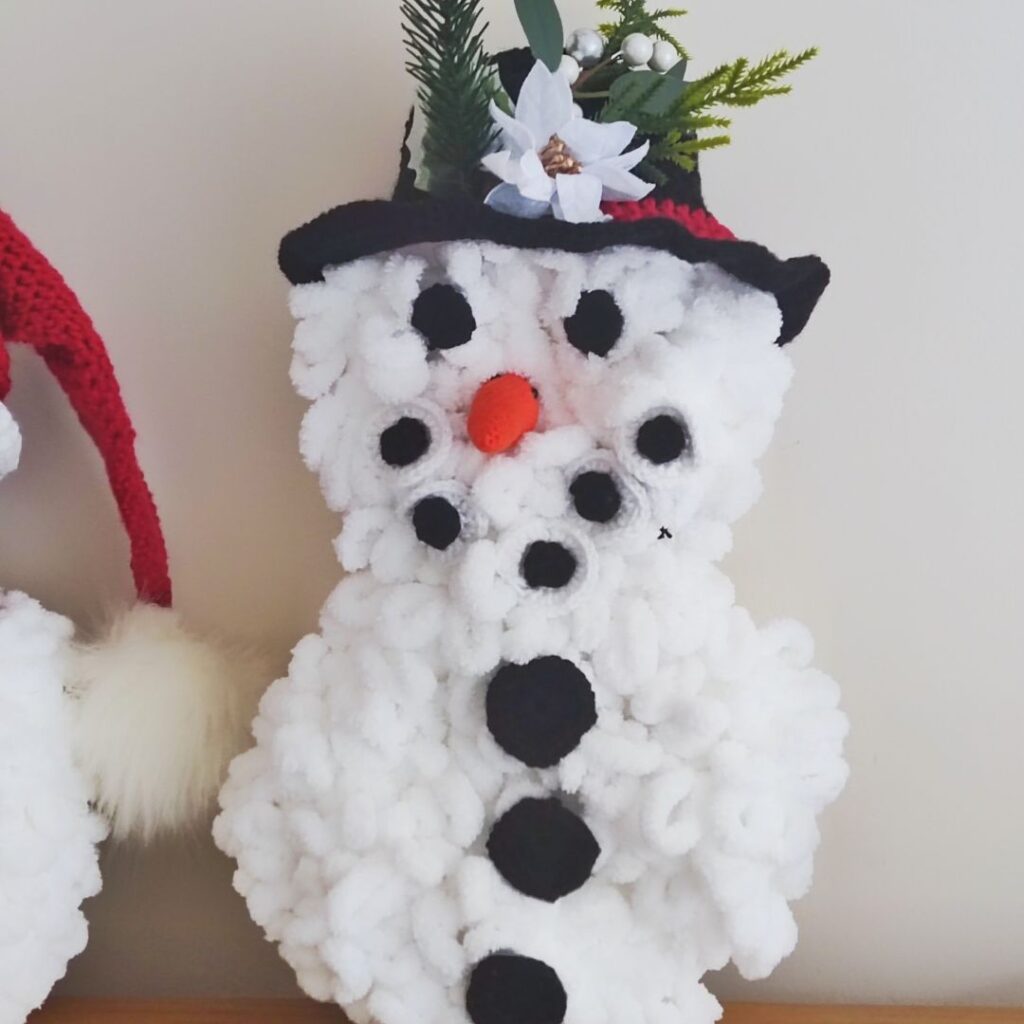
To assemble
- Buttons – Pick 3 Black buttons and sew the buttons on the large ring evenly spaced out.
- Eyes – sew the eyes on the small ring evenly spaced out.
- Nose – sew the nose midway below the eyes.
- Mouth
- Pick 5 Large white buttons and 5 small black eyes. Sew a black piece to the center of the white button, and repeat for all the pieces.
- Sew the pieces in a curved line below the eye/nose.
- Make sure to space the pieces equally on the lower part of the small ring.
- Hat – Place the Santa hat on the smaller ring as you please.
- You can sew/join the hat to the wreath if you desire.

I would love to see your makes using this snowman wreath DIY instruction. Come share with me.
Other fun Christmas-related crochet projects on the blog
Christmas Trees in 3 different sizes,
Wind spinner Christmas Tree Pattern
Christmas Coaster Free Pattern
Christmas Placemat free pattern
Christmas Stars in 3 different sizes
Christmas Baubles Free Pattern
